> ## Documentation Index
> Fetch the complete documentation index at: https://help.hiredata.com/llms.txt
> Use this file to discover all available pages before exploring further.
# Brands
> Set up brands in HireData with your logo, colours, and company details so every email, message, and form your automations send matches your identity.
*Welcome to our tutorial, which will teach you how to add a brand to HireData. You will learn everything you need to know about setting up the company's basic information, such as name, slogan, values, and location, as well as adding your branding, such as a logo, banner, and colour palette. If you'd rather watch the process unfold than read the instructions, there's a video guide at the end.*
## Step 1: Open the Brands menu
Open the Settings page in HireData and then navigate to the Brands menu.
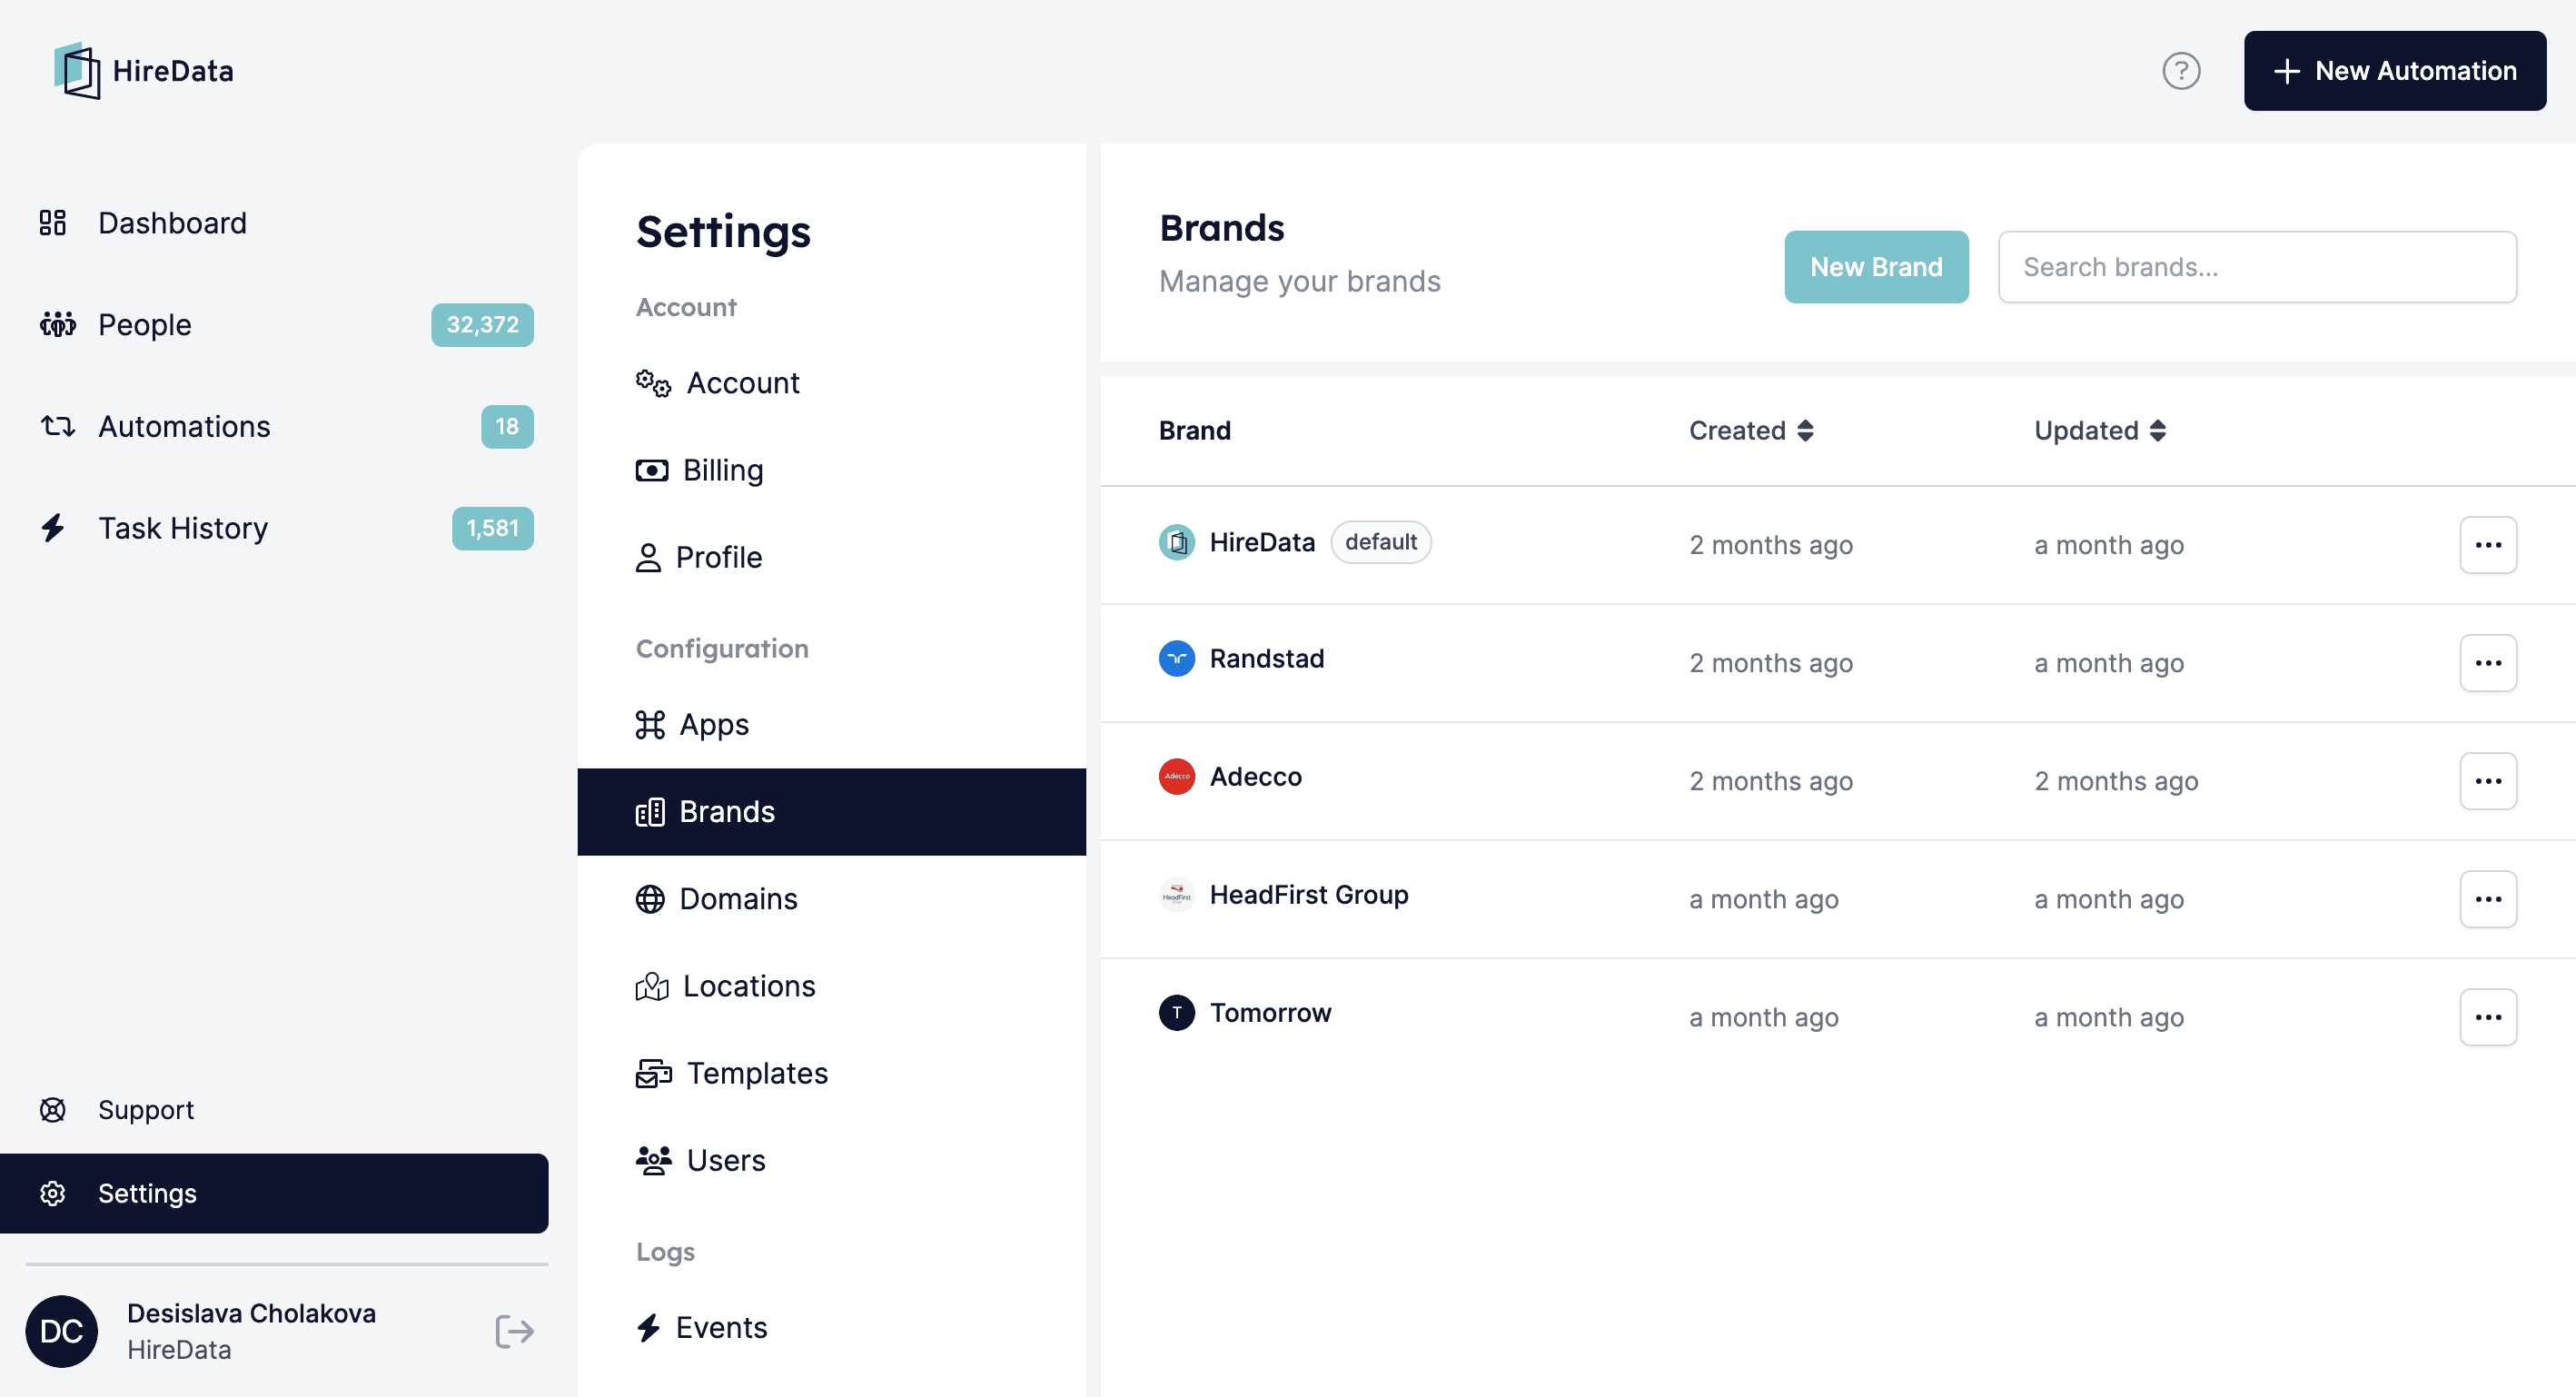 If it's your first time doing this, you won't see any brands there because you haven't created them yet, so continue reading to learn how to do it.
## Step 2: Add your brand
To start, click on the \[New Brand] button:
If it's your first time doing this, you won't see any brands there because you haven't created them yet, so continue reading to learn how to do it.
## Step 2: Add your brand
To start, click on the \[New Brand] button:
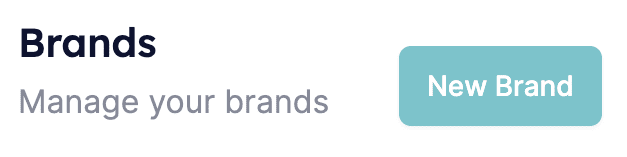 ***2.1. Add the name of your brand***
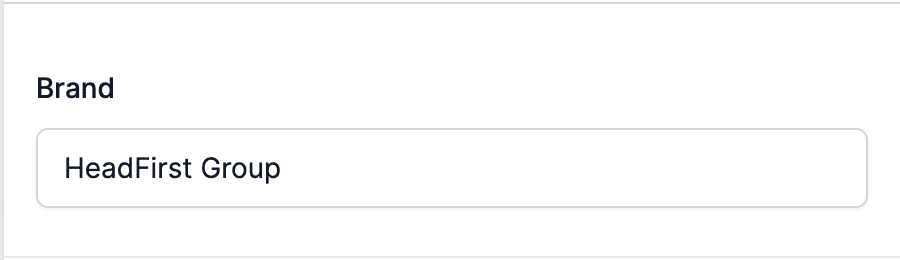 ***2.2. Include its location***
To do that, your company should have a Google Business profile because this is an integration with Google Maps, so if your company's data is not there, you won't be able to add the location.
If your business already has an account, you can continue typing the brand name in the search bar. You will see one or a few results pop up, depending on whether your company has multiple addresses. In that case, it's important to add the main one, which will be its headquarters, and after that, you can add more locations if you want.
***2.2. Include its location***
To do that, your company should have a Google Business profile because this is an integration with Google Maps, so if your company's data is not there, you won't be able to add the location.
If your business already has an account, you can continue typing the brand name in the search bar. You will see one or a few results pop up, depending on whether your company has multiple addresses. In that case, it's important to add the main one, which will be its headquarters, and after that, you can add more locations if you want.
 ***2.3. Confirm creating your brand***
Click the \[Create Brand] button at the bottom of the page.
***2.3. Confirm creating your brand***
Click the \[Create Brand] button at the bottom of the page.
 ## Step 3: Set up the brand profile
*In this section, we explain how to set up your brand profile, including the general information you need to add, importing a logo and a banner for the emails, reviewing the location, and lastly, including links to the brand's social media accounts that will be displayed in the sent communication.*
### 3.1. General settings
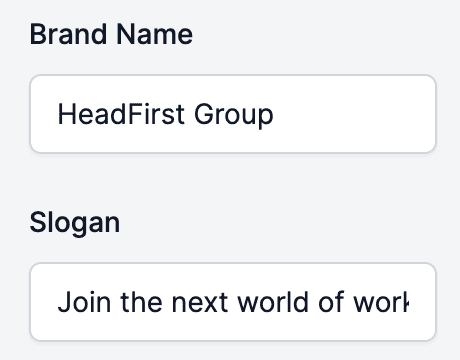
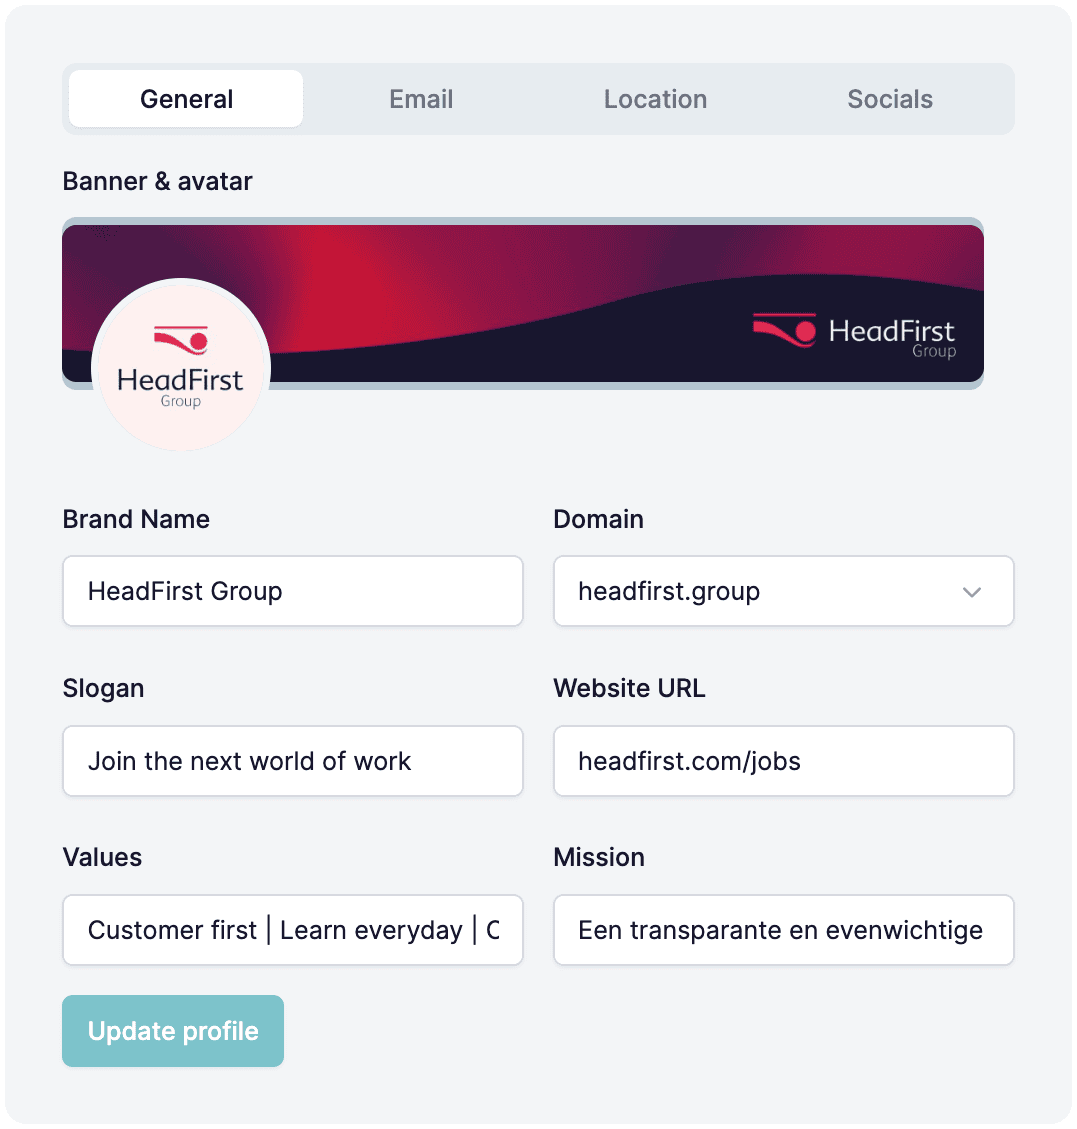
***3.1.1. Check the brand name and add a slogan***
## Step 3: Set up the brand profile
*In this section, we explain how to set up your brand profile, including the general information you need to add, importing a logo and a banner for the emails, reviewing the location, and lastly, including links to the brand's social media accounts that will be displayed in the sent communication.*
### 3.1. General settings
***3.1.1. Check the brand name and add a slogan***
 ***3.1.2. Add an avatar***
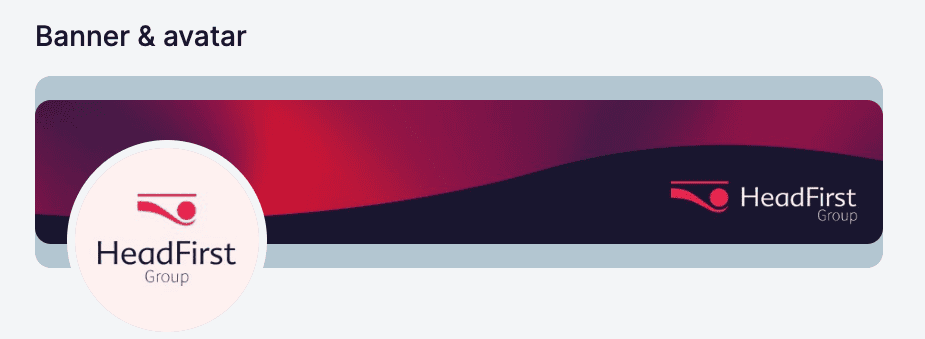
This is typically the brand's logo, so click on the \[Edit] icon and add it from your device.
***3.1.3. Add a banner***
Again, click on the \[Edit] icon positioned on the banner's frame, and select the image from your device.
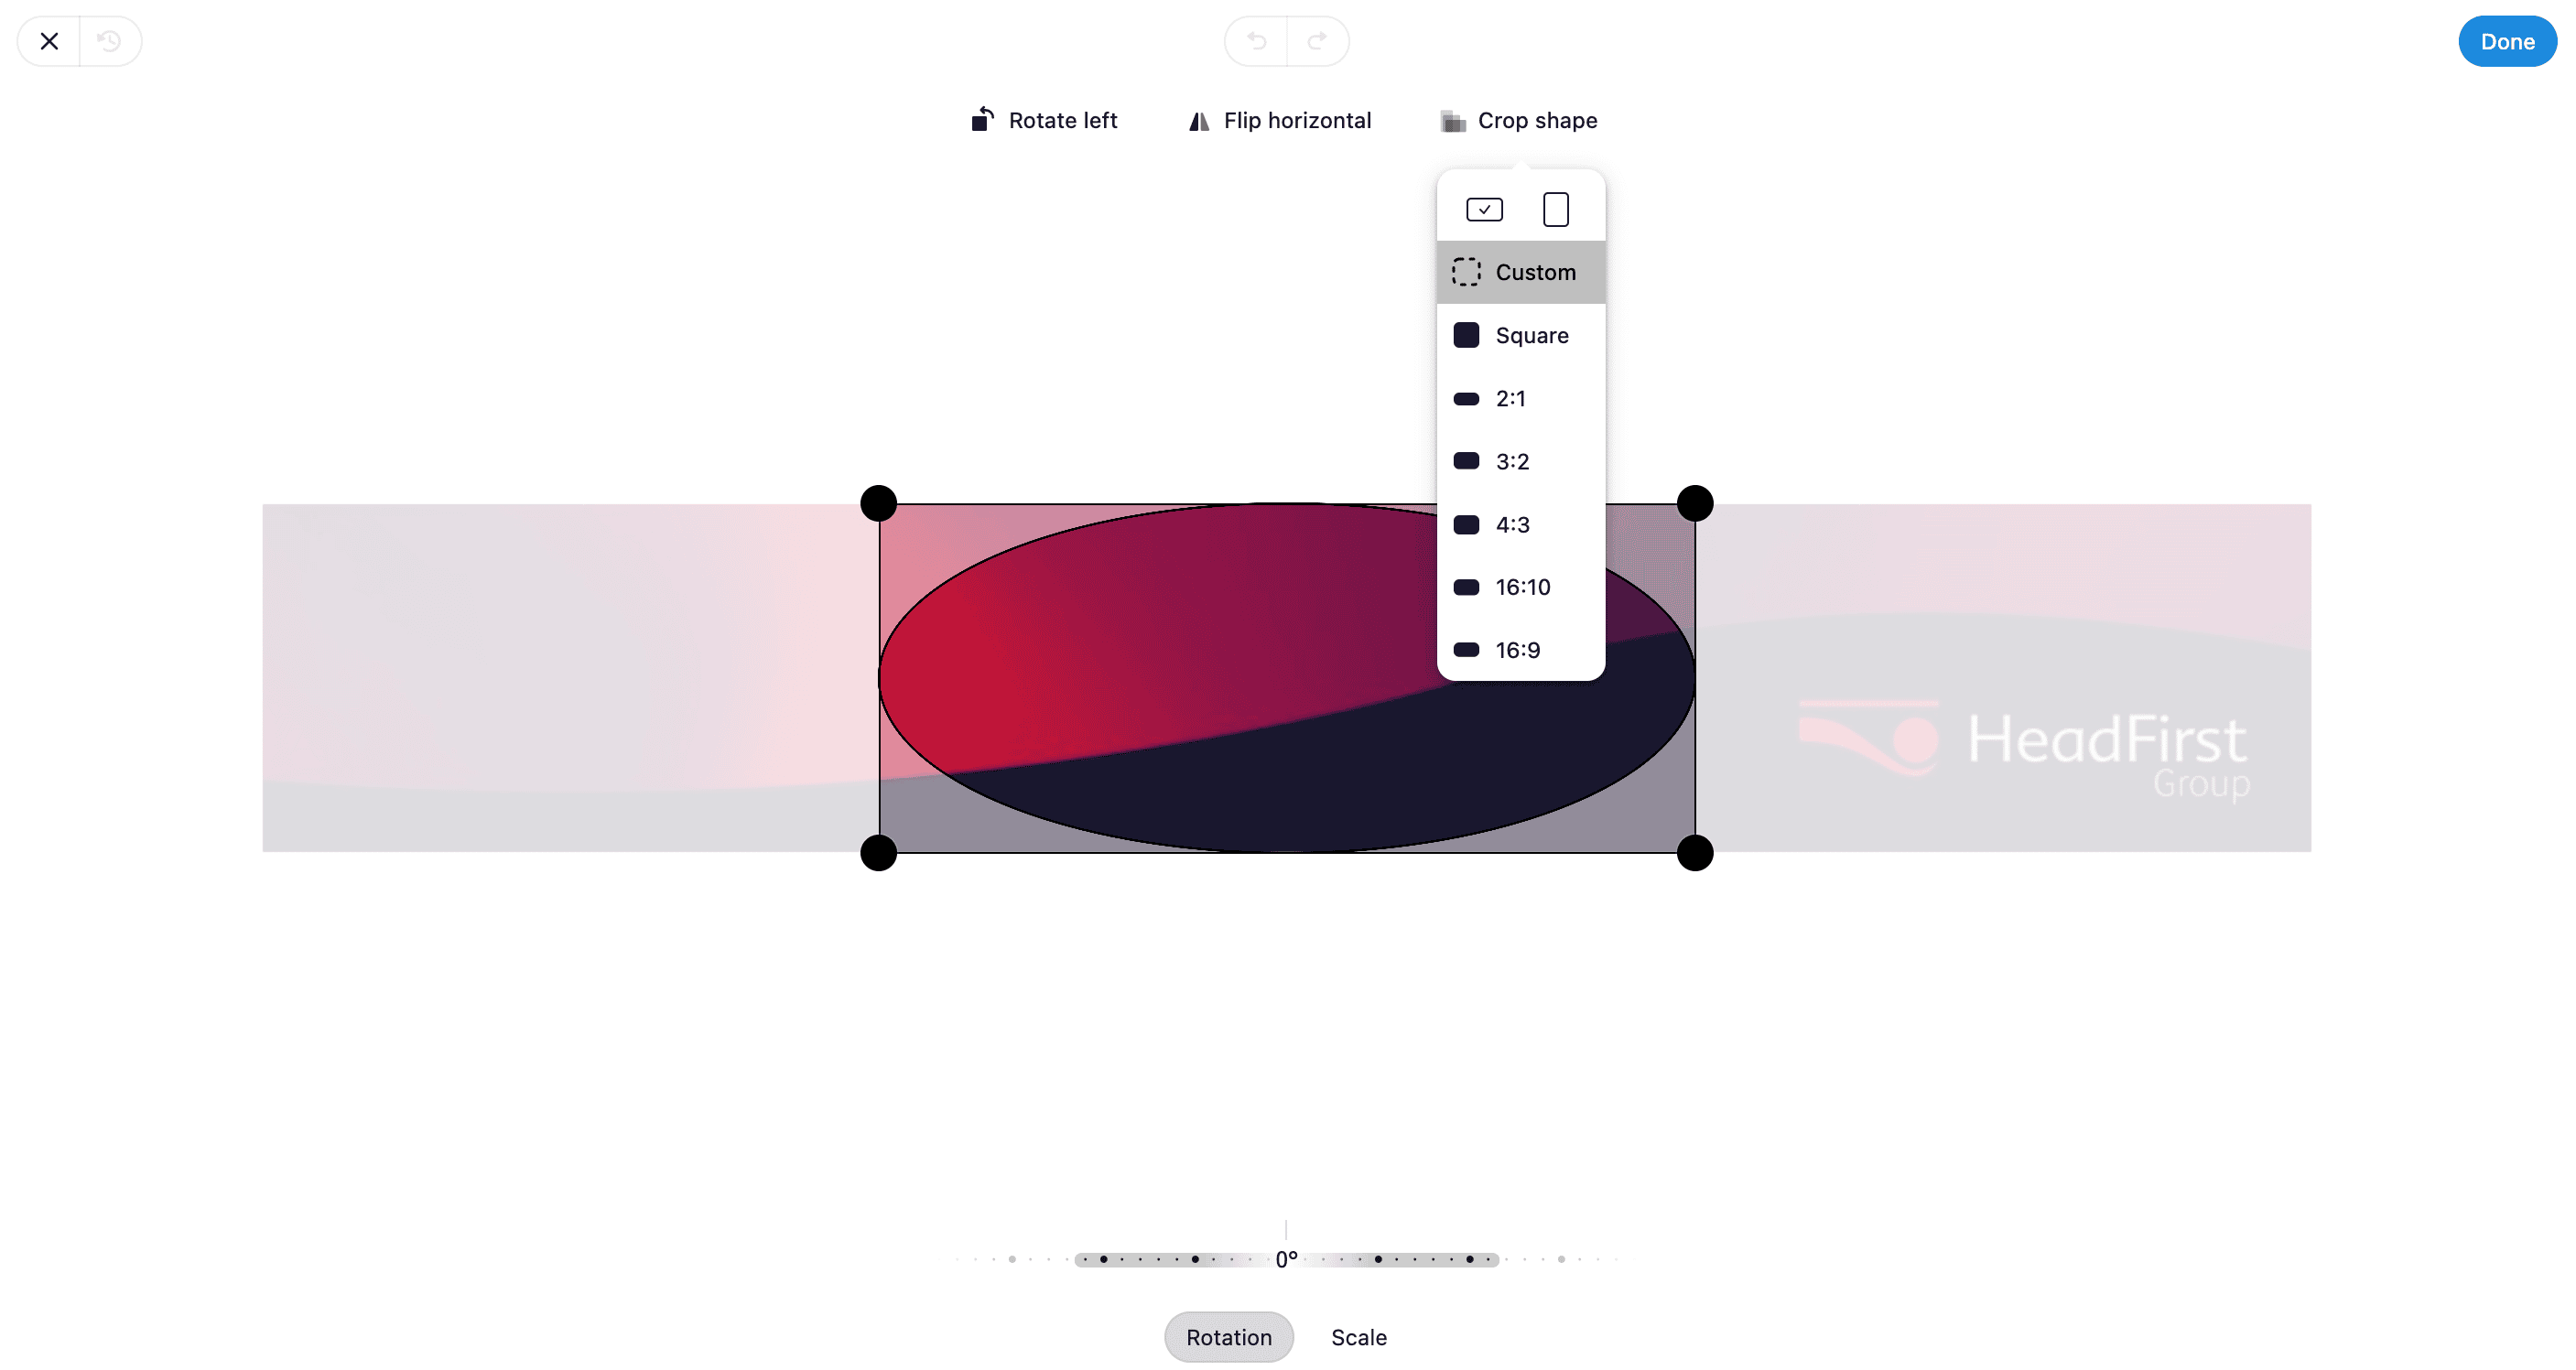
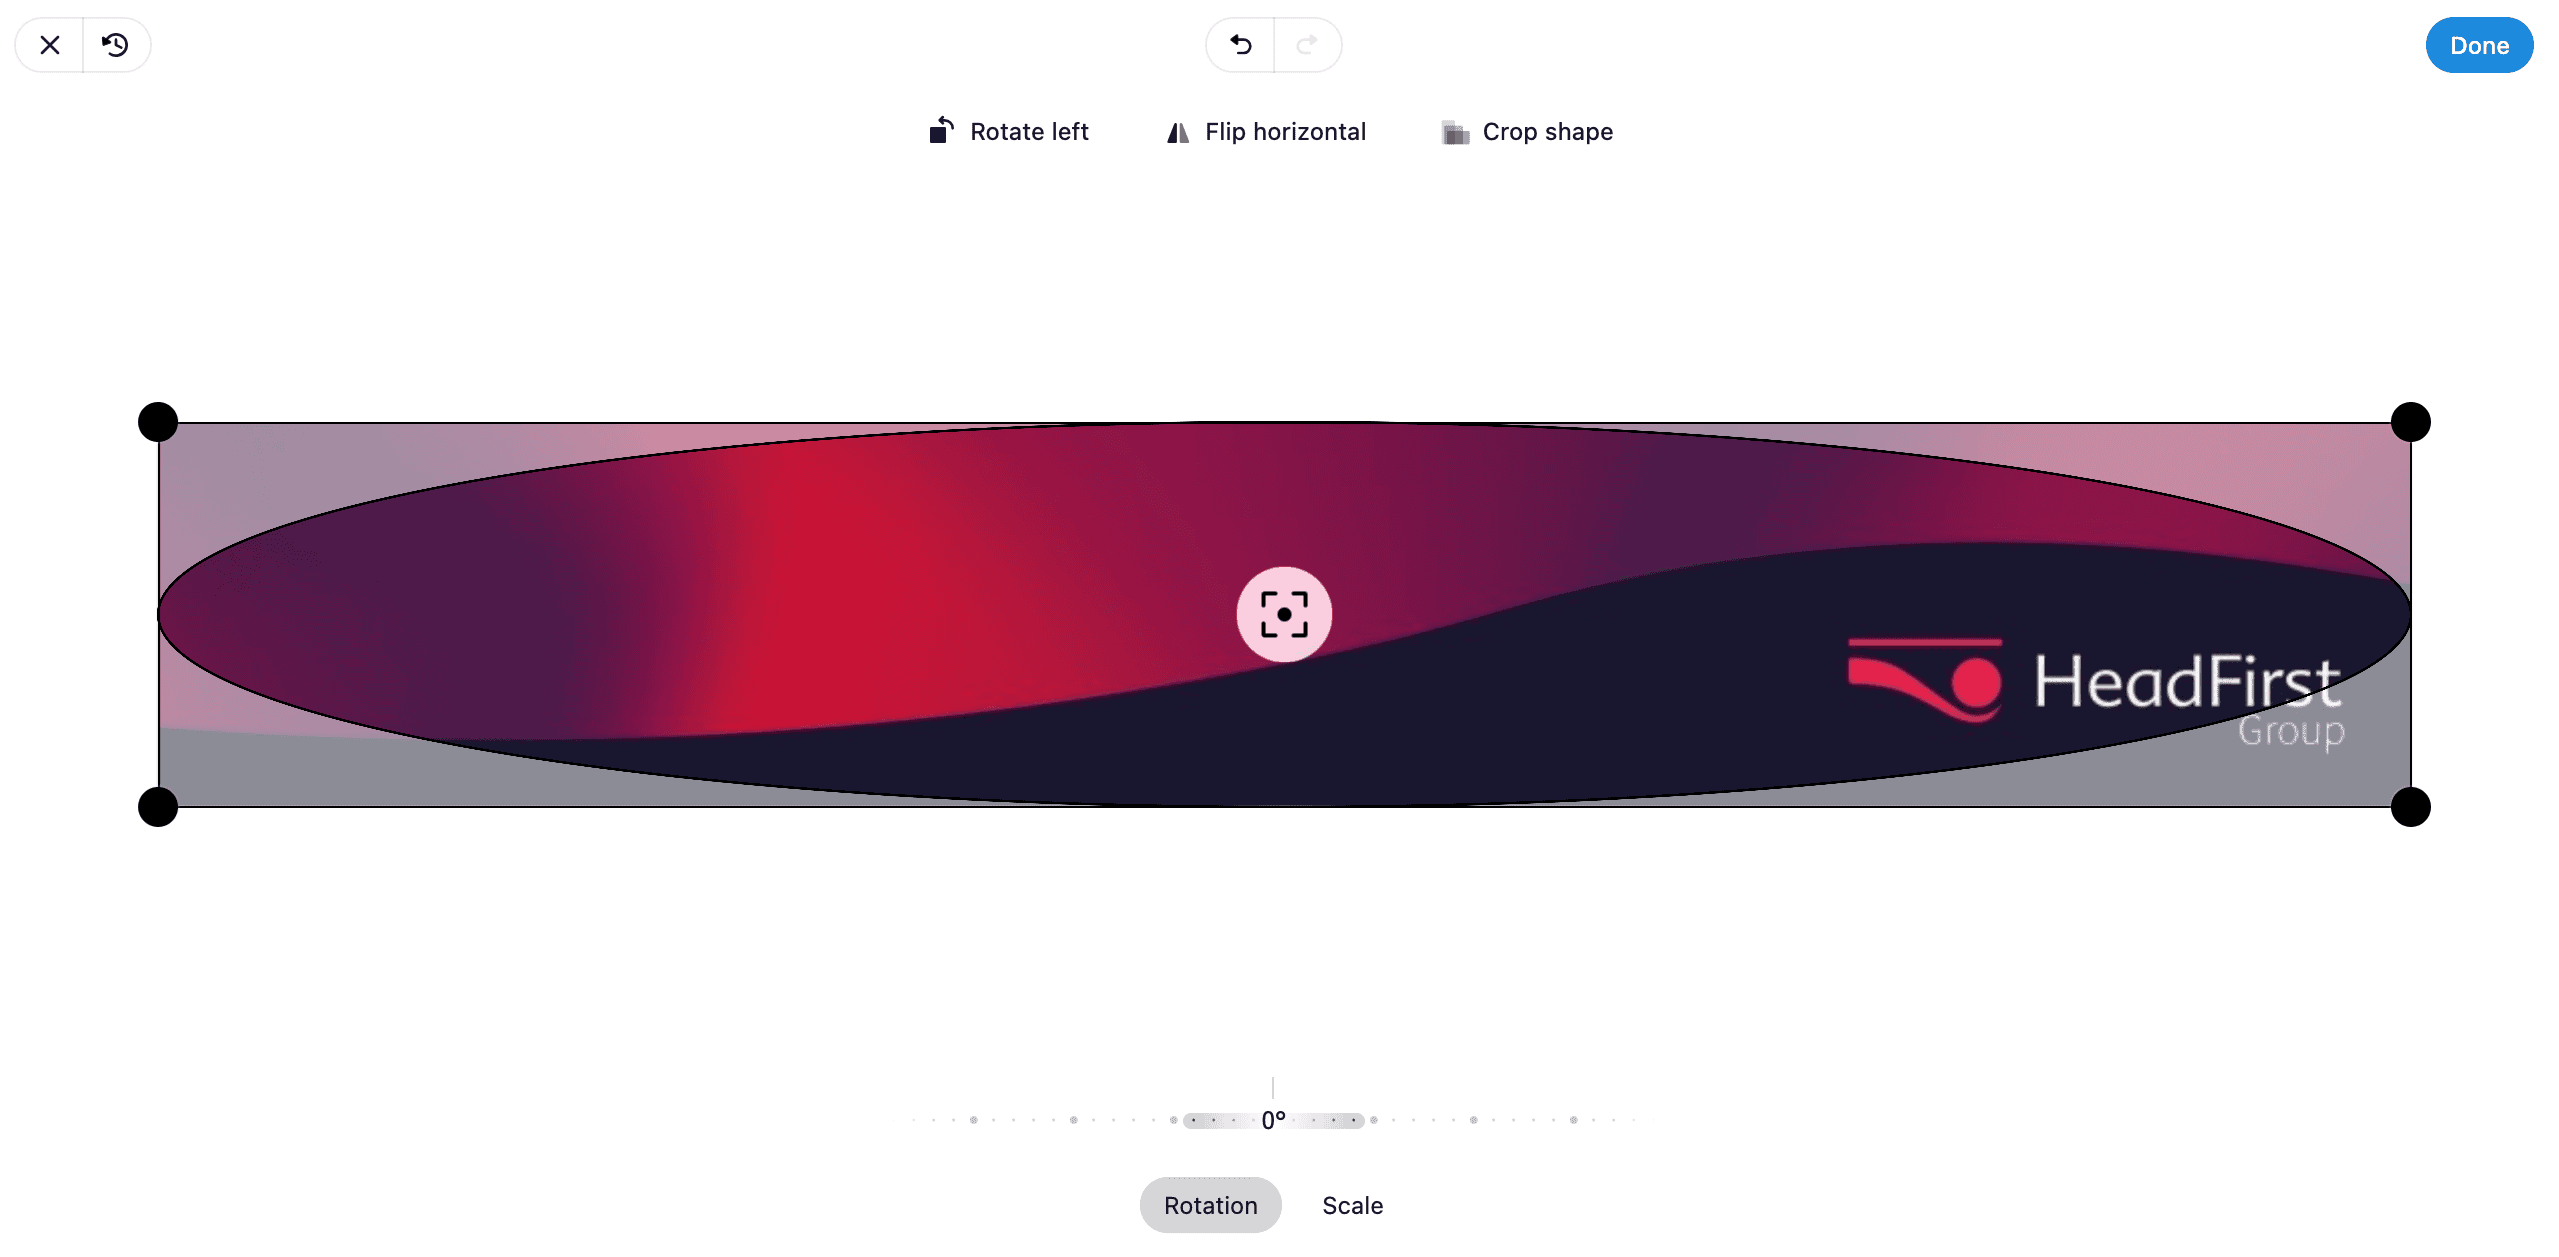
In some cases, the automatic shape might differ from the shape of your image, but you can easily fix that—just select \[Crop shape] and then \[Custom] to adjust it.
*Where to find the \[Custom crop] button:*
***3.1.2. Add an avatar***
This is typically the brand's logo, so click on the \[Edit] icon and add it from your device.
***3.1.3. Add a banner***
Again, click on the \[Edit] icon positioned on the banner's frame, and select the image from your device.
In some cases, the automatic shape might differ from the shape of your image, but you can easily fix that—just select \[Crop shape] and then \[Custom] to adjust it.
*Where to find the \[Custom crop] button:*
 *Adjusted banner:*
 *Final banner and avatar:*
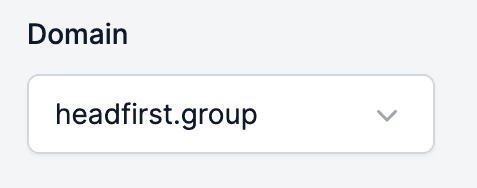
 ***3.1.4. Select a domain***
If you have already [added your domain](/settings/domains/how-to-verify-a-domain-in-hiredata-to-send-emails) in HireData, you can select it so it's connected to your brand.
***3.1.4. Select a domain***
If you have already [added your domain](/settings/domains/how-to-verify-a-domain-in-hiredata-to-send-emails) in HireData, you can select it so it's connected to your brand.
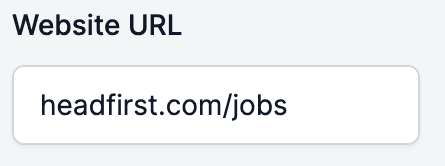
 ***3.1.5. Add your company's website URL***
 ***3.1.6. Write the brand's values and mission***
 ***3.1.7. Review the information and save***
 ### 3.2. Email settings
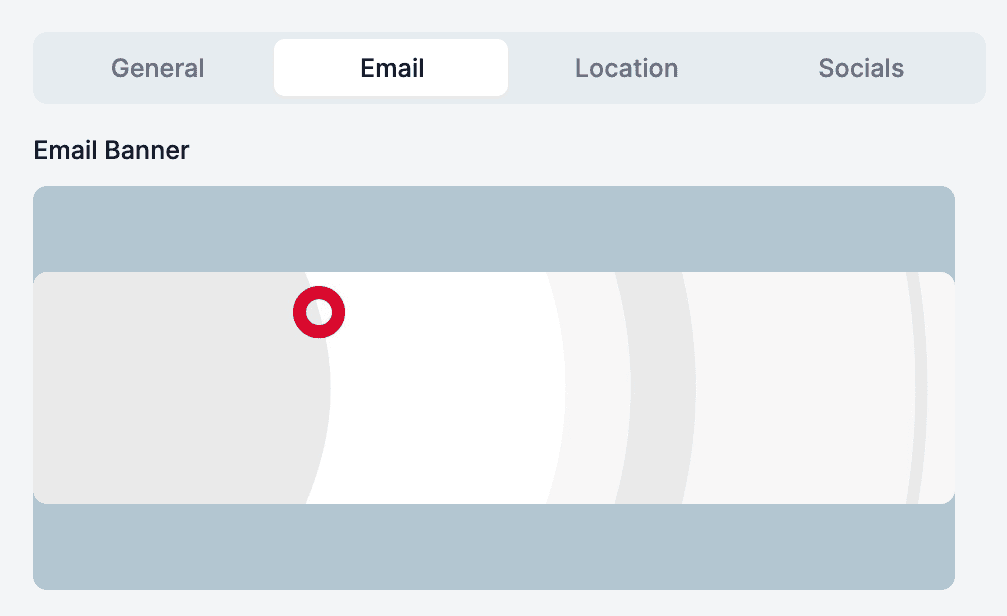
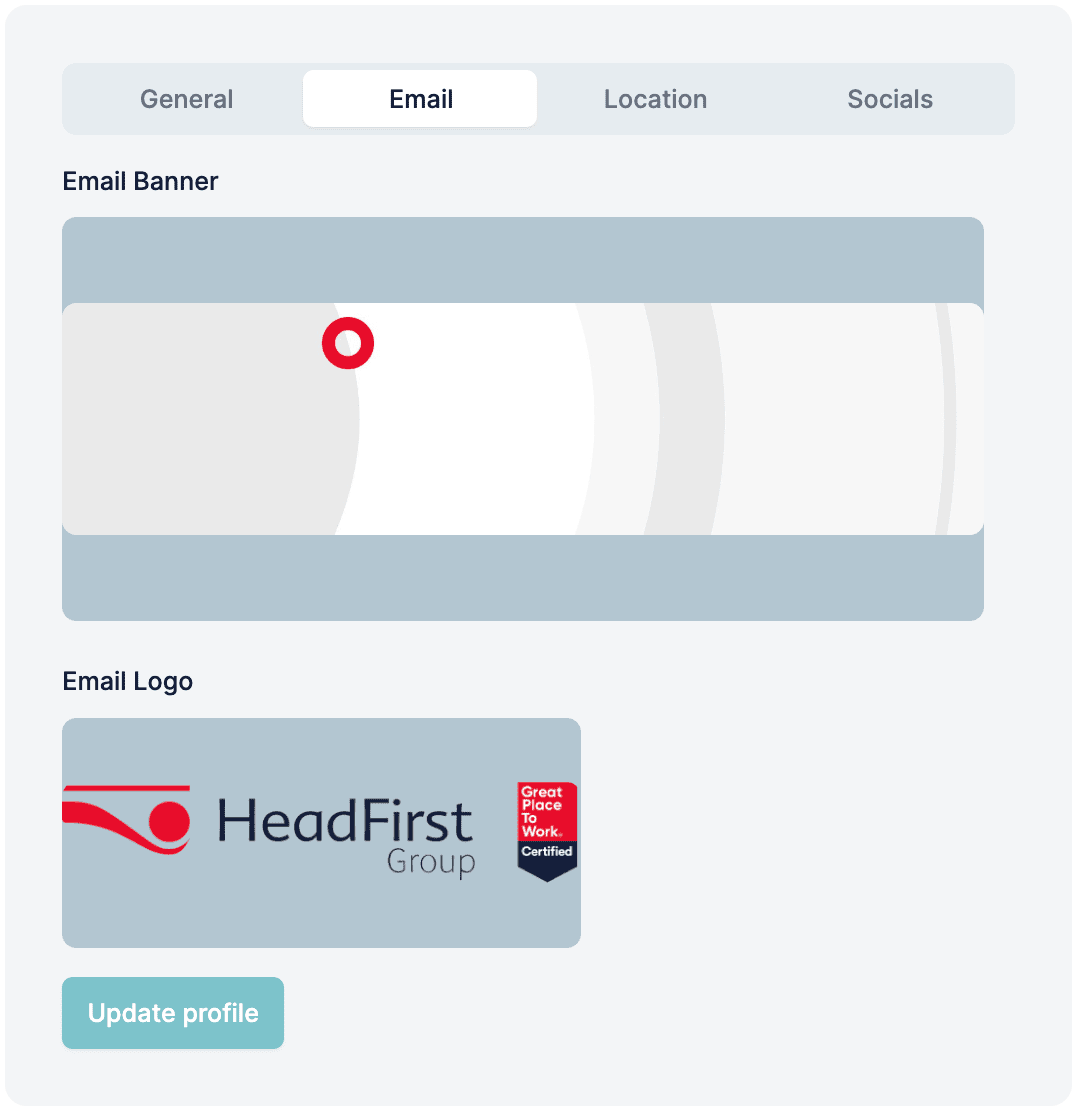
In the email settings, you need to add a banner and logo which will be used in the campaigns you are going to create.
***3.2.1. Add email banner***
### 3.2. Email settings
In the email settings, you need to add a banner and logo which will be used in the campaigns you are going to create.
***3.2.1. Add email banner***
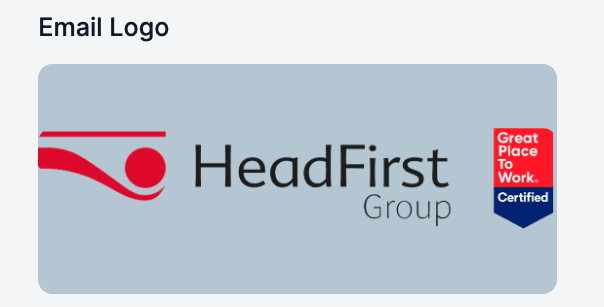
 ***3.2.2. Add email logo***
The logo image should be a PNG file with a transparent background.
**Pro Tip:** Use a darker version of your logo because most email backgrounds are white and your logo won't be visible if it's in light colours. For example, if you have a white and a black version of your logo, always choose the black version for emails.
***3.2.2. Add email logo***
The logo image should be a PNG file with a transparent background.
**Pro Tip:** Use a darker version of your logo because most email backgrounds are white and your logo won't be visible if it's in light colours. For example, if you have a white and a black version of your logo, always choose the black version for emails.
 ***3.2.3. Review and save***
 ### 3.3. Location
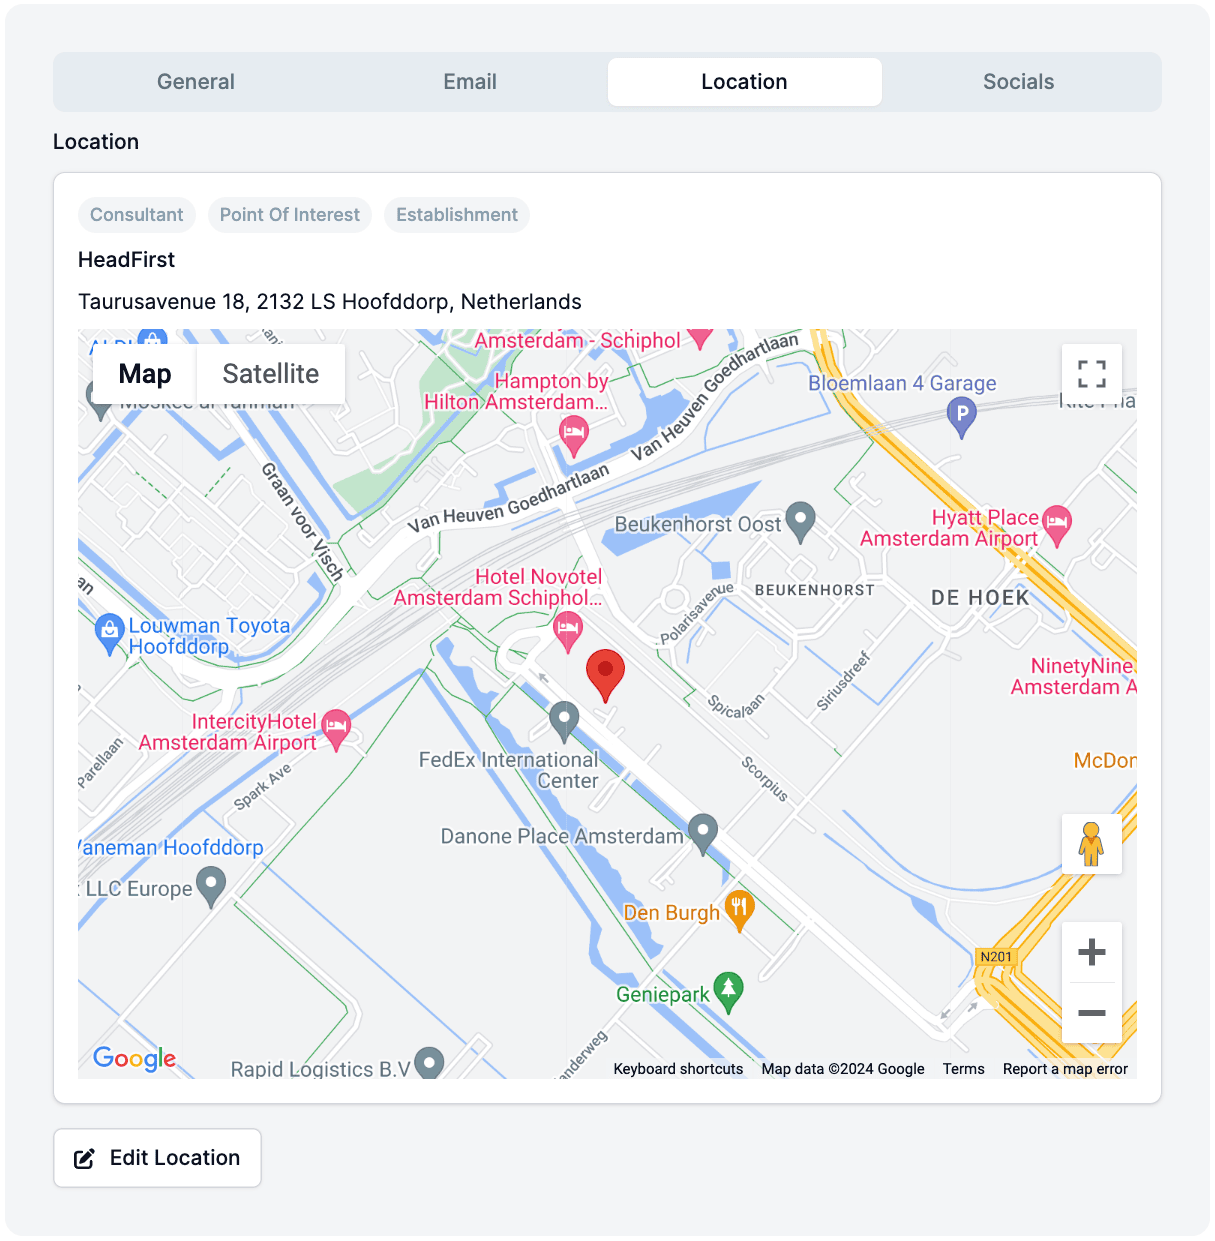
Make sure the location you've added is correct on the interactive map.
### 3.3. Location
Make sure the location you've added is correct on the interactive map.
 ### 3.4. Socials
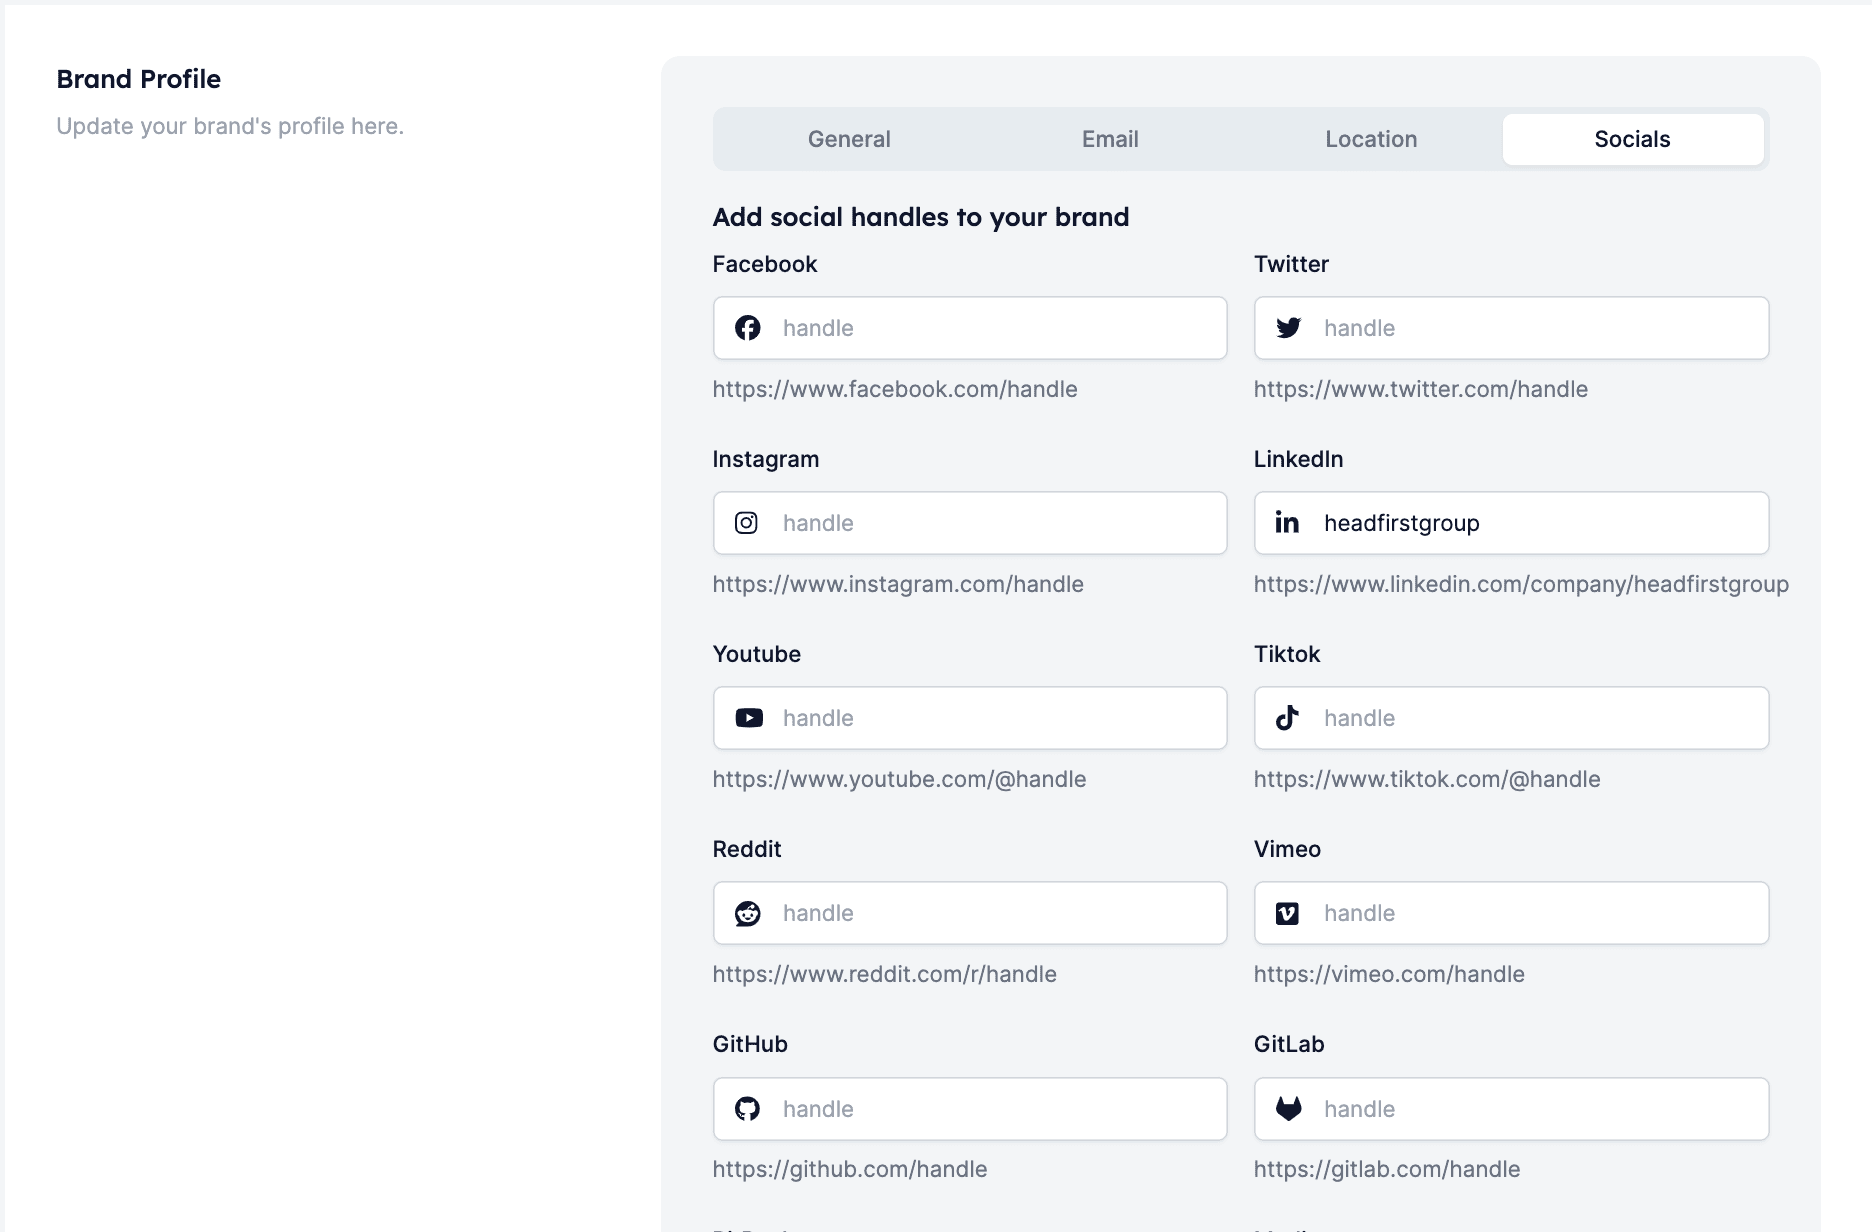
You can add as many of your company's social media accounts as you want, but be careful not to overuse this feature, as you don't want to overwhelm your campaign recipients.
### 3.4. Socials
You can add as many of your company's social media accounts as you want, but be careful not to overuse this feature, as you don't want to overwhelm your campaign recipients.
 ## Step 4: Create a colour palette
Creating a colour palette for your brand in HireData allows you to incorporate your brand's colours into the design of your campaigns so that they are consistent with your business branding.
You can manually add them by typing the HEX colour codes or automatically extract the colours from one of the images you previously added, e.g. logo or banner.
## Step 4: Create a colour palette
Creating a colour palette for your brand in HireData allows you to incorporate your brand's colours into the design of your campaigns so that they are consistent with your business branding.
You can manually add them by typing the HEX colour codes or automatically extract the colours from one of the images you previously added, e.g. logo or banner.
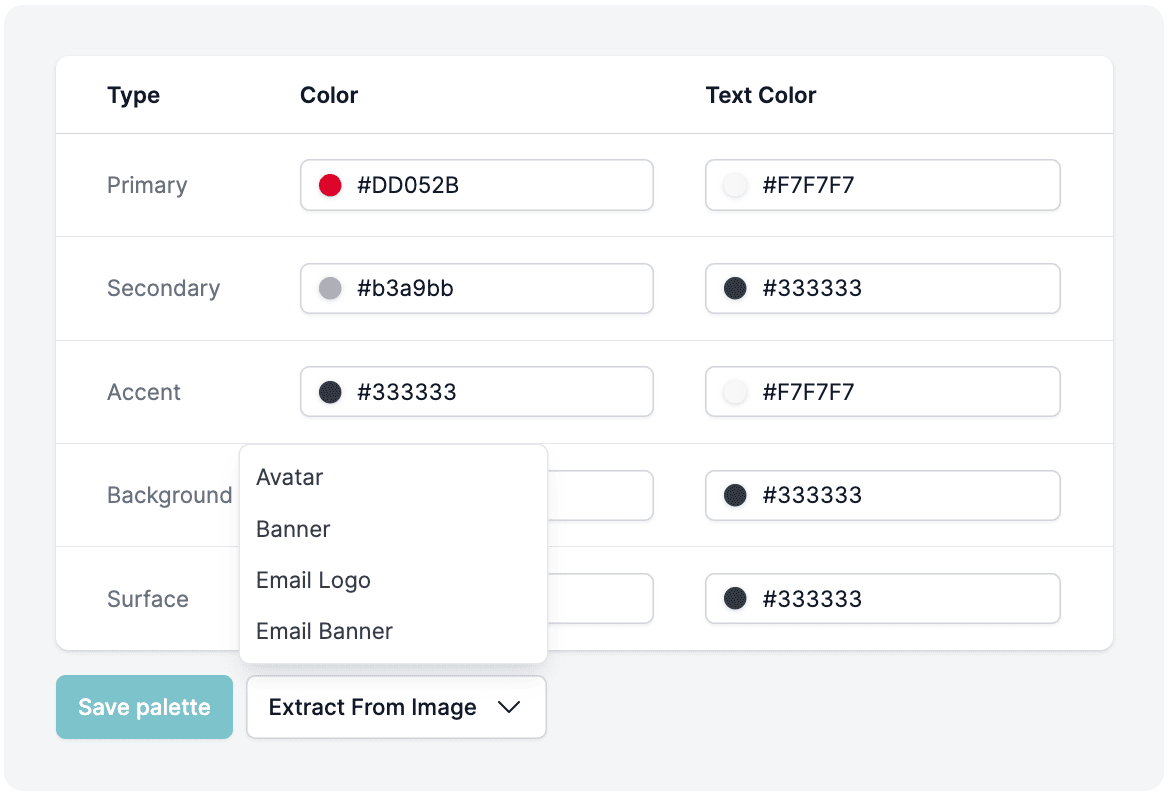 If you decide to use this handy feature, double-check if the extracted colours are the same as your branding. In case, there is a difference, you can easily adjust them and then save the palette via the \[Save palette] button.
## Pro tip
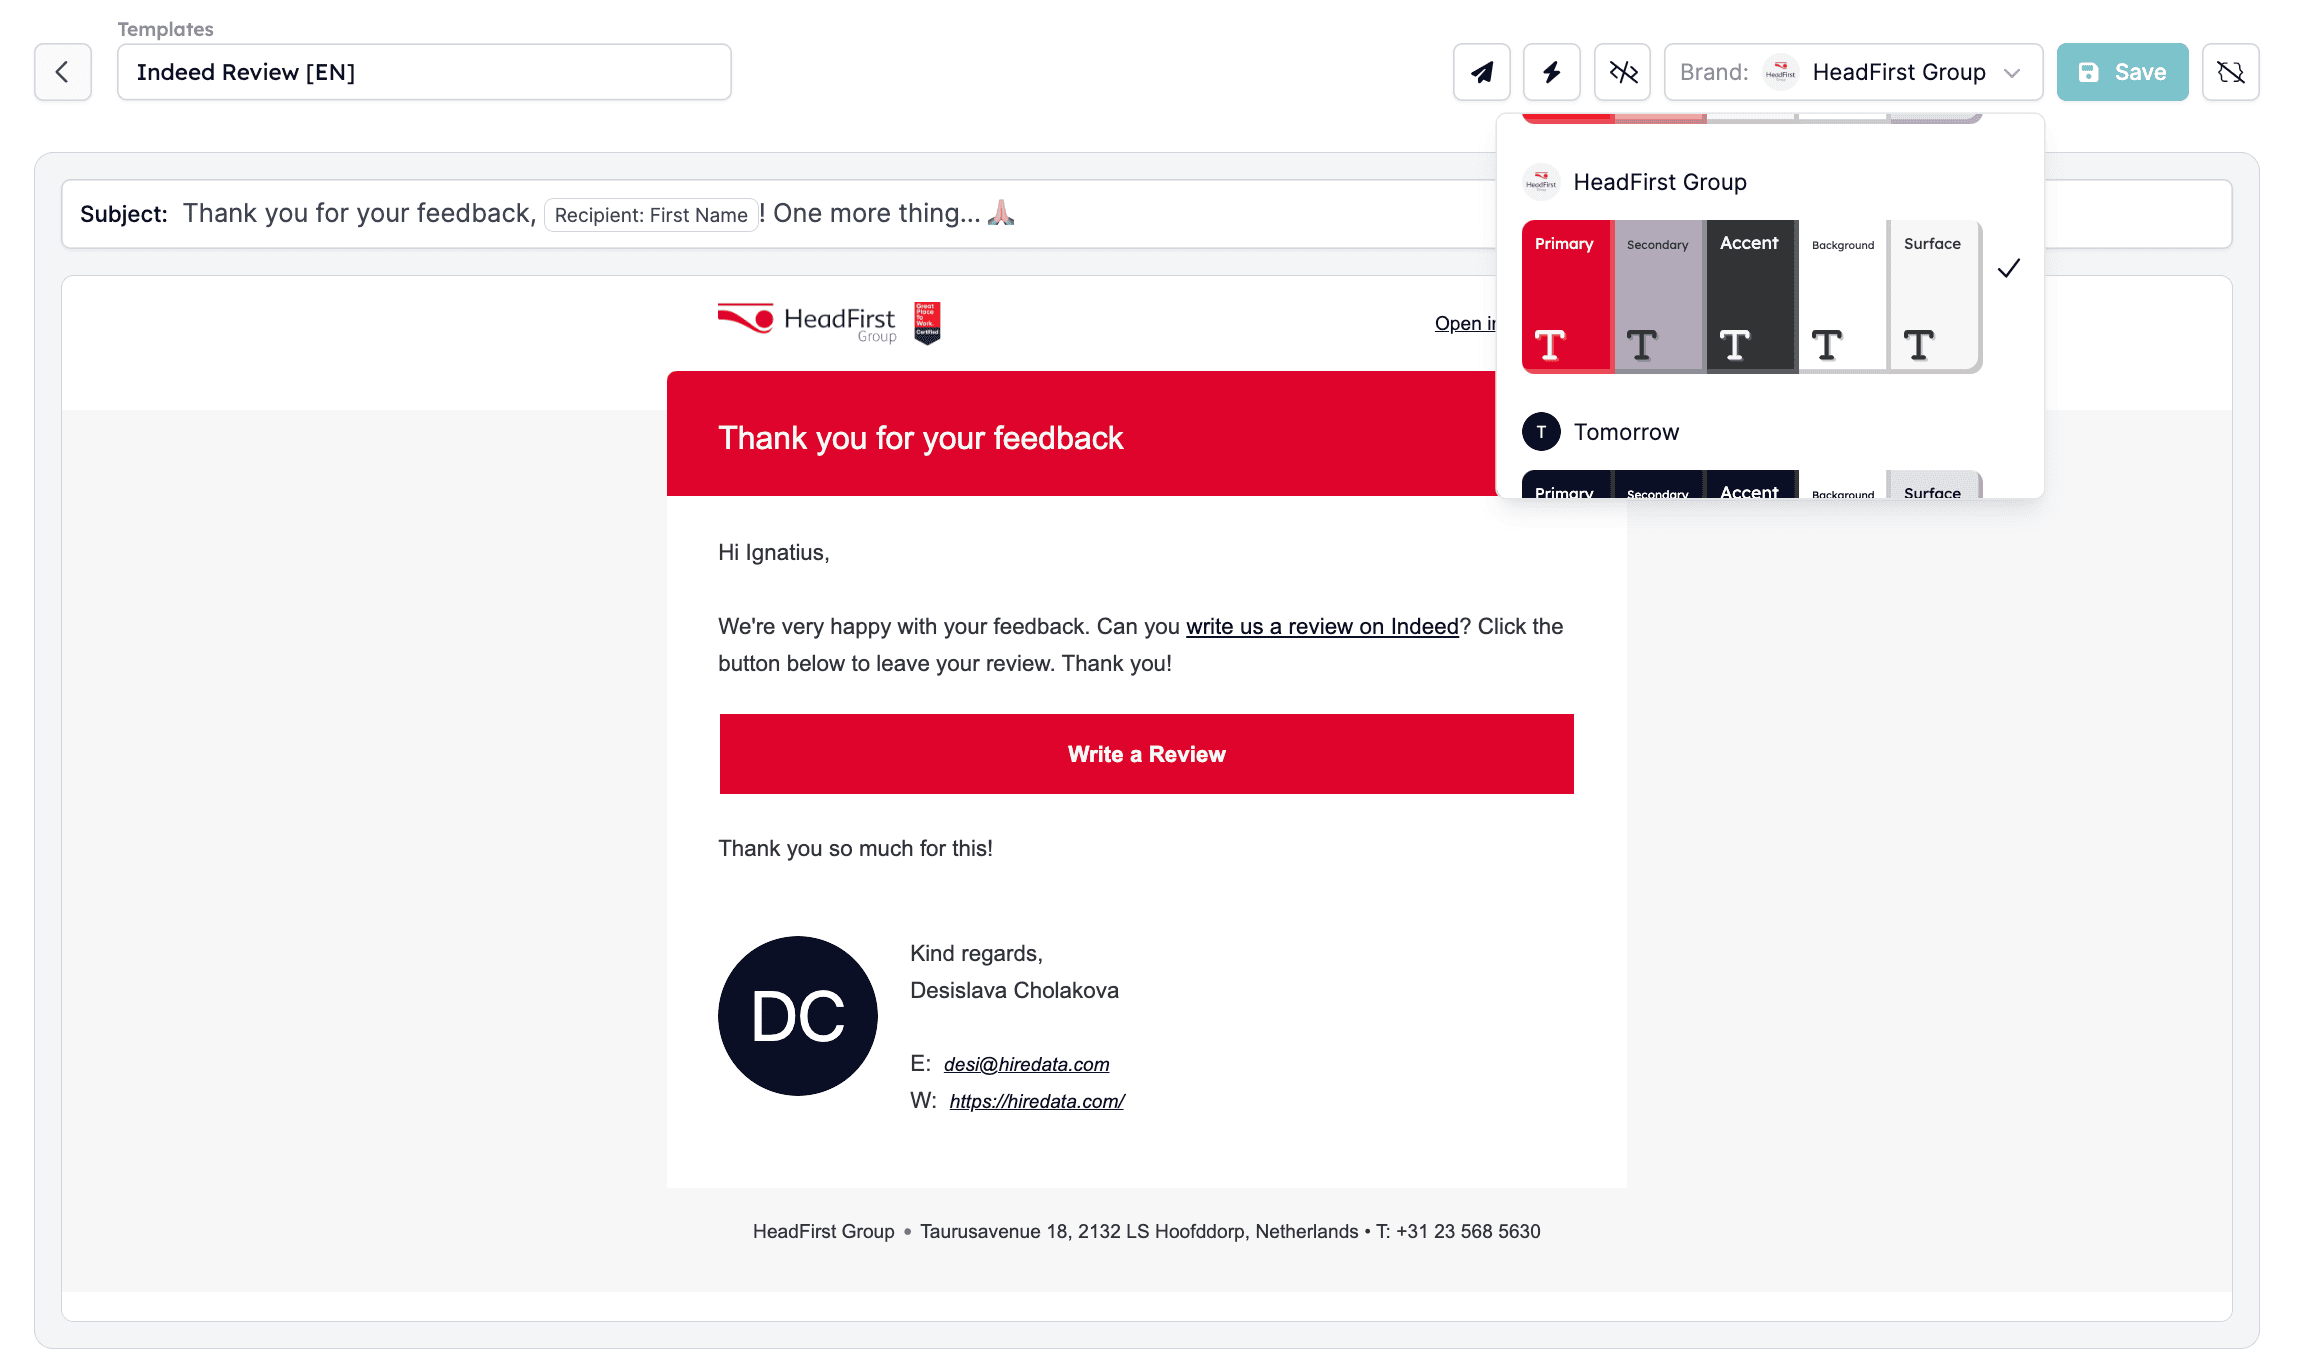
Open one of the templates to see how the branding you've just created looks.
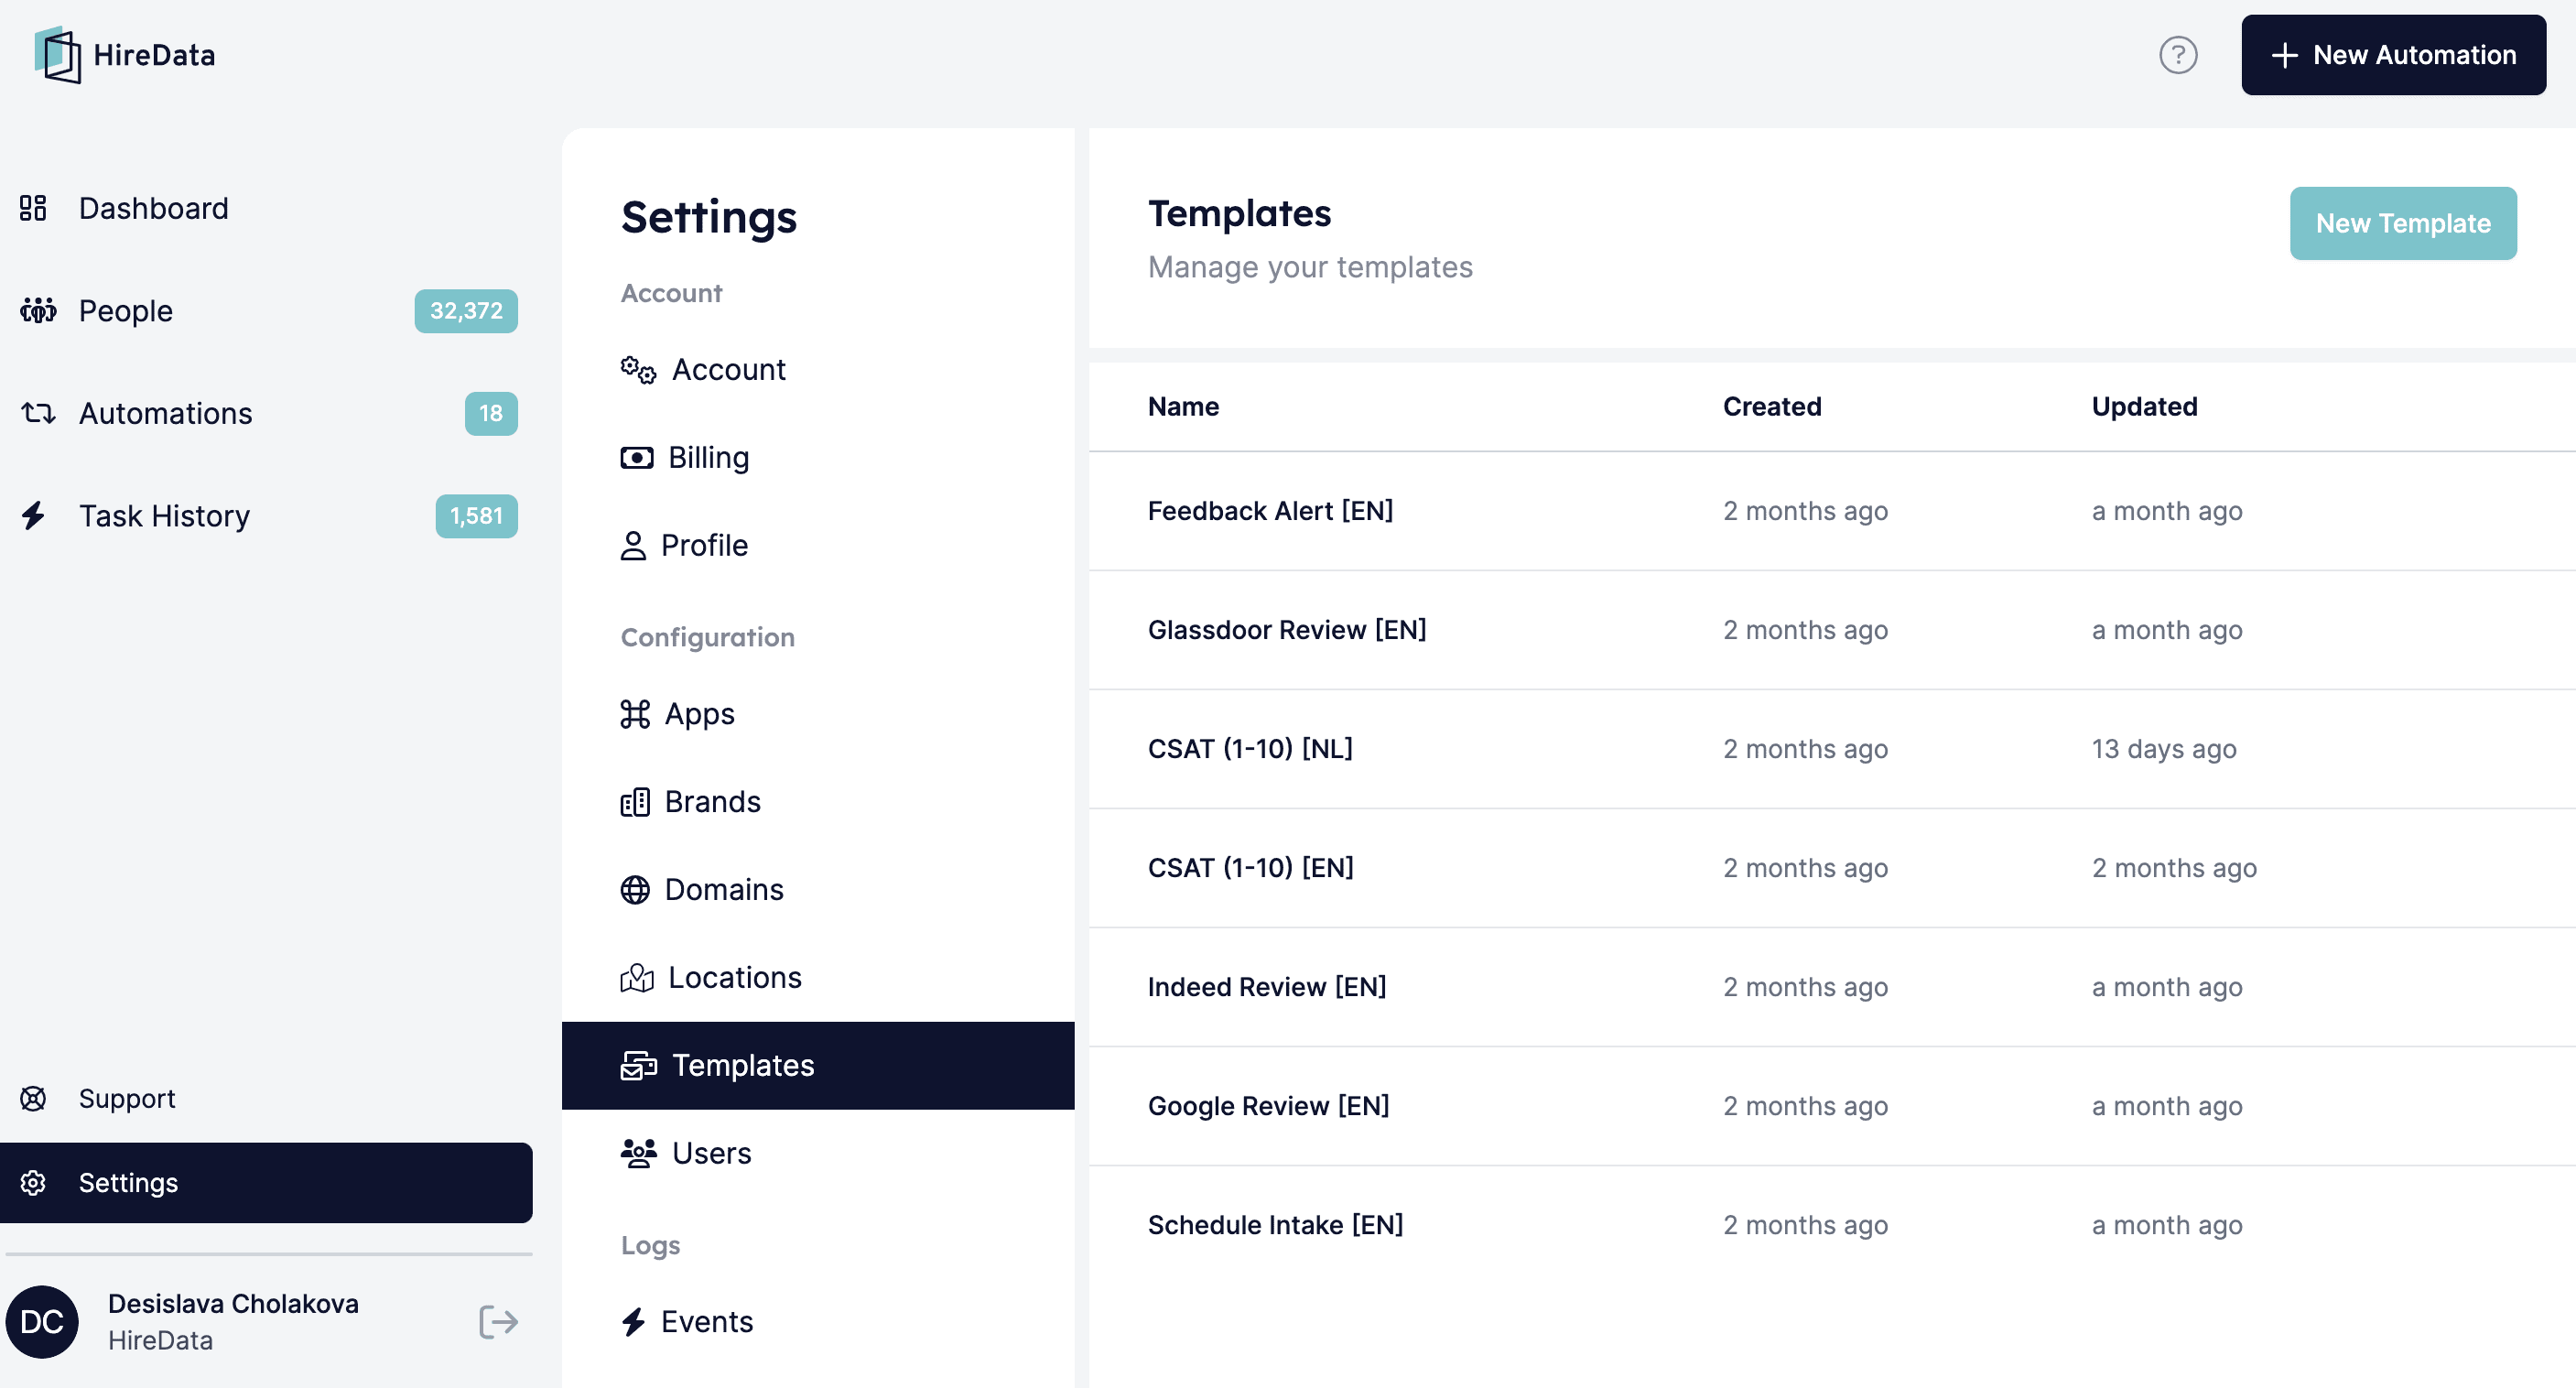
*Go to the Templates sub-menu and choose any template:*
If you decide to use this handy feature, double-check if the extracted colours are the same as your branding. In case, there is a difference, you can easily adjust them and then save the palette via the \[Save palette] button.
## Pro tip
Open one of the templates to see how the branding you've just created looks.
*Go to the Templates sub-menu and choose any template:*
 *Select your brand to see it in action - you can also make it a default option for all of your campaigns:*
 ***
## Video tutorial
## Related topics
- [Setting Up an Email Template in HireData](/apps/messaging/emails/setting-up-an-email-template-in-hiredata.md)
- [Sending an Email Newsletter to Your Audience](/apps/messaging/emails/sending-an-email-newsletter-to-your-audience.md)
- [Using a WhatsApp Business number after API connection](/apps/messaging/whatsapp/can-a-user-manually-use-their-whatsapp-business-number-after-connecting-it-via-api.md)
- [Welcome to HireData](/index.md)
- [Setting a Default Language and AI Tone of Voice](/settings/setting-a-default-language-and-ai-tone-of-voice.md)
***
## Video tutorial
## Related topics
- [Setting Up an Email Template in HireData](/apps/messaging/emails/setting-up-an-email-template-in-hiredata.md)
- [Sending an Email Newsletter to Your Audience](/apps/messaging/emails/sending-an-email-newsletter-to-your-audience.md)
- [Using a WhatsApp Business number after API connection](/apps/messaging/whatsapp/can-a-user-manually-use-their-whatsapp-business-number-after-connecting-it-via-api.md)
- [Welcome to HireData](/index.md)
- [Setting a Default Language and AI Tone of Voice](/settings/setting-a-default-language-and-ai-tone-of-voice.md)