

Step 1: Setting up the trigger
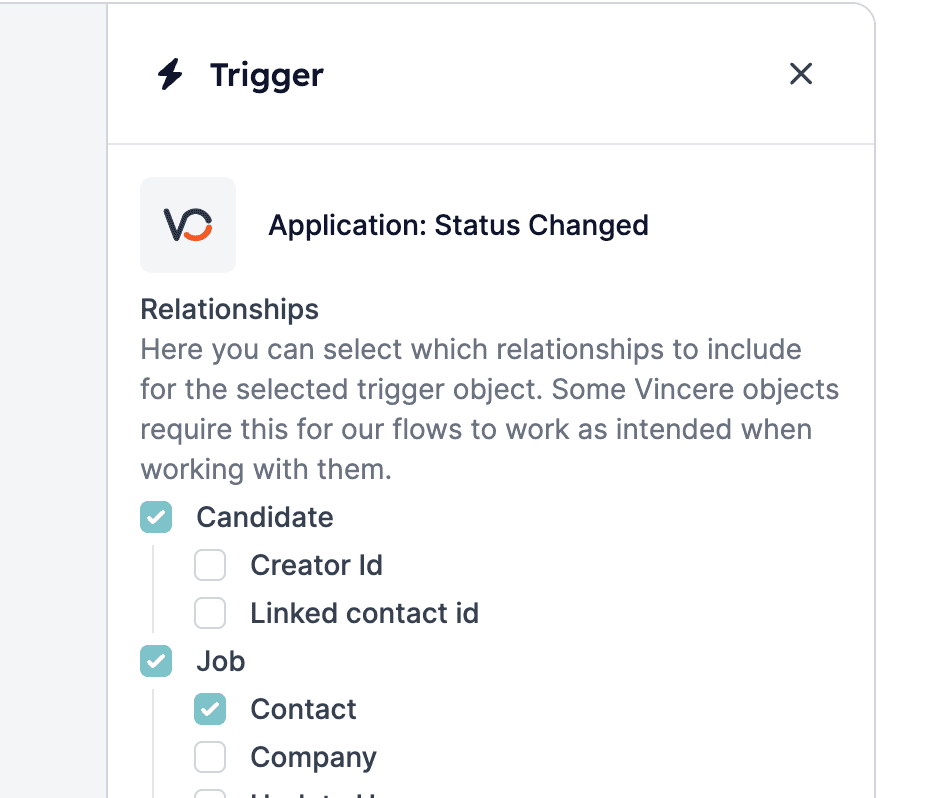
After you’ve set up the connection with Vincere, the first step in setting up a Vincere automation is to define the trigger. A trigger makes sure HireData “listens” to certain events occurring within Vincere. Don’t forget to select all relationships you’ll need later on, e.g. select a candidate when you want to send a survey to them in a further step within the automation. Here’s how to do it: Example Trigger: Application Status Changed
Step 2: Adding a filter
Once you’ve set up the trigger, it’s essential to add filters to ensure that the automation is triggered under specific conditions. Follow these steps: Example Filter: If application status equals placed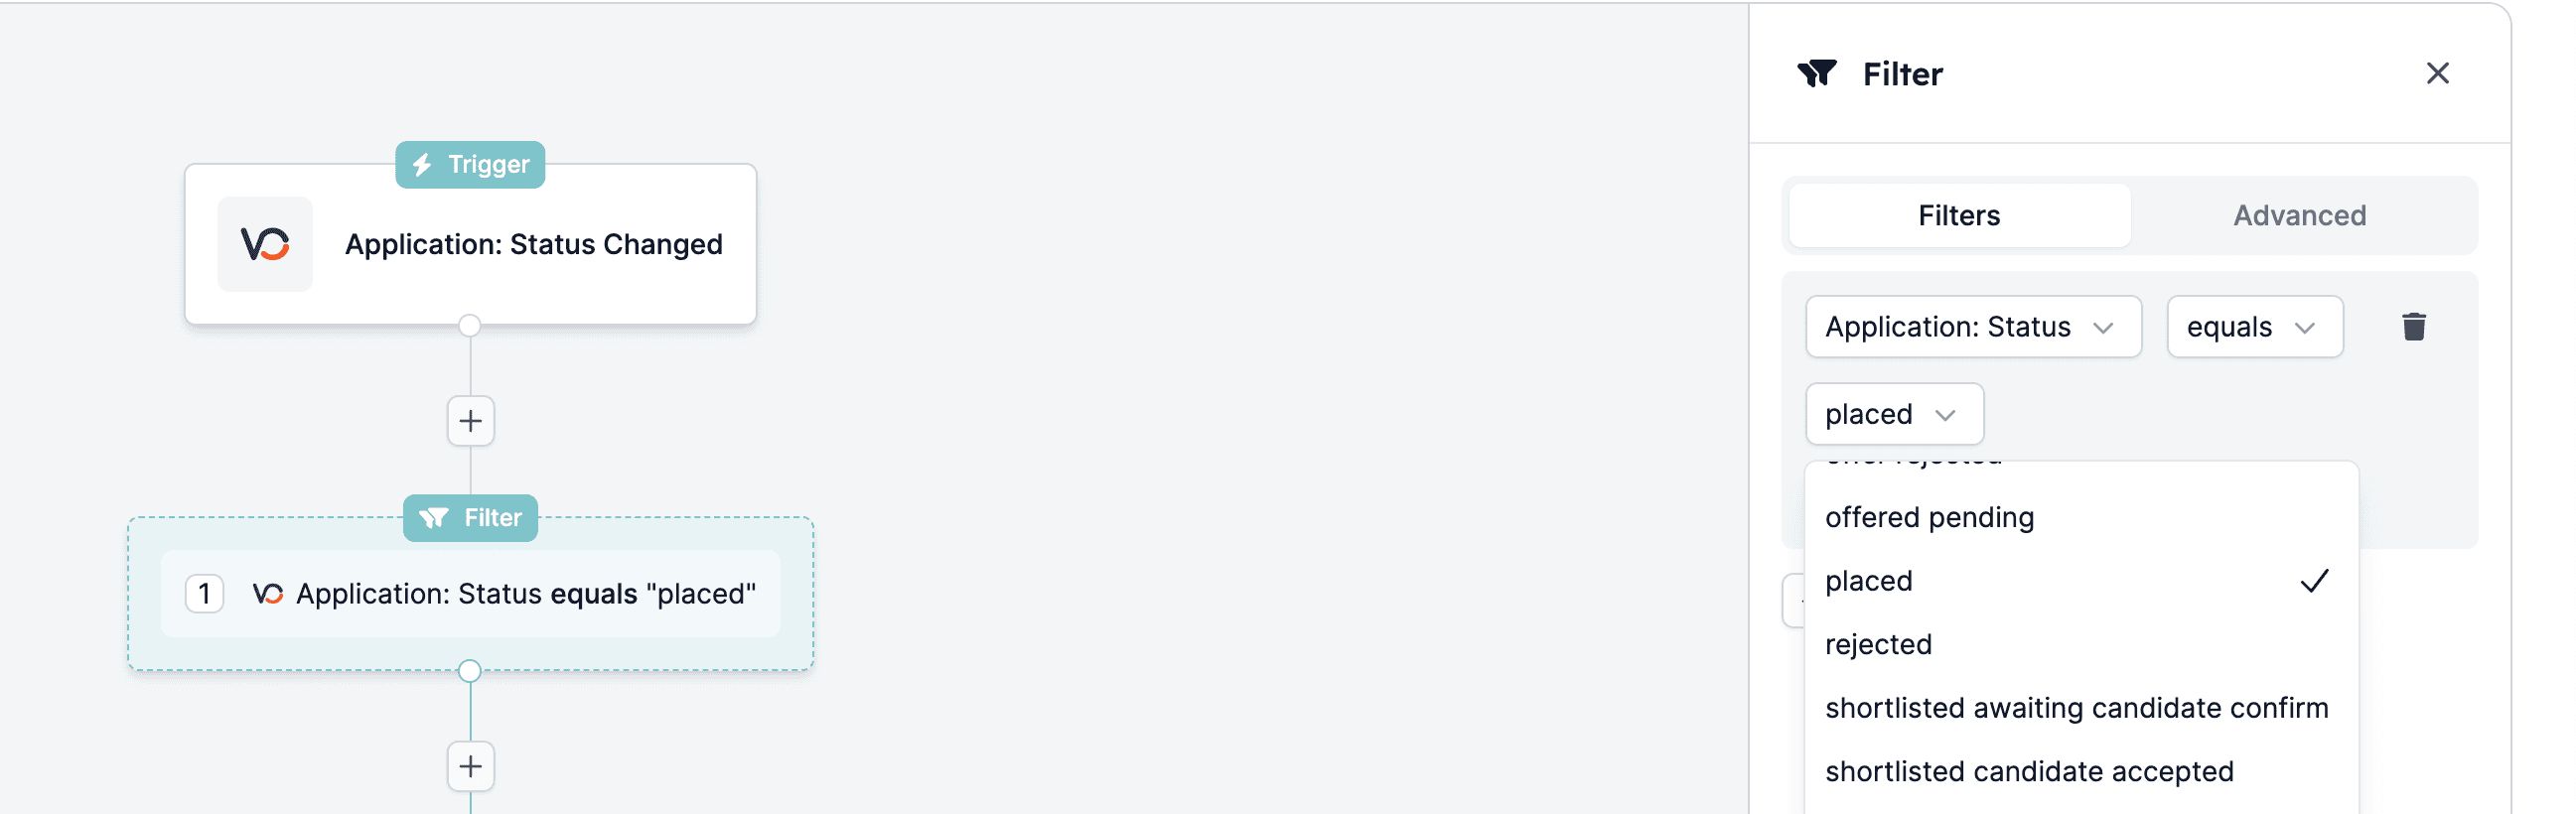
Step 3: Adding a delay
In some cases, you may want to introduce a delay before executing the automation. Here’s how to add a delay: Example Delay: 1 day (e.g., to inform a candidate about landing the job before sending a post-placement survey)
Step 4: Setting up the ‘Send Survey’ task
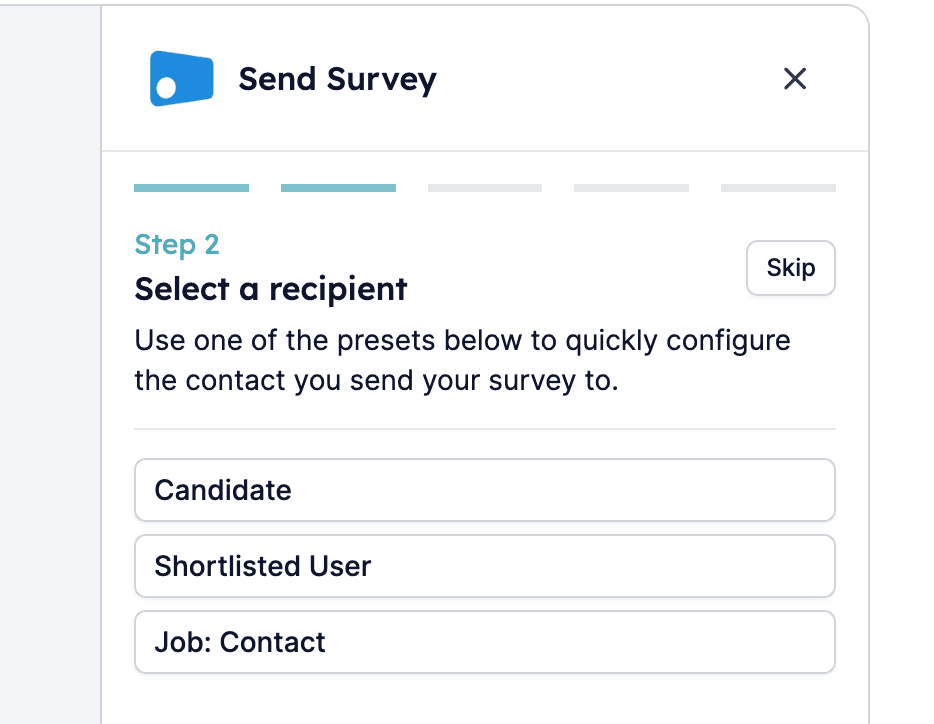
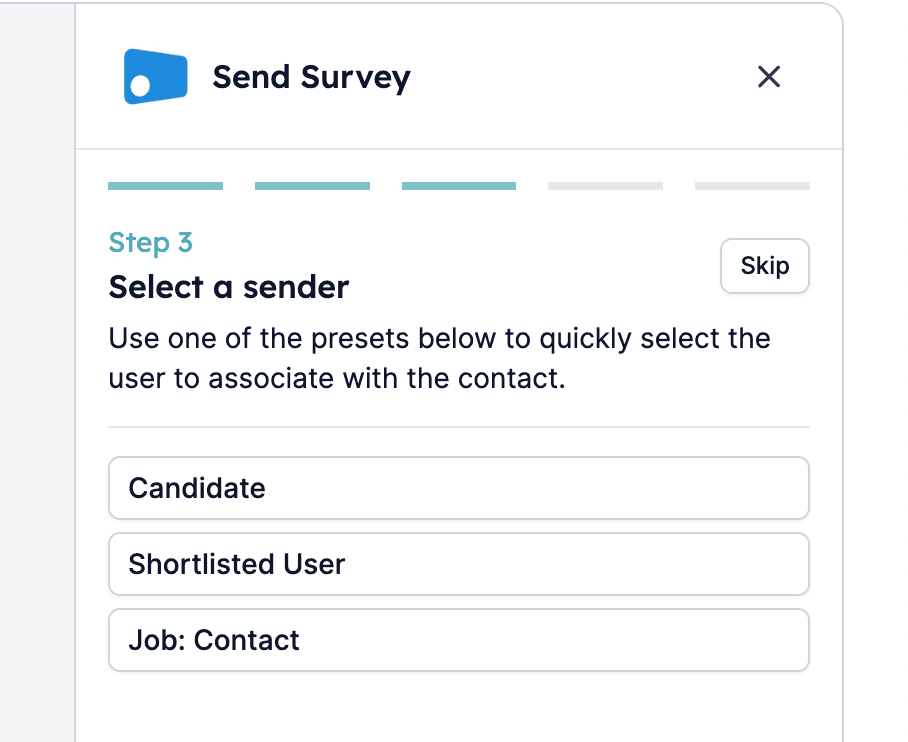
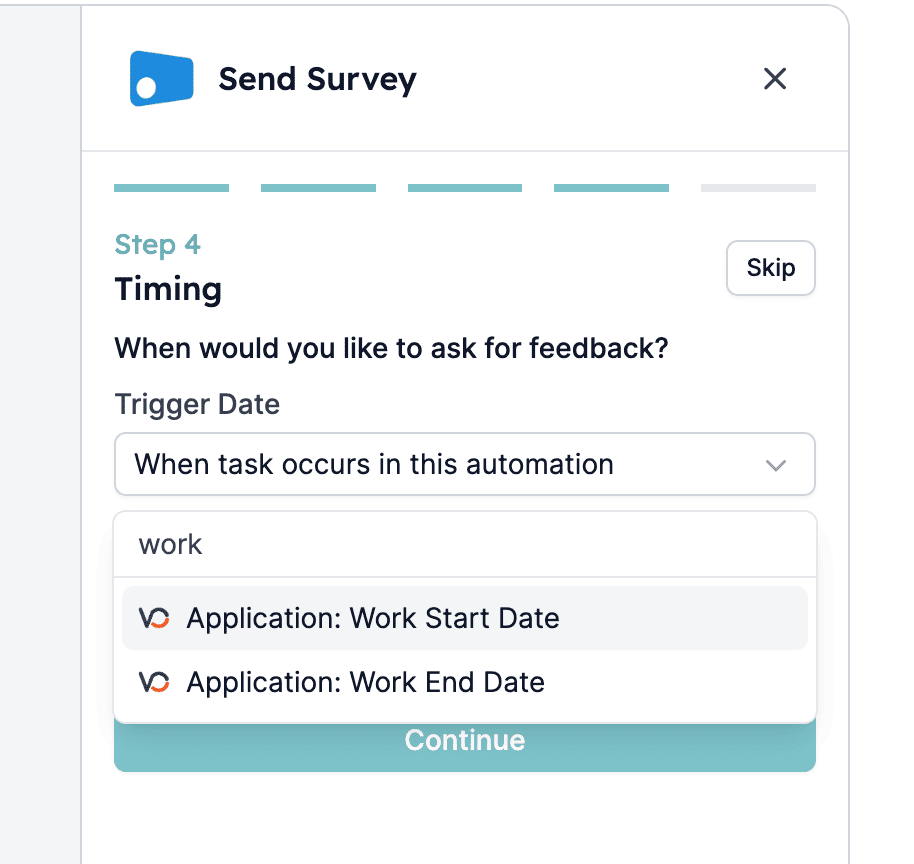
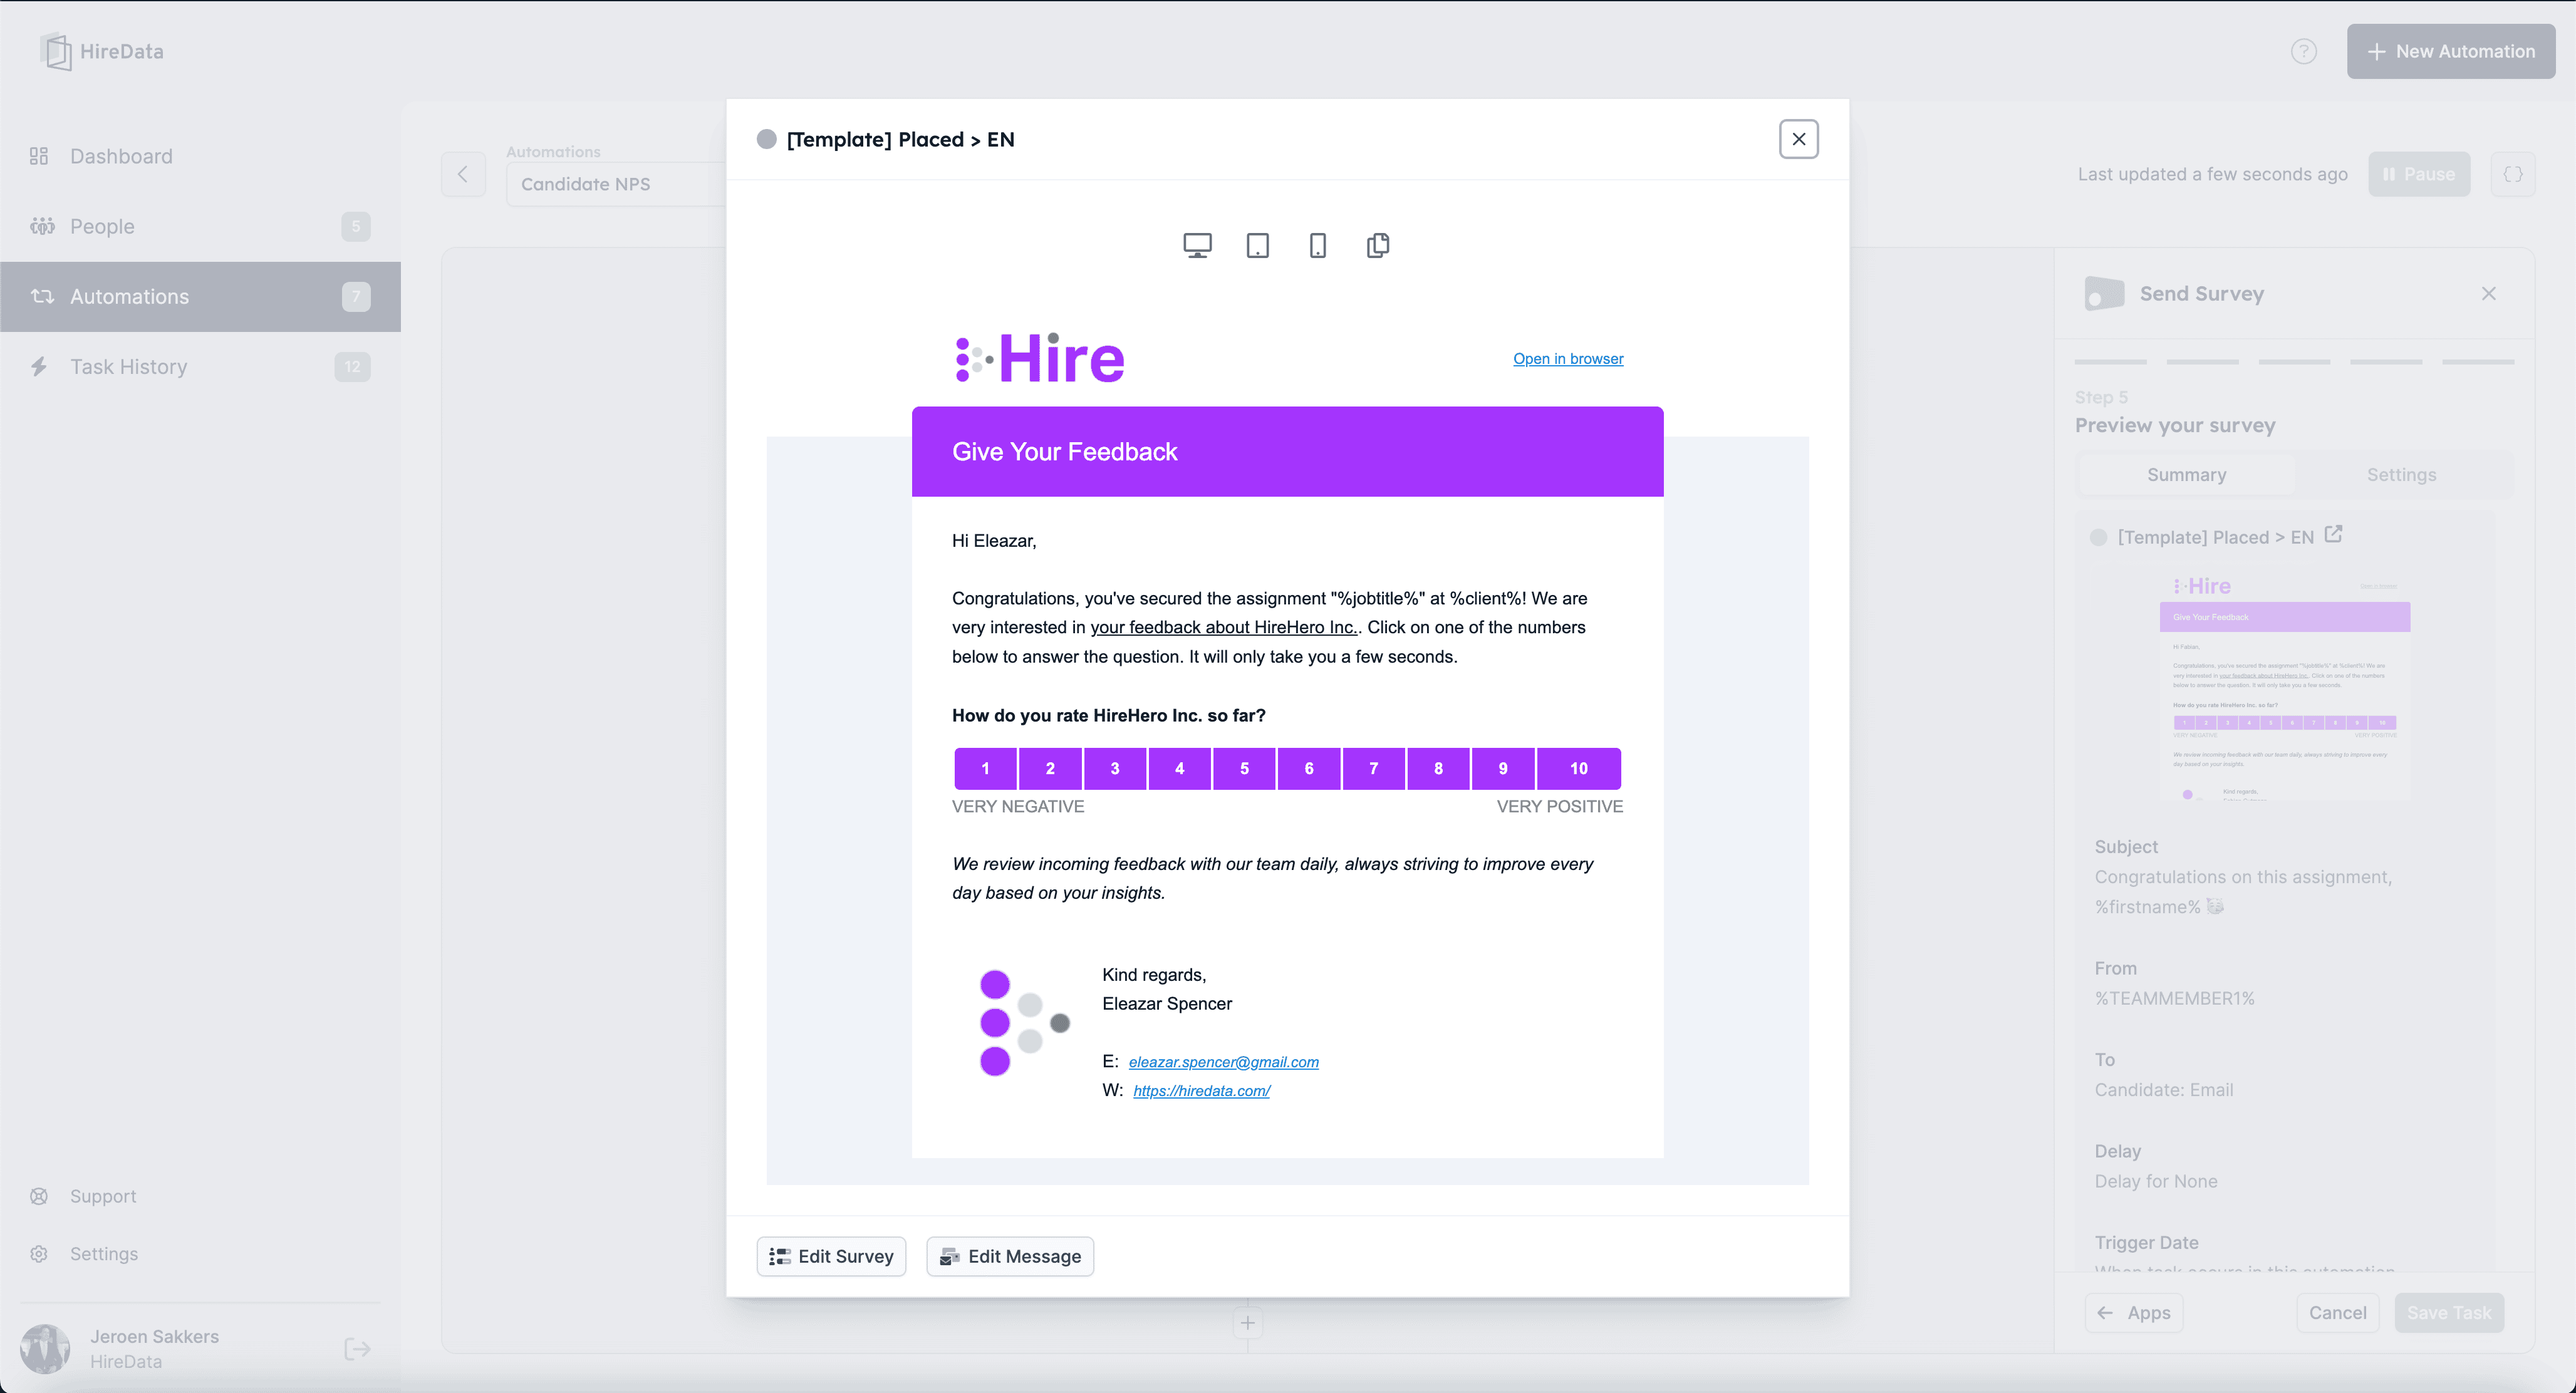
Next, configure the task to send the Candidate NPS survey. Follow these steps: 4.1. Select your survey template: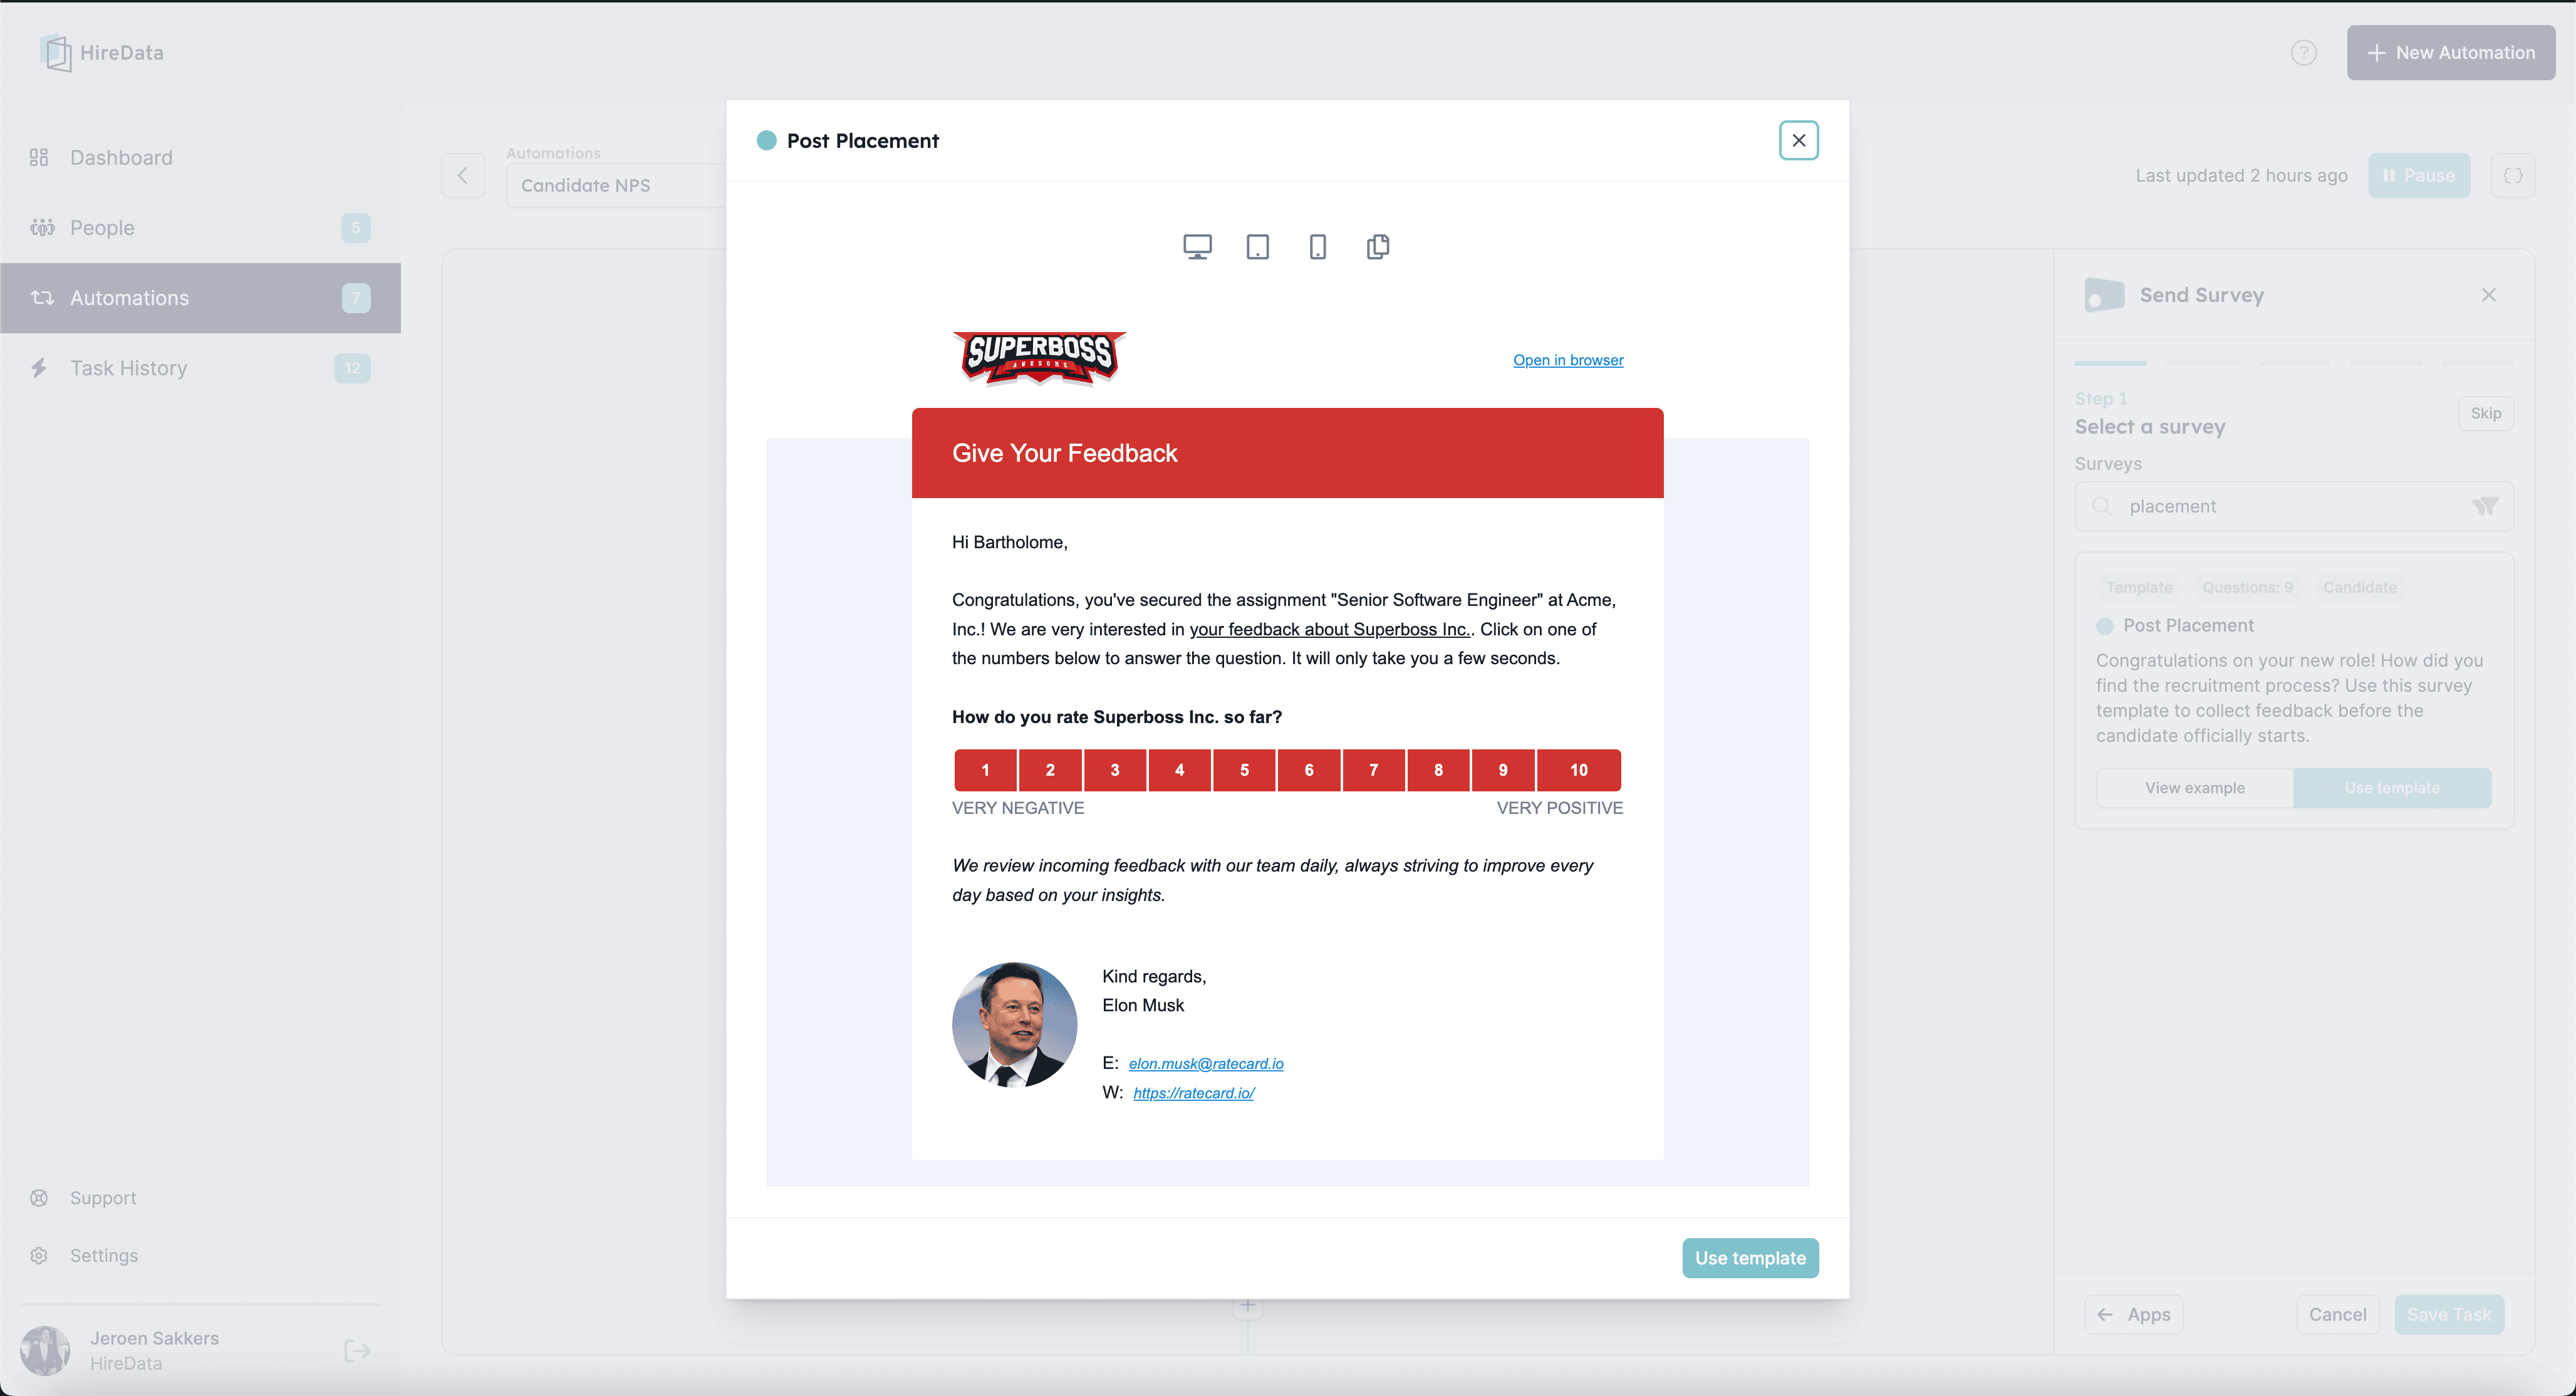
Step 5: Activating your automation
Once you’ve completed the setup, it’s time to activate your automation. With this step, your Vincere automation is ready to go, streamlining your recruitment processes effortlessly. Click the [Activate] button to turn your automation on