Step 1: Adding a task to your automation
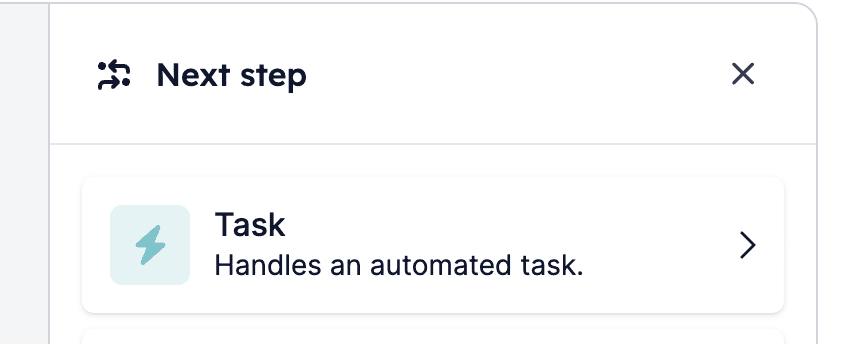
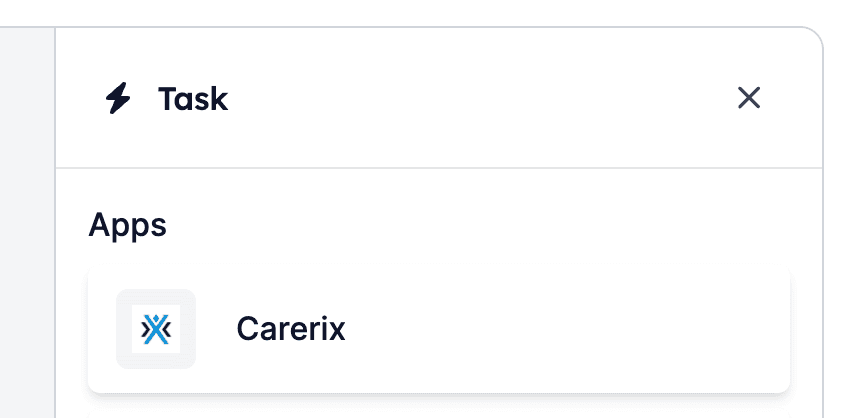
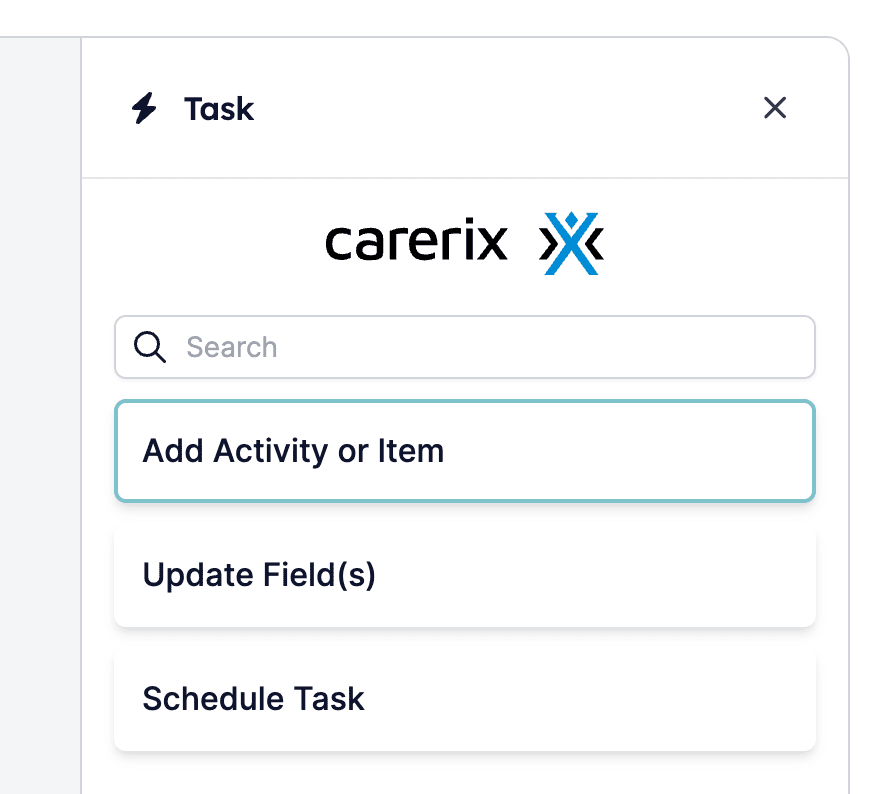
Click one of the [+] items in your automation to open up the menu where you can select a building block. Select [Task] to open up the options, then select [Carerix] and [Add Activity or Item]. 1.1: Click a [+] item while editing your automation:
Step 2: Choosing the activity or item to add
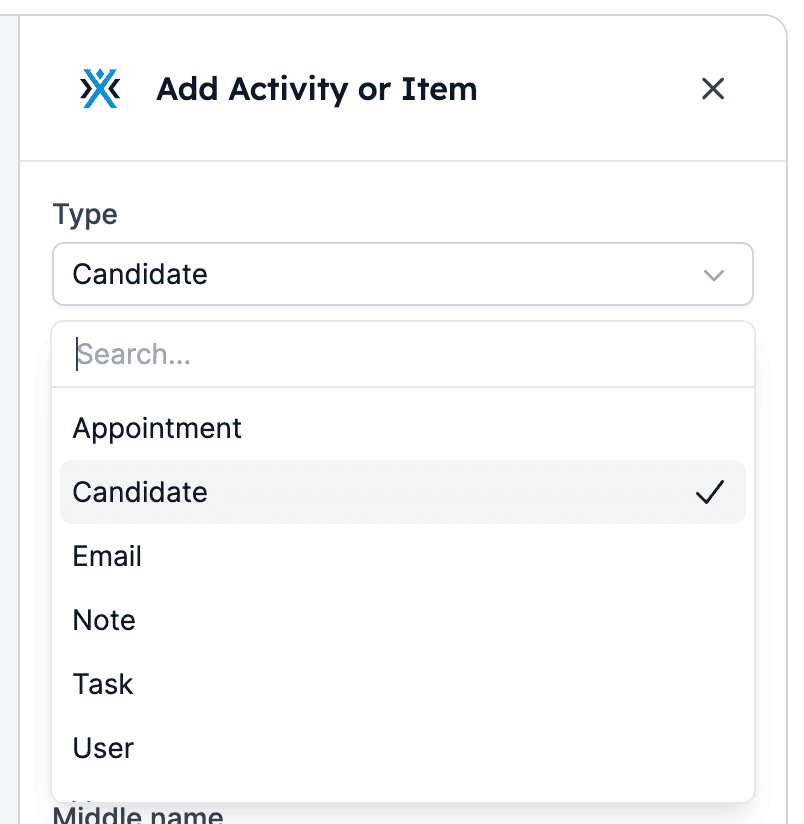
Next you’ll select the activity or item you’d like to add or log in Carerix. We currently support these activities and items:- Appointment
- Candidate
- Note
- Task
- User
- Vacancy
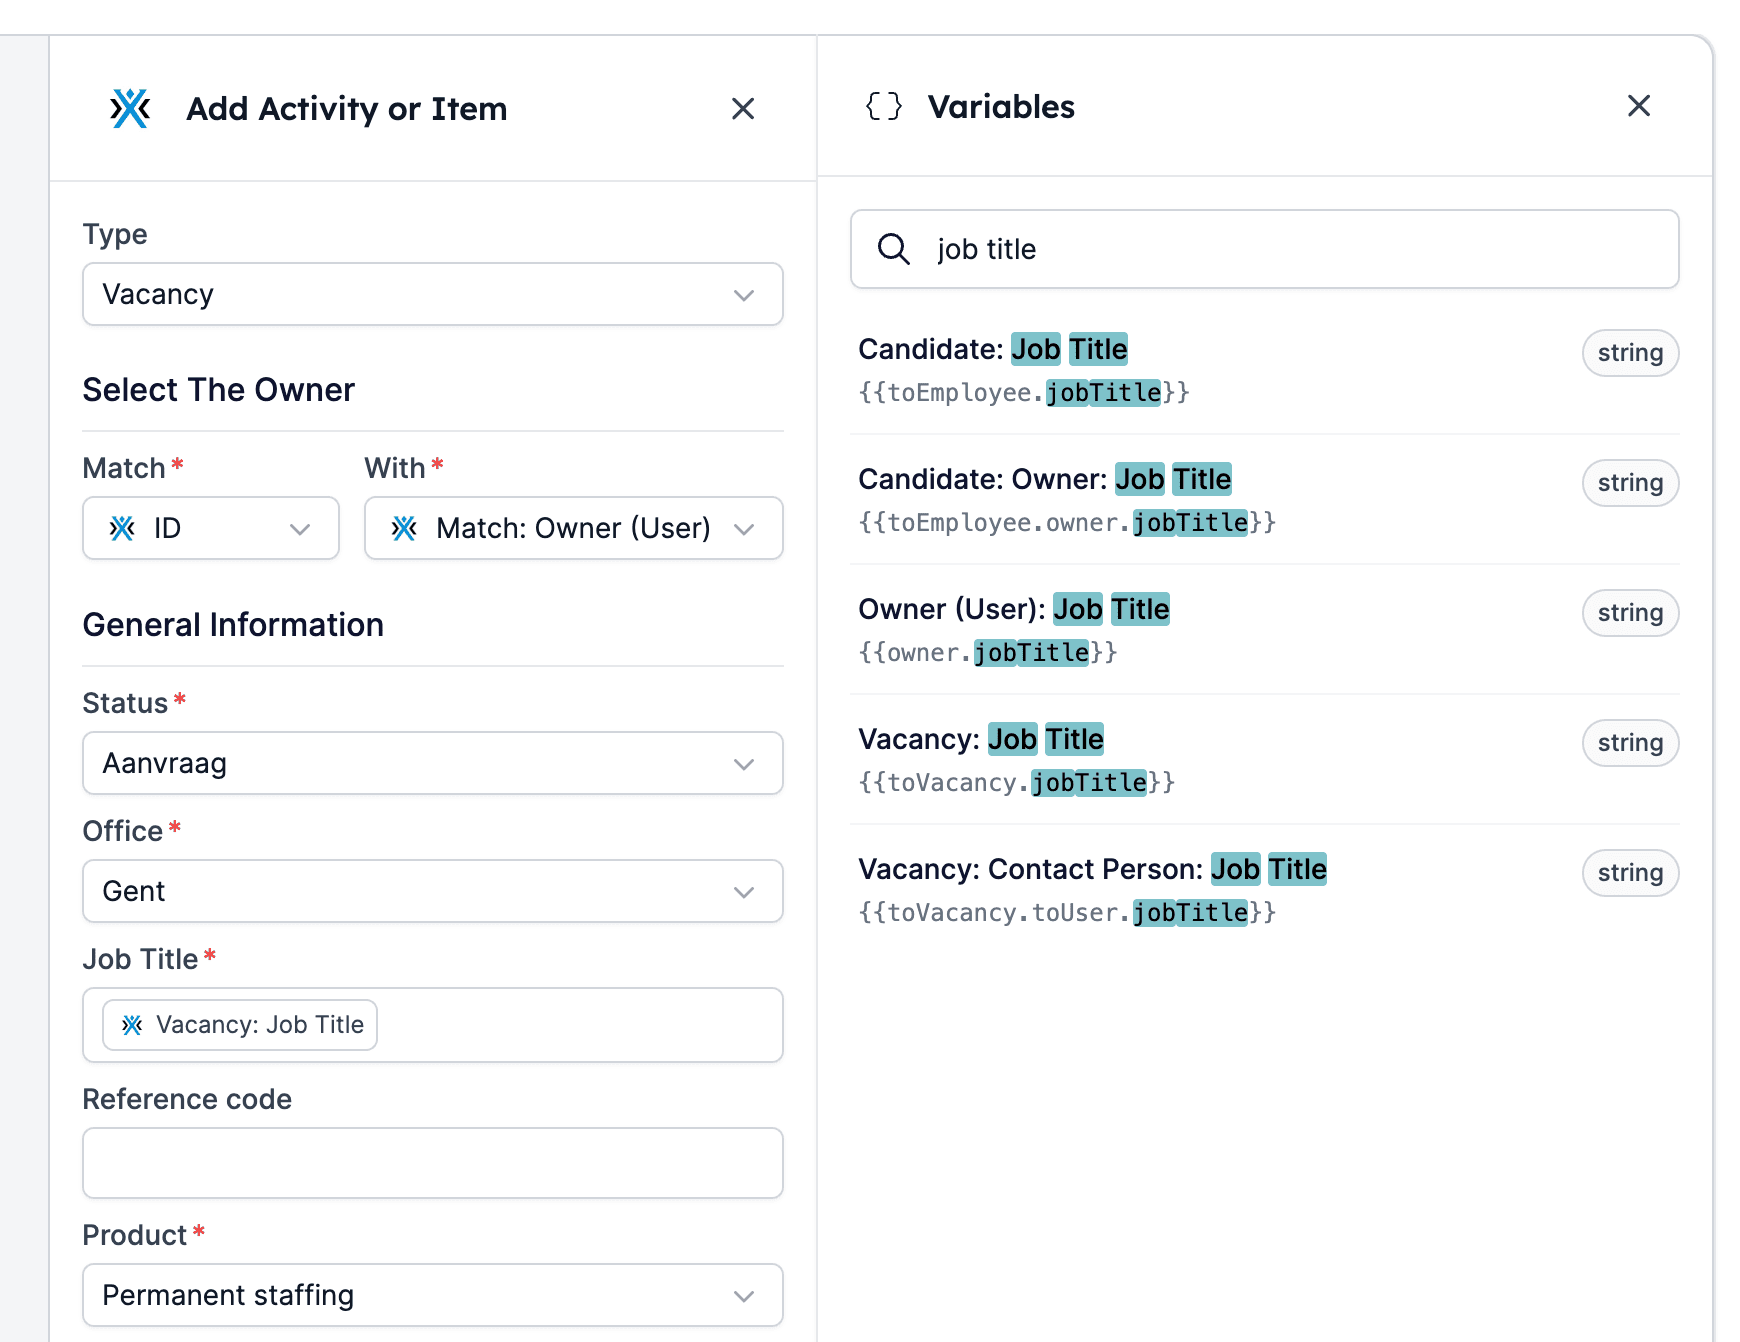
Step 3: Filling in the item’s fields
Proceed to fill in the activity’s or item’s fields. If you’d like to use variables, click the variables icon (top right) to open the variables menu. You can use both static and dynamic data. Don’t forget to click [Save Task] after filling in all fields necessary. Complete the activity’s or item’s fields by using static and/or dynamic data (variables):