This guide shows you how to update one or more fields across different objects in Carerix with HireData. Follow the steps below to learn how to update any field yourself. A video tutorial is included at the end for further guidance. Before updating the fields in the object, you should have already created an automation in Carerix.

Step 1: Open the building blocks menu

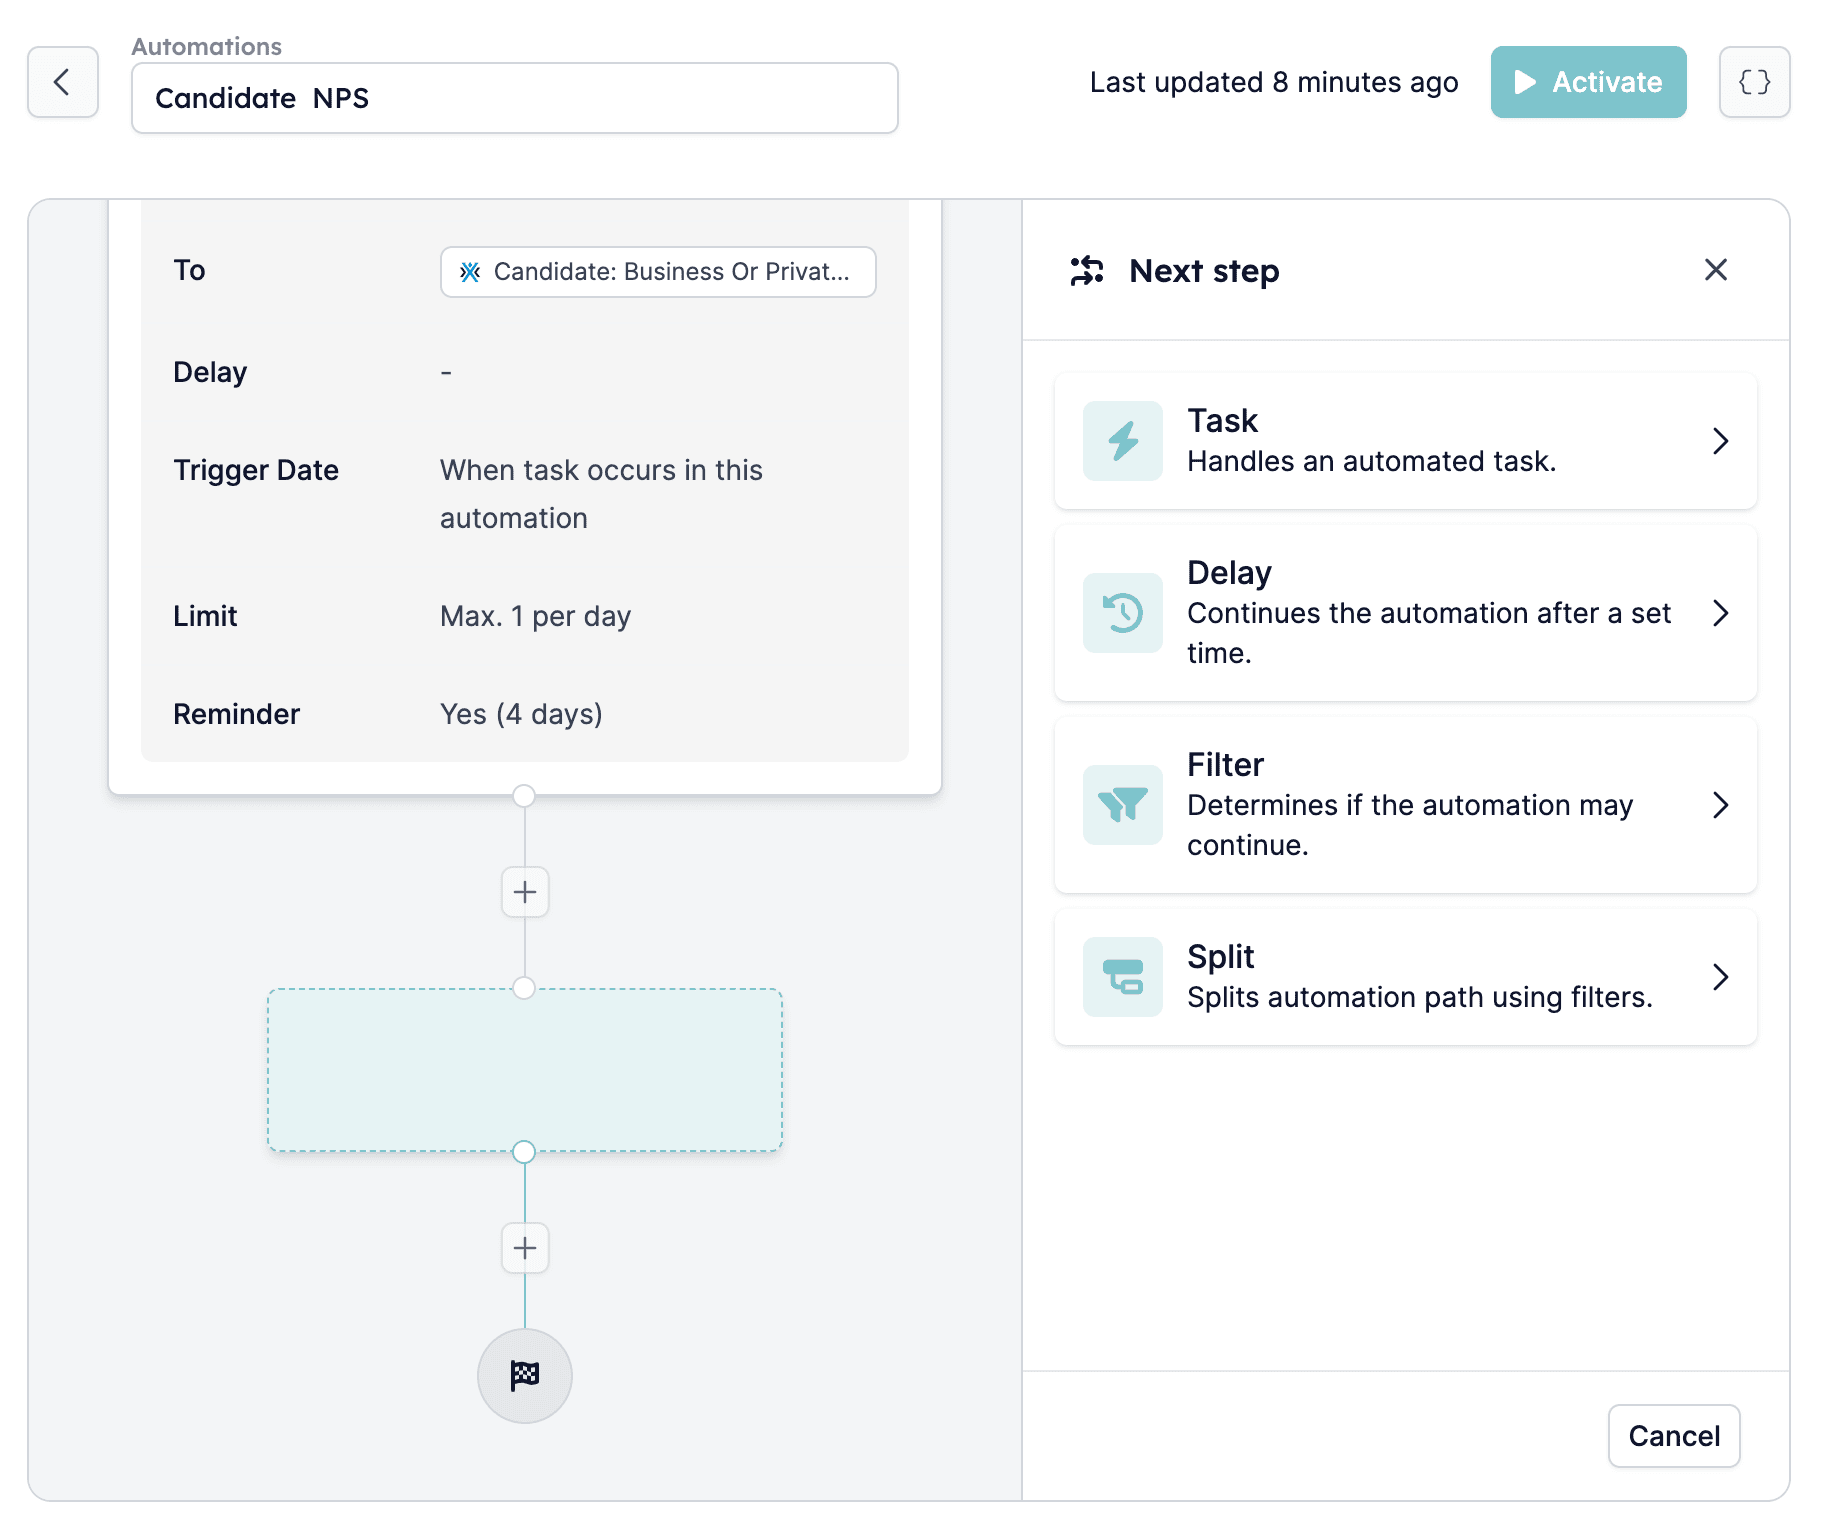
First, log in to your HireData account and open the automation you want to edit. Then click on the plus icon [+] at the end of the automation to open the Building Blocks menu. You will see it open up on the right side of the screen. Building Blocks menu
Step 2: Select the object you want to edit

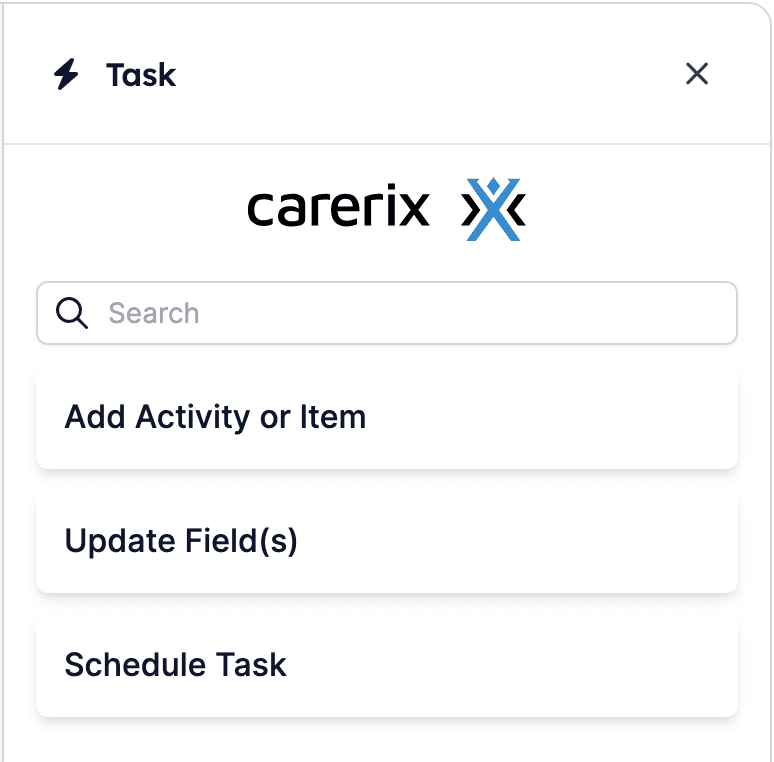
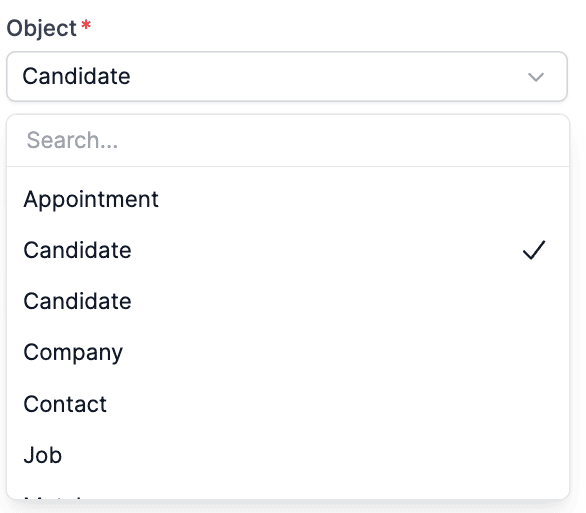
After you have opened the menu, select [Task], then [Carerix], and choose a connection. You will then see all of the tasks that we support. One of them is [Update Field(s)] Click on it. Carerix tasks in HireData At this point, you have to choose the object you want to edit, which can be one of these:
  • Appointment
  • Candidate
  • Company
  • Match
  • Placement
  • Publication
  • User
  • Vacancy
For this example, we have selected the candidate:

Step 3: Select an identifier

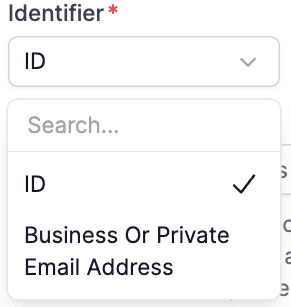
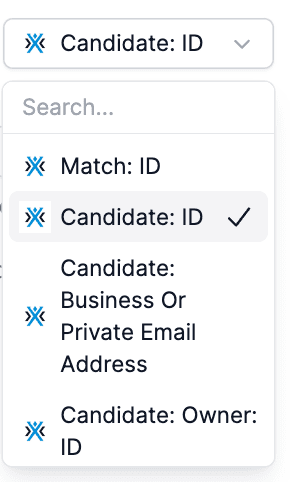
Now you have to select an identifier, which will be used to find the object in the automation. This could be either an ID or a Business/Private email address. Identifier options For this guide, use the [ID] as an identifier and the [Candidate: ID] as the value to track. In other words, use the Candidate ID to track the candidate you want to update in the automation. The displayed values will be different depending on the selected object and identifier. Value options
Step 4: Update the fields

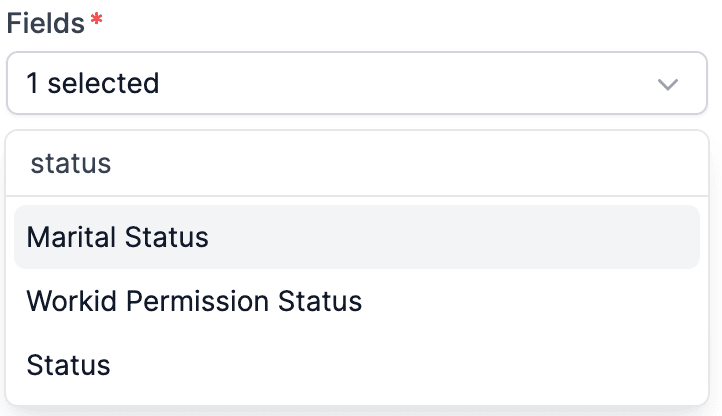
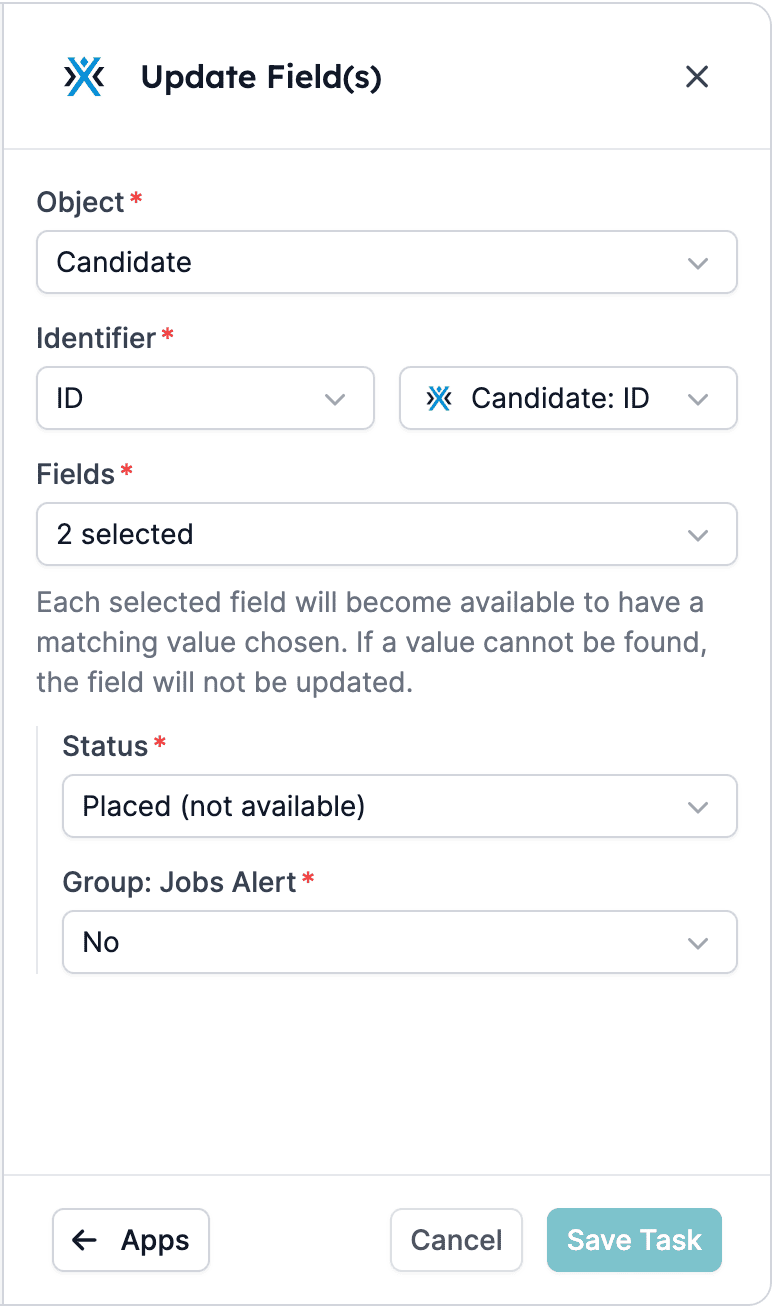
Now, you can select all the fields you want to update. You can select as many as you want; use the search bar to find them. Choosing which fields to update Edit the fields and click the [Save Task] button at the bottom of the page. This is an example of some of the fields you can update: Example fields that can be updated
Step 5: Review

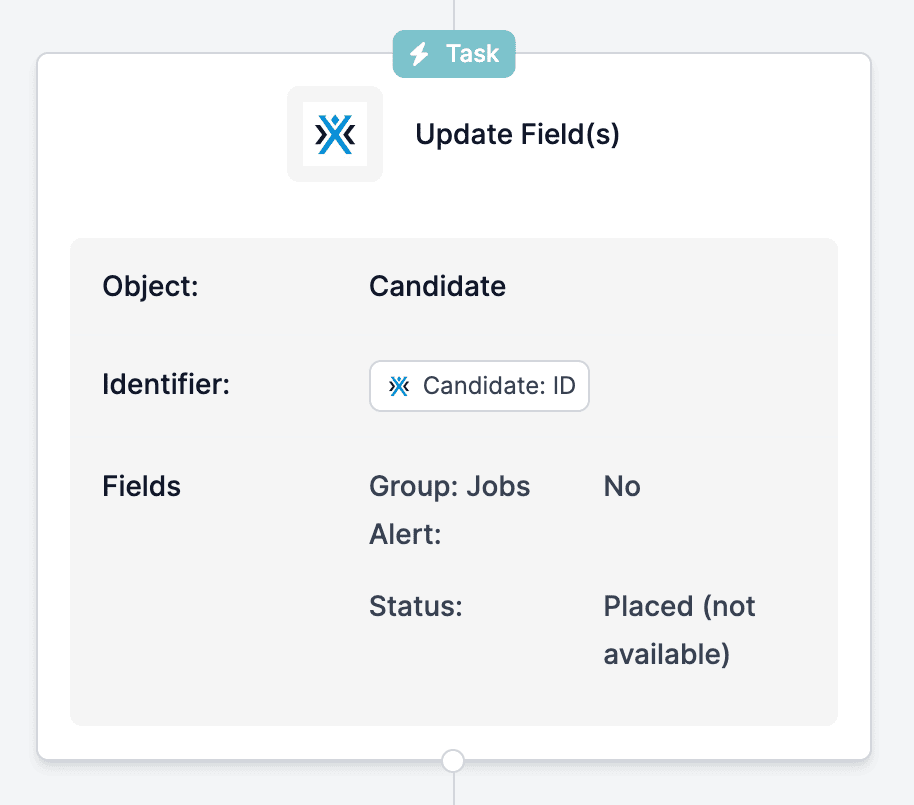
Last but not least, review the task pop-up, which will appear at the end of the automation, to ensure everything runs smoothly. Task summary
Video tutorial