Connect with Carerix RMA (recommended)
This is the standard and recommended way to connect Carerix with HireData. No manual configuration, client IDs, or secrets are required.Before you begin, you’ll need
- Access to your Carerix environment
- Permission to install apps from the Marketplace
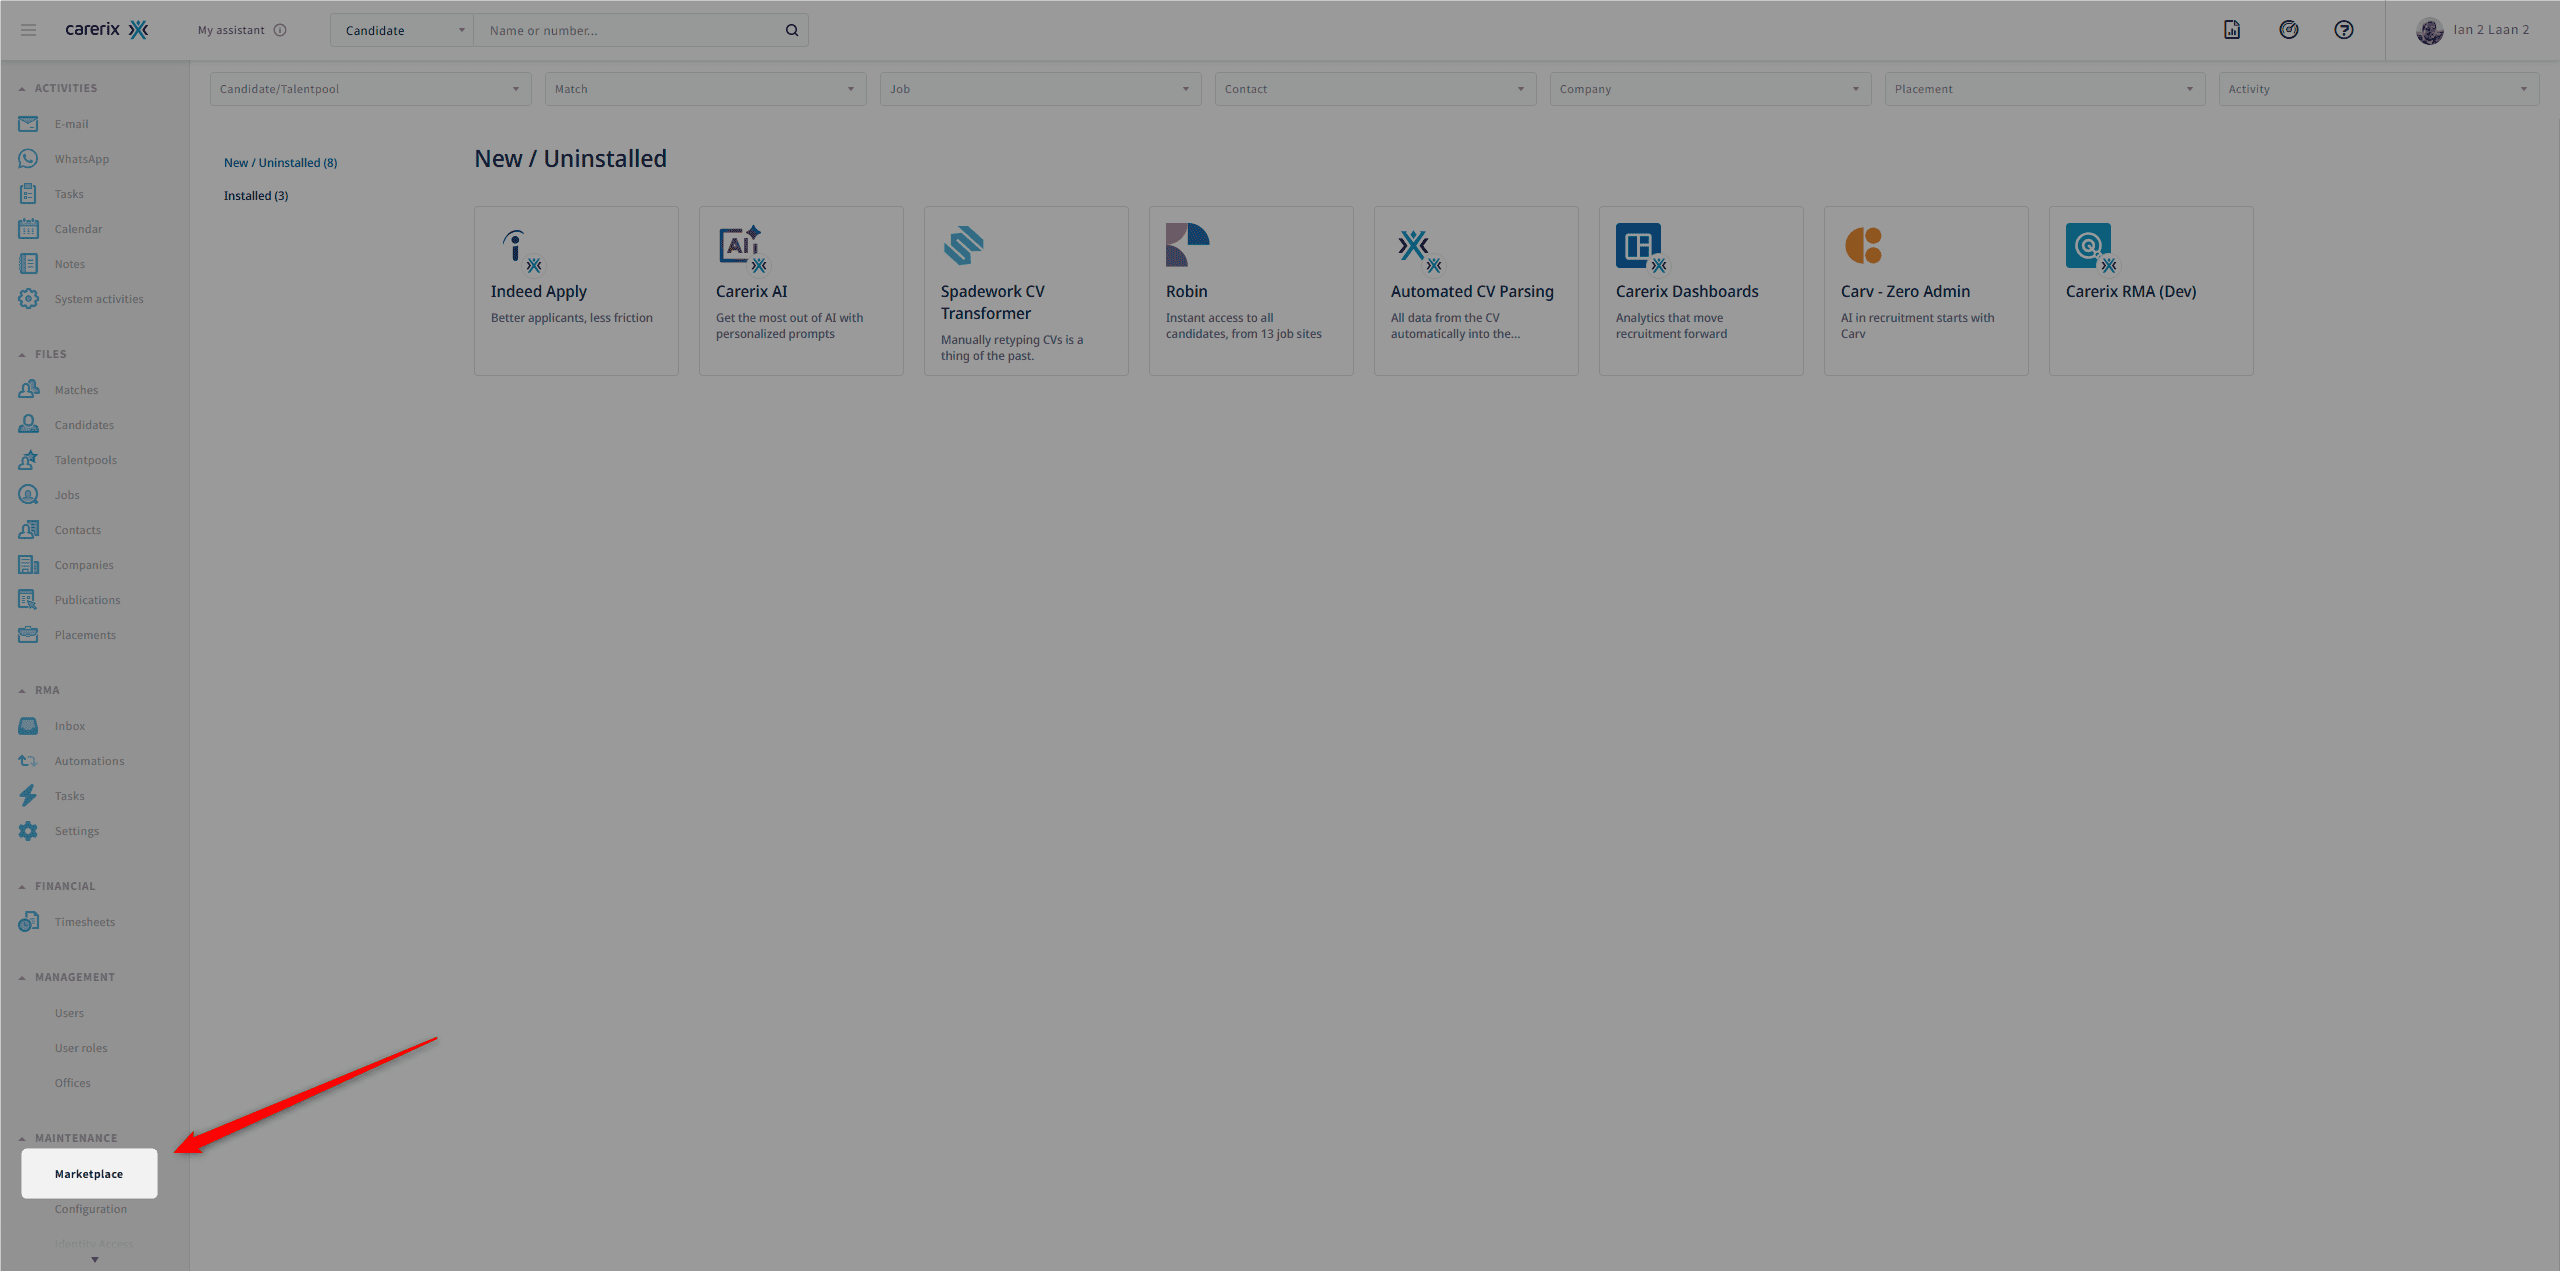
Step 1: Install Carerix RMA from the marketplace
1.1 Log in to your Carerix application
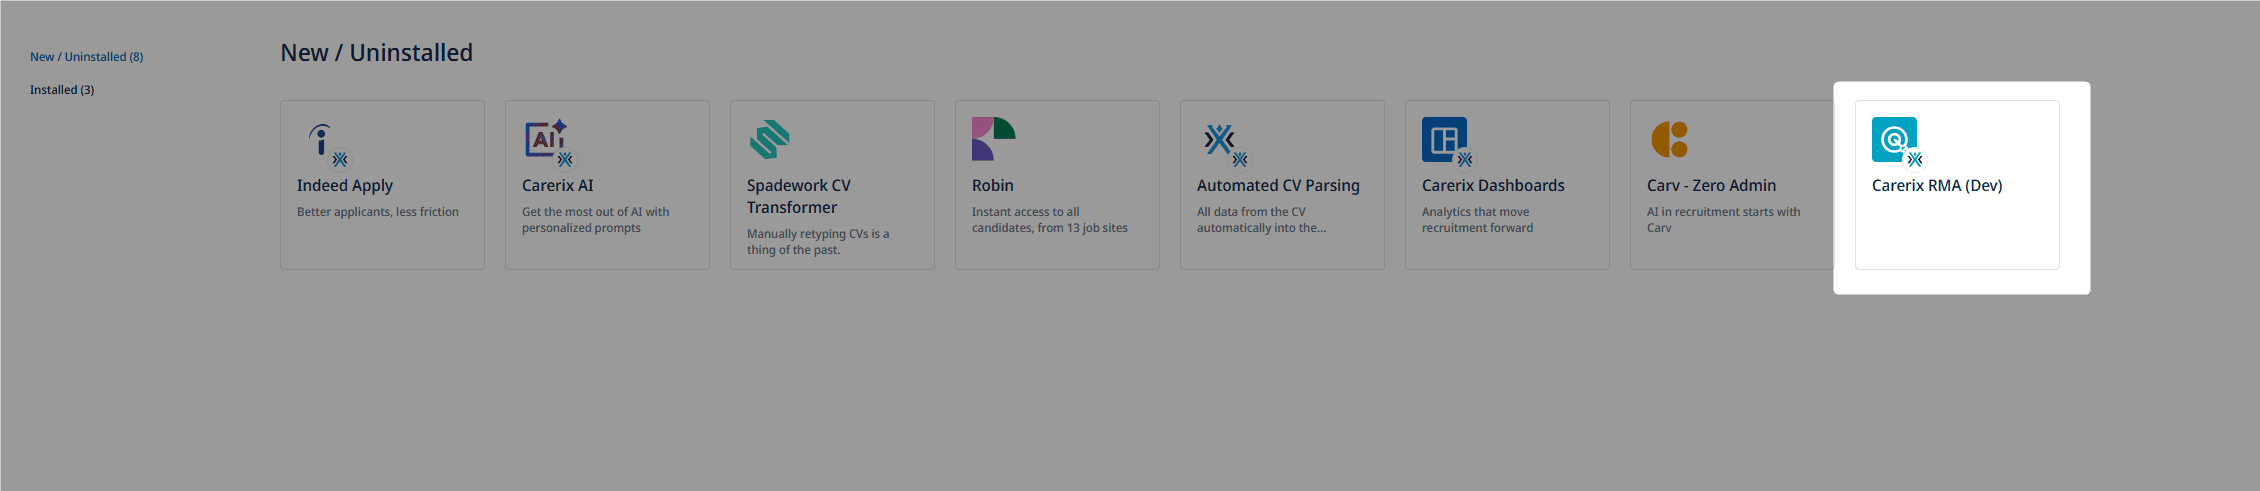
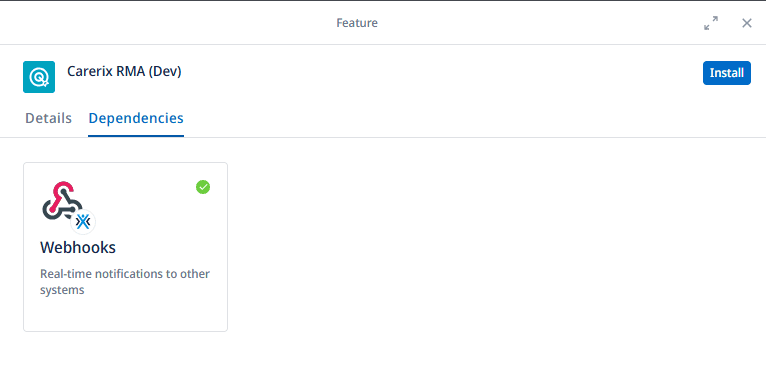
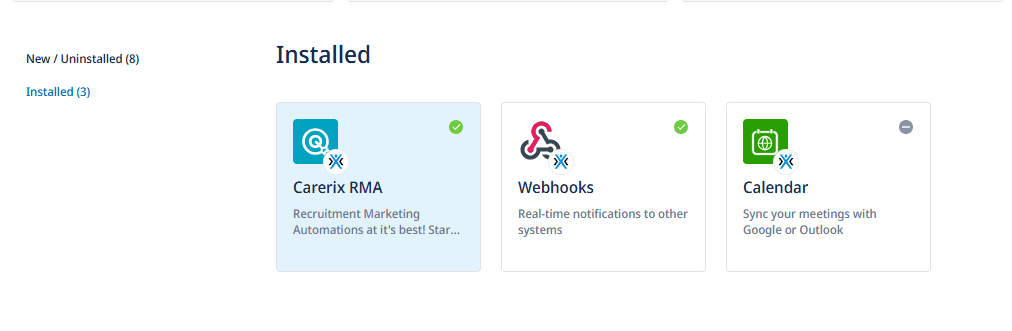
Step 2: Activate Carerix RMA
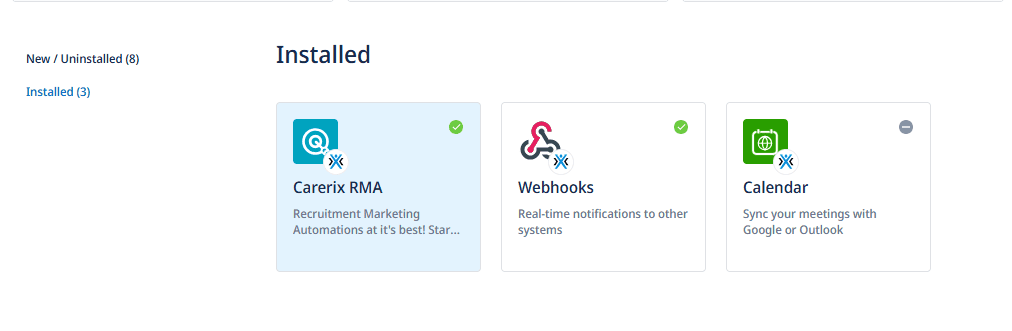
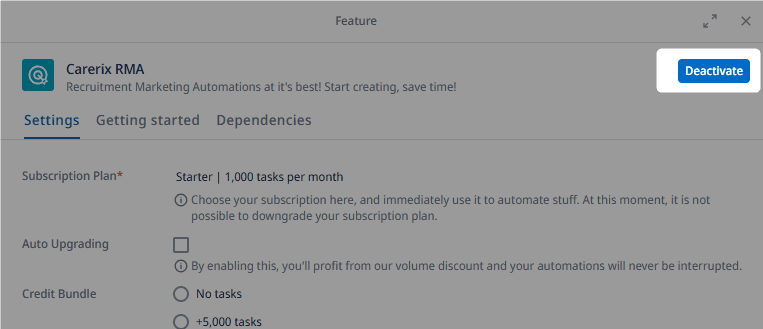
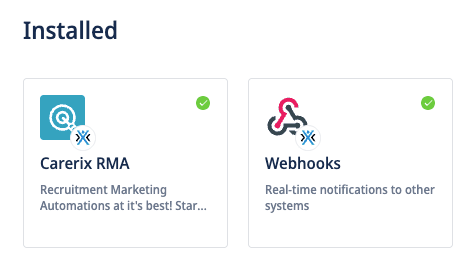
2.1 Go to [Installed] tab in the [Marketplace]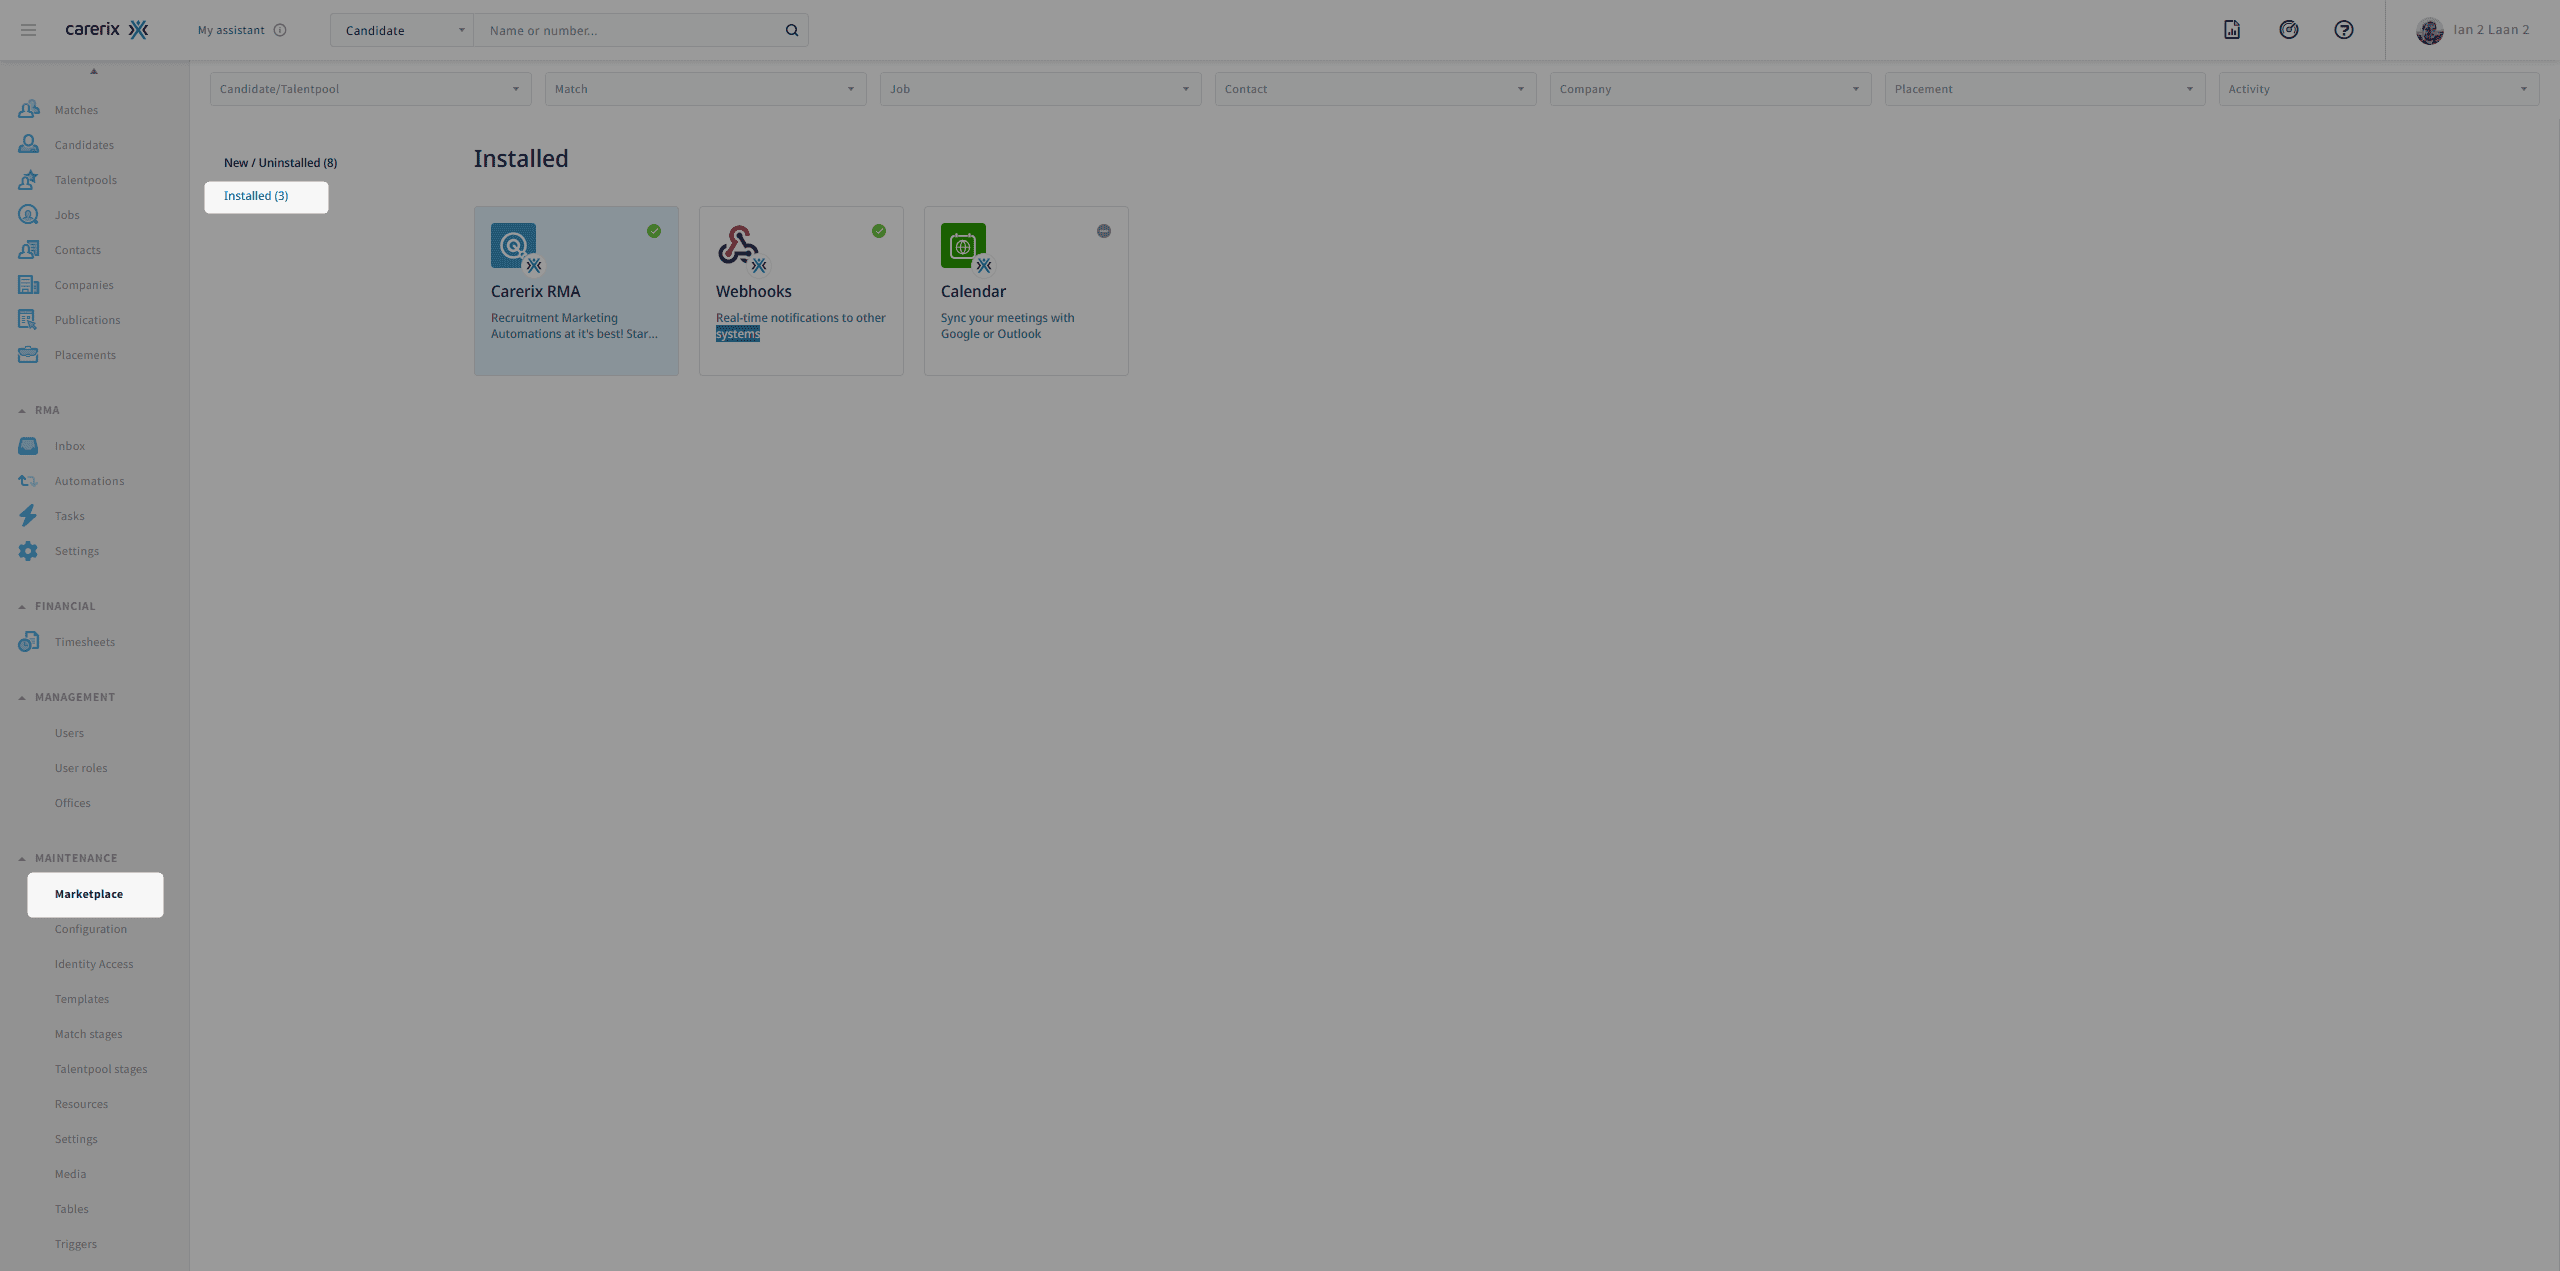
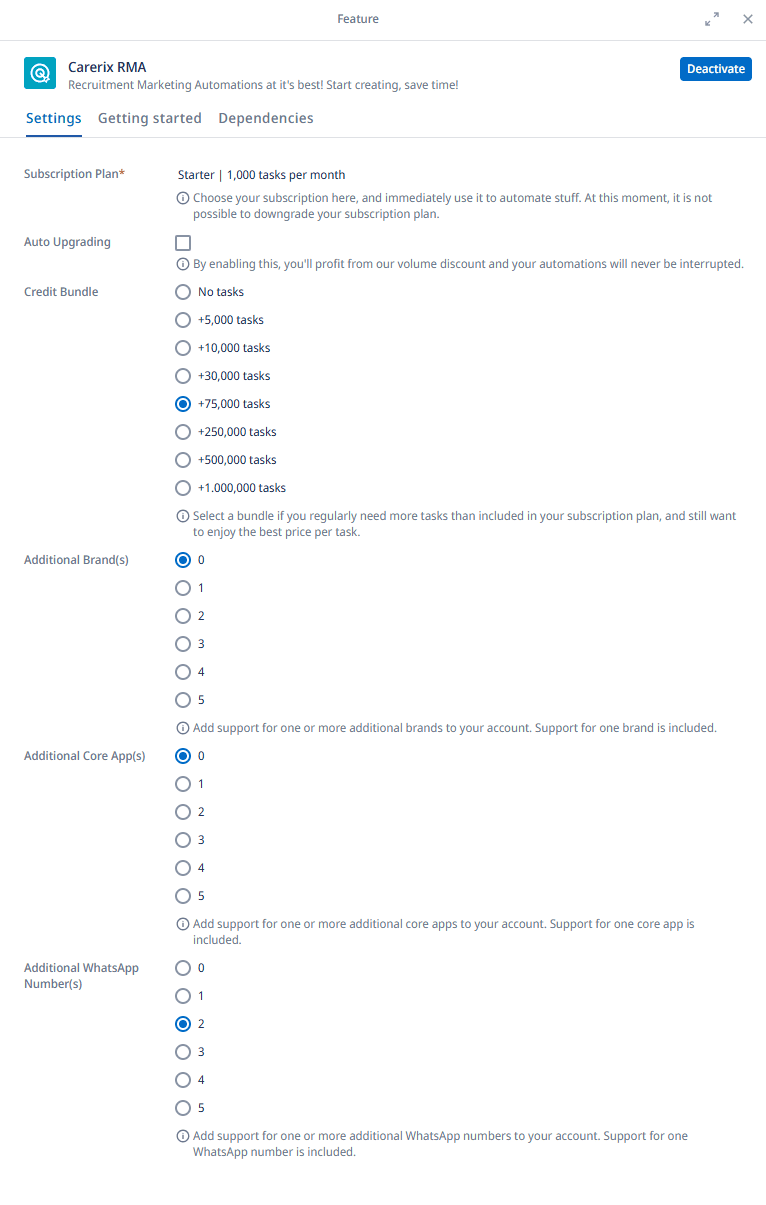
- Credit bundle
- Additional brand(s)
- Additional core app(s)
- Additional WhatsApp number(s)
Connecting multiple tenants (advanced setup)
If you need to connect more than one Carerix tenant to HireData (for example, a production and staging environment), you must use the legacy connection method inside HireData. This setup is intended for advanced use cases and is not required for single-tenant connections.Step 1: Navigating to Carerix app
Begin by navigating to the app section within HireData. Here, you’ll find the option to integrate with Carerix. This initial step is simple yet fundamental for the integration process.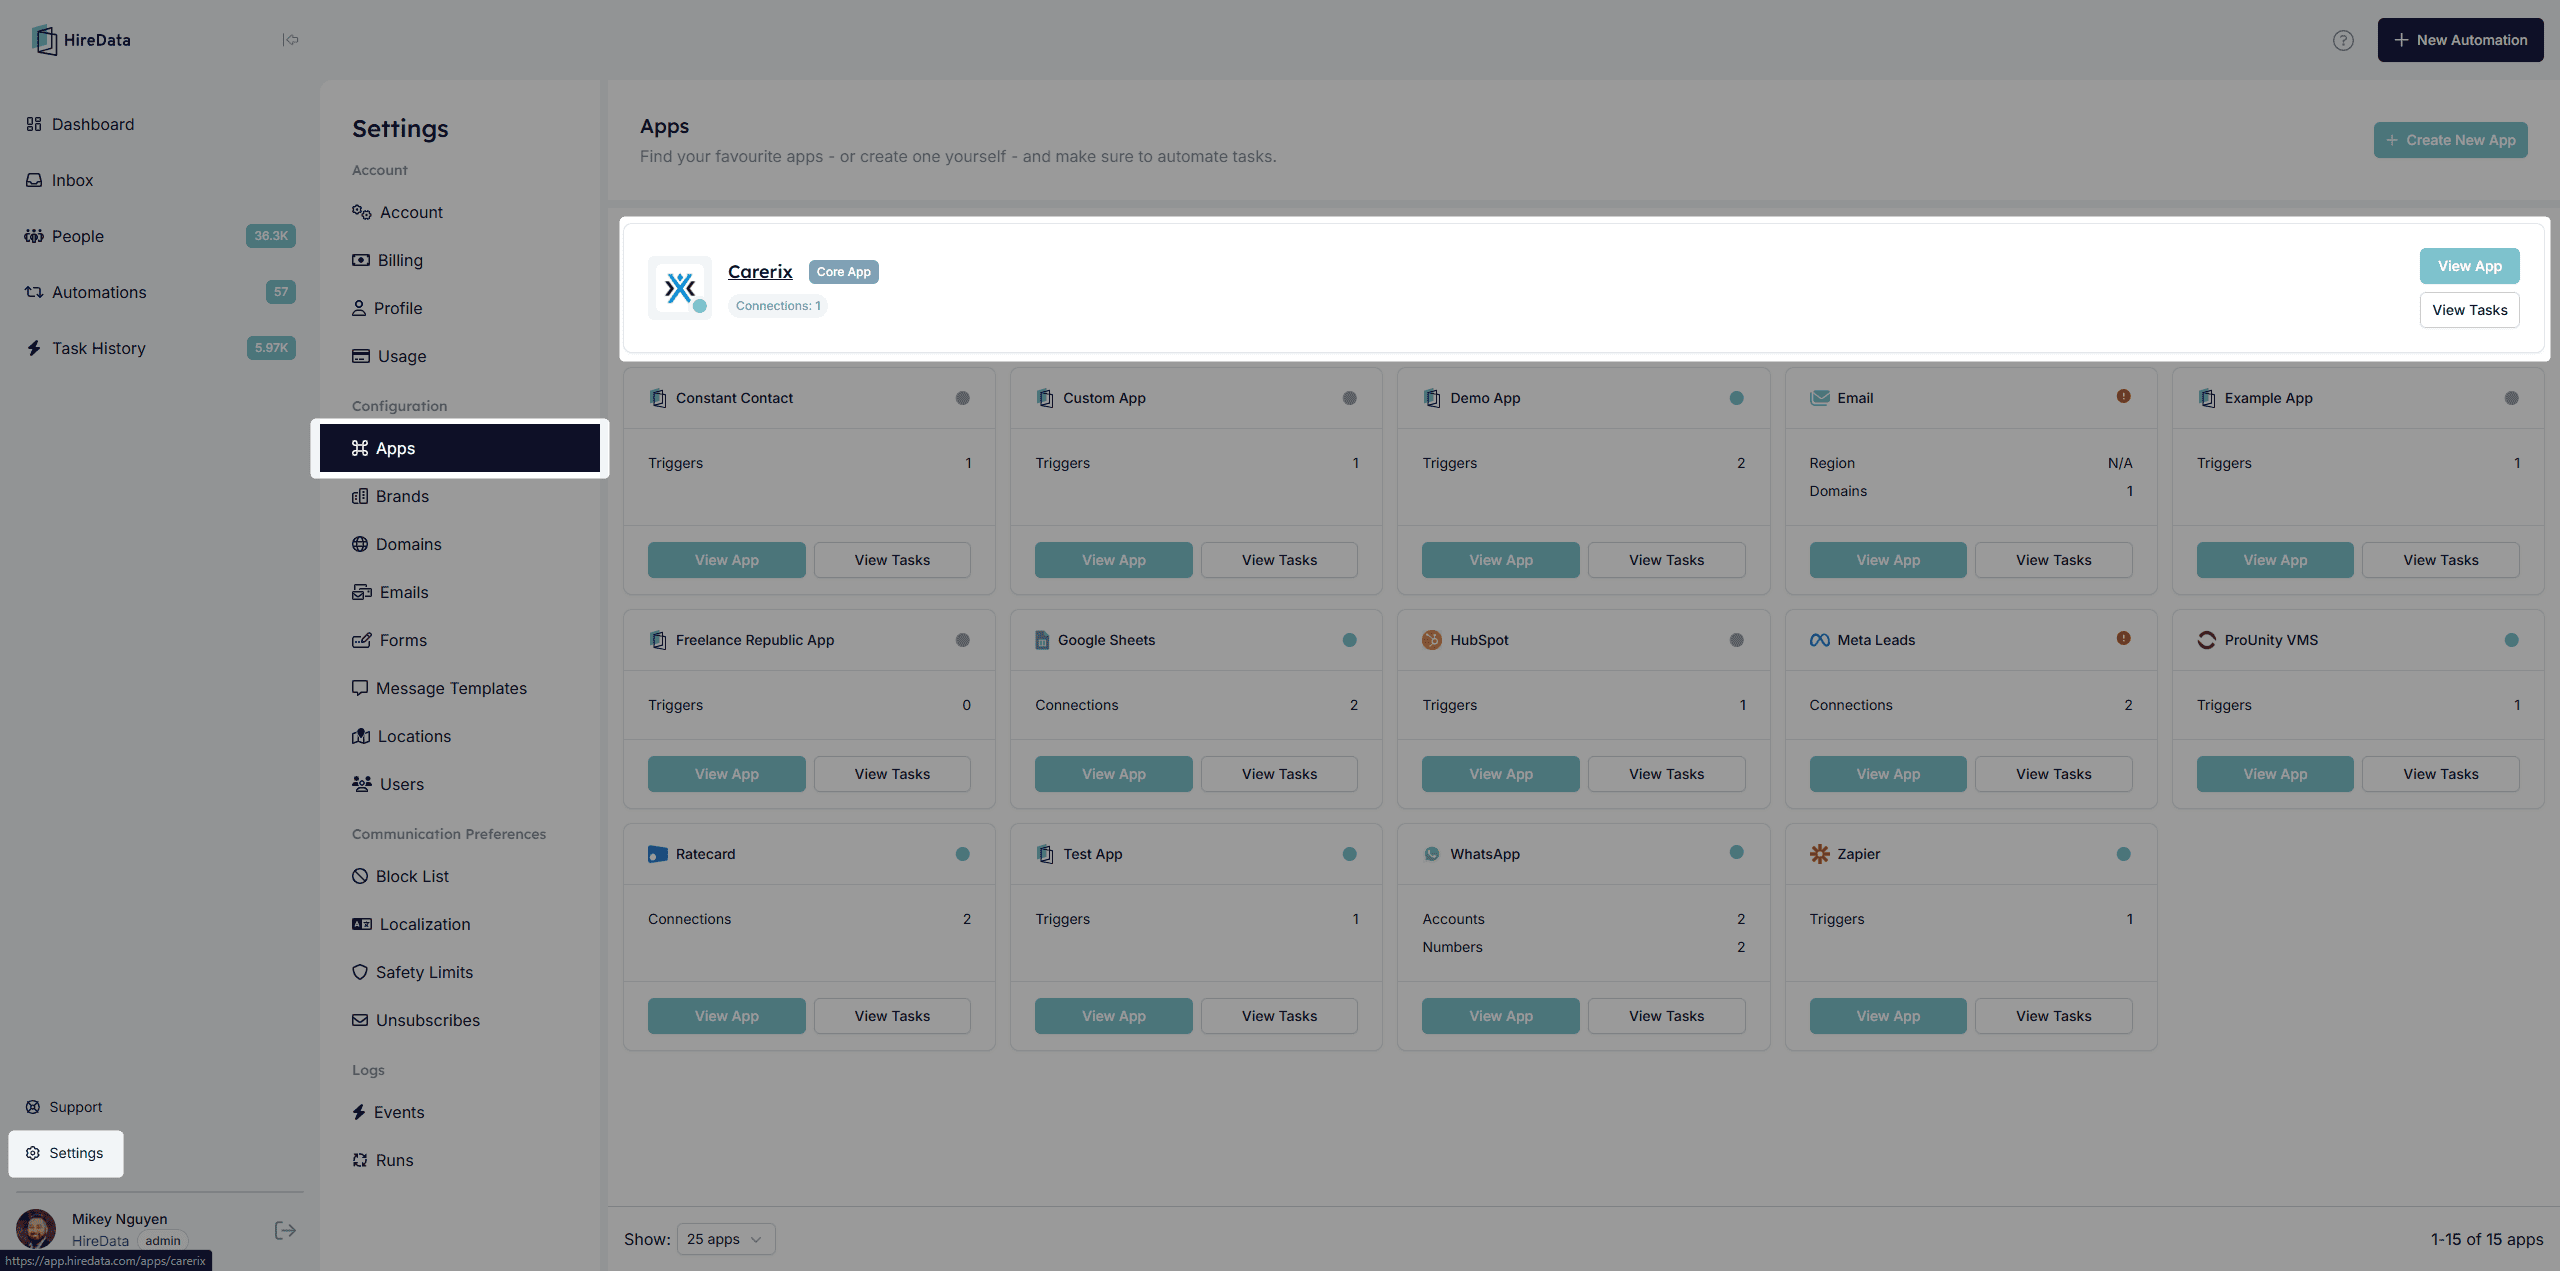
Step 2: Configuring your Carerix environment
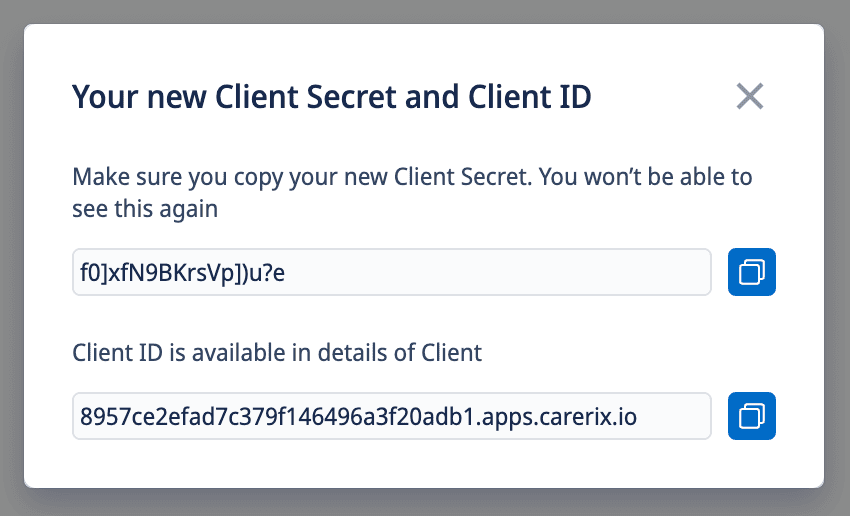
To connect your Carerix and HireData environments, you need (a) to activate webhooks (see: step 2.1), and (c) set up a client (see: step 2.2). This gives you a (I) Client ID and (II) Client Secret for your Carerix environment. Follow the steps below to obtain those:Step 2.1 Activating webhooks
First, you need to activate webhooks for your Carerix environment. To do this, send a support ticket to Carerix. Once webhooks are activated, you can proceed to the next step. Before activating webhooks, some scopes that are needed will not be available yet.Step 2.2 Setting up a confidential client
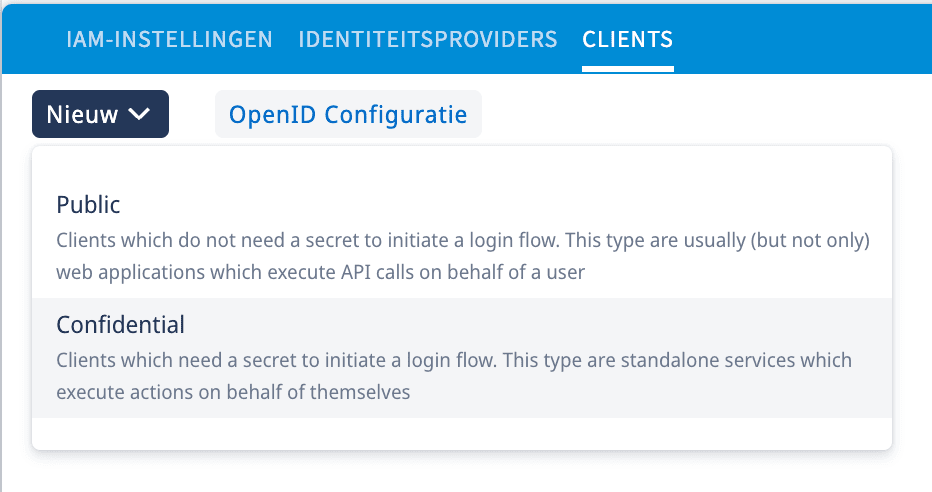
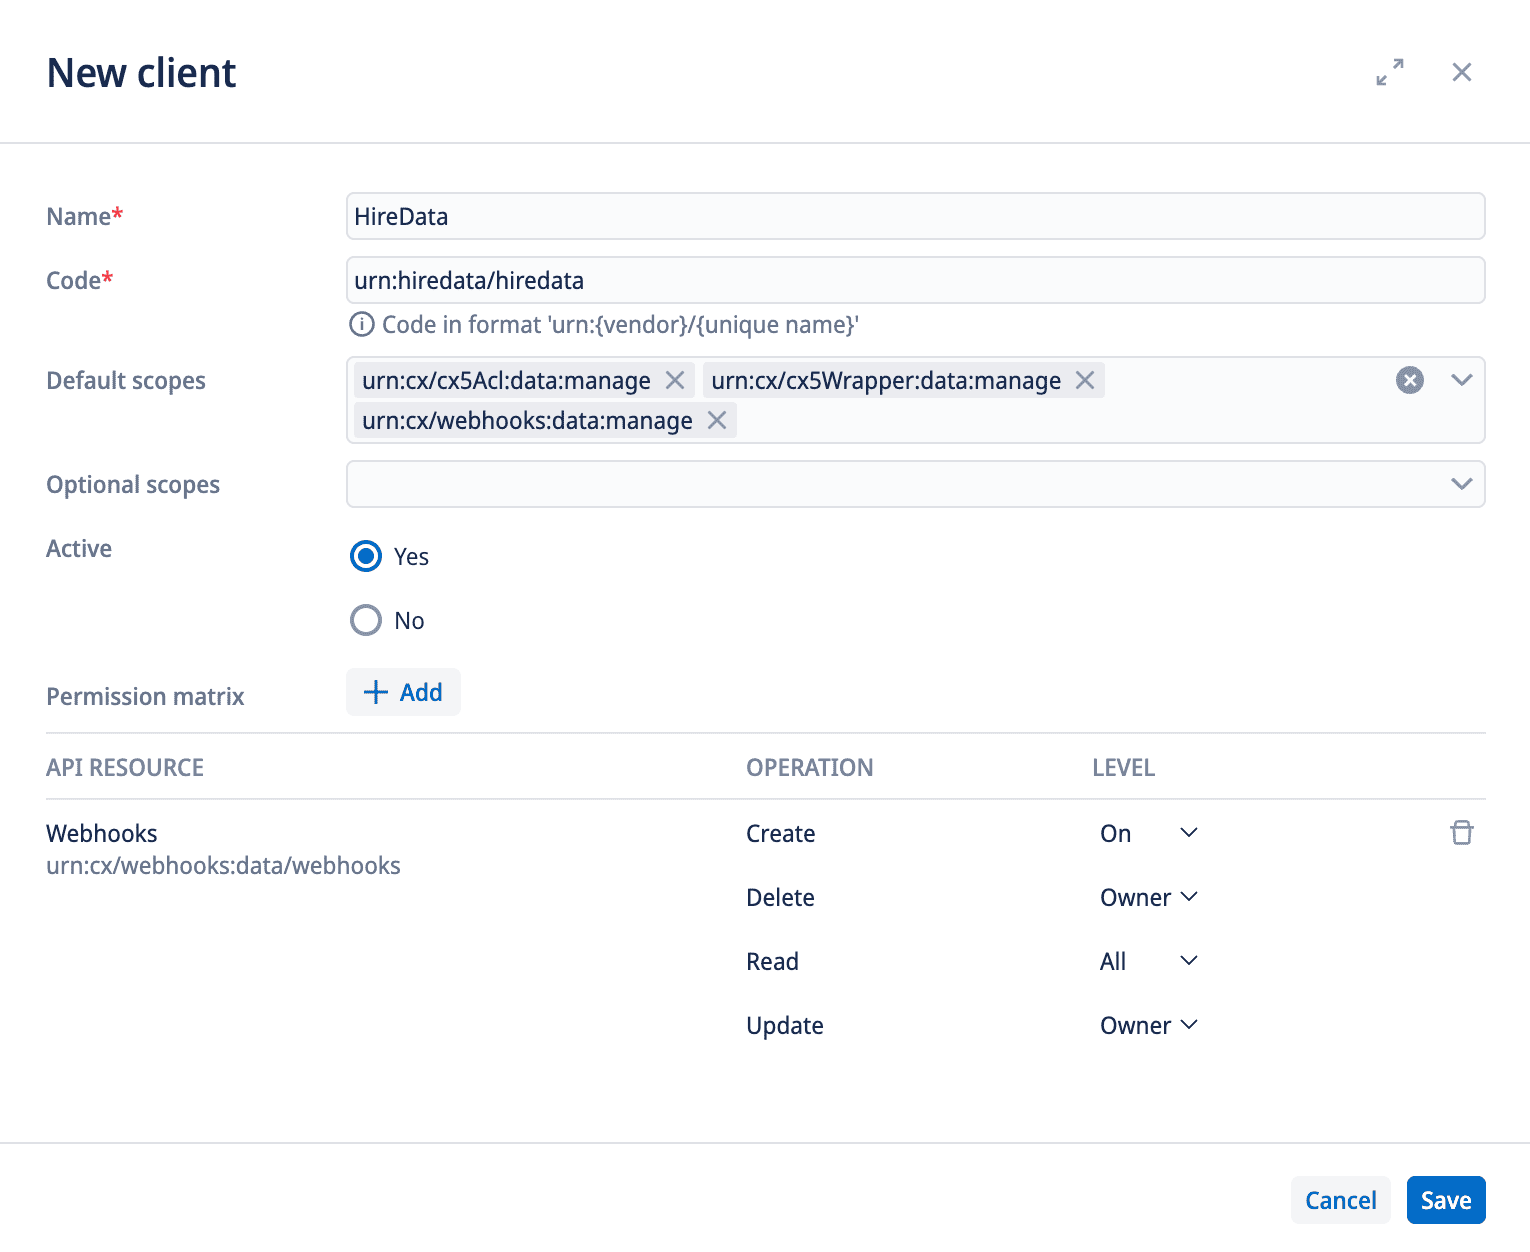
Second, head over to your Carerix environment, navigate to [Maintenance] > [Identity Management] > [Clients], and click the [New] > [Confidential] link. Then, fill in the following values:- Name:
HireData - Code:
urn:hiredata/hiredata - Default scopes:
urn:cx/cx5Wrapper:data:manageurn:cx/webhooks:data:manage
- Permissions:
- Click [Add] and search for
Webhooks - Configure permissions as follows:
- create:
on - delete:
owner - read:
all - update:
owner
- create:
- Click [Add] and search for
Step 3: Creating a new connection
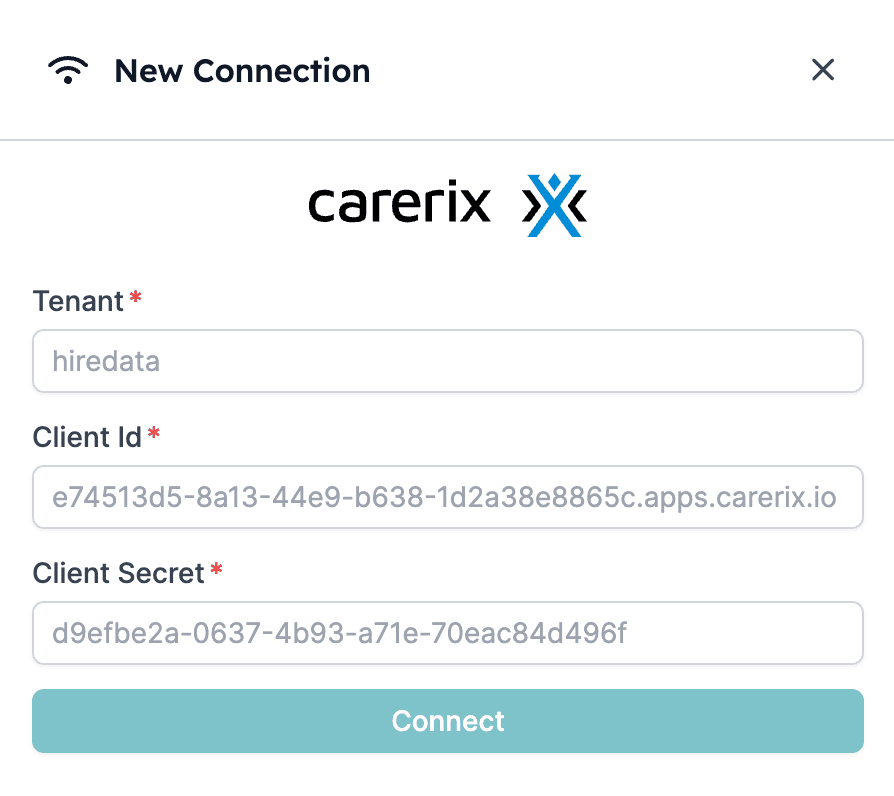
Click [+ New Connection] and enter the required Carerix details: your tenant (customer name or sub domain), Client ID, Client Secret, and API Key. If you don’t have a Client ID, Client Secret, and/or API Key yet, get in touch with your account manager at Carerix or contact Carerix’ support team. 3.1: Click [+ New Connection] and start connecting your Carerix