Step 1: Open the Brands menu
Open the Settings page in HireData and then navigate to the Brands menu.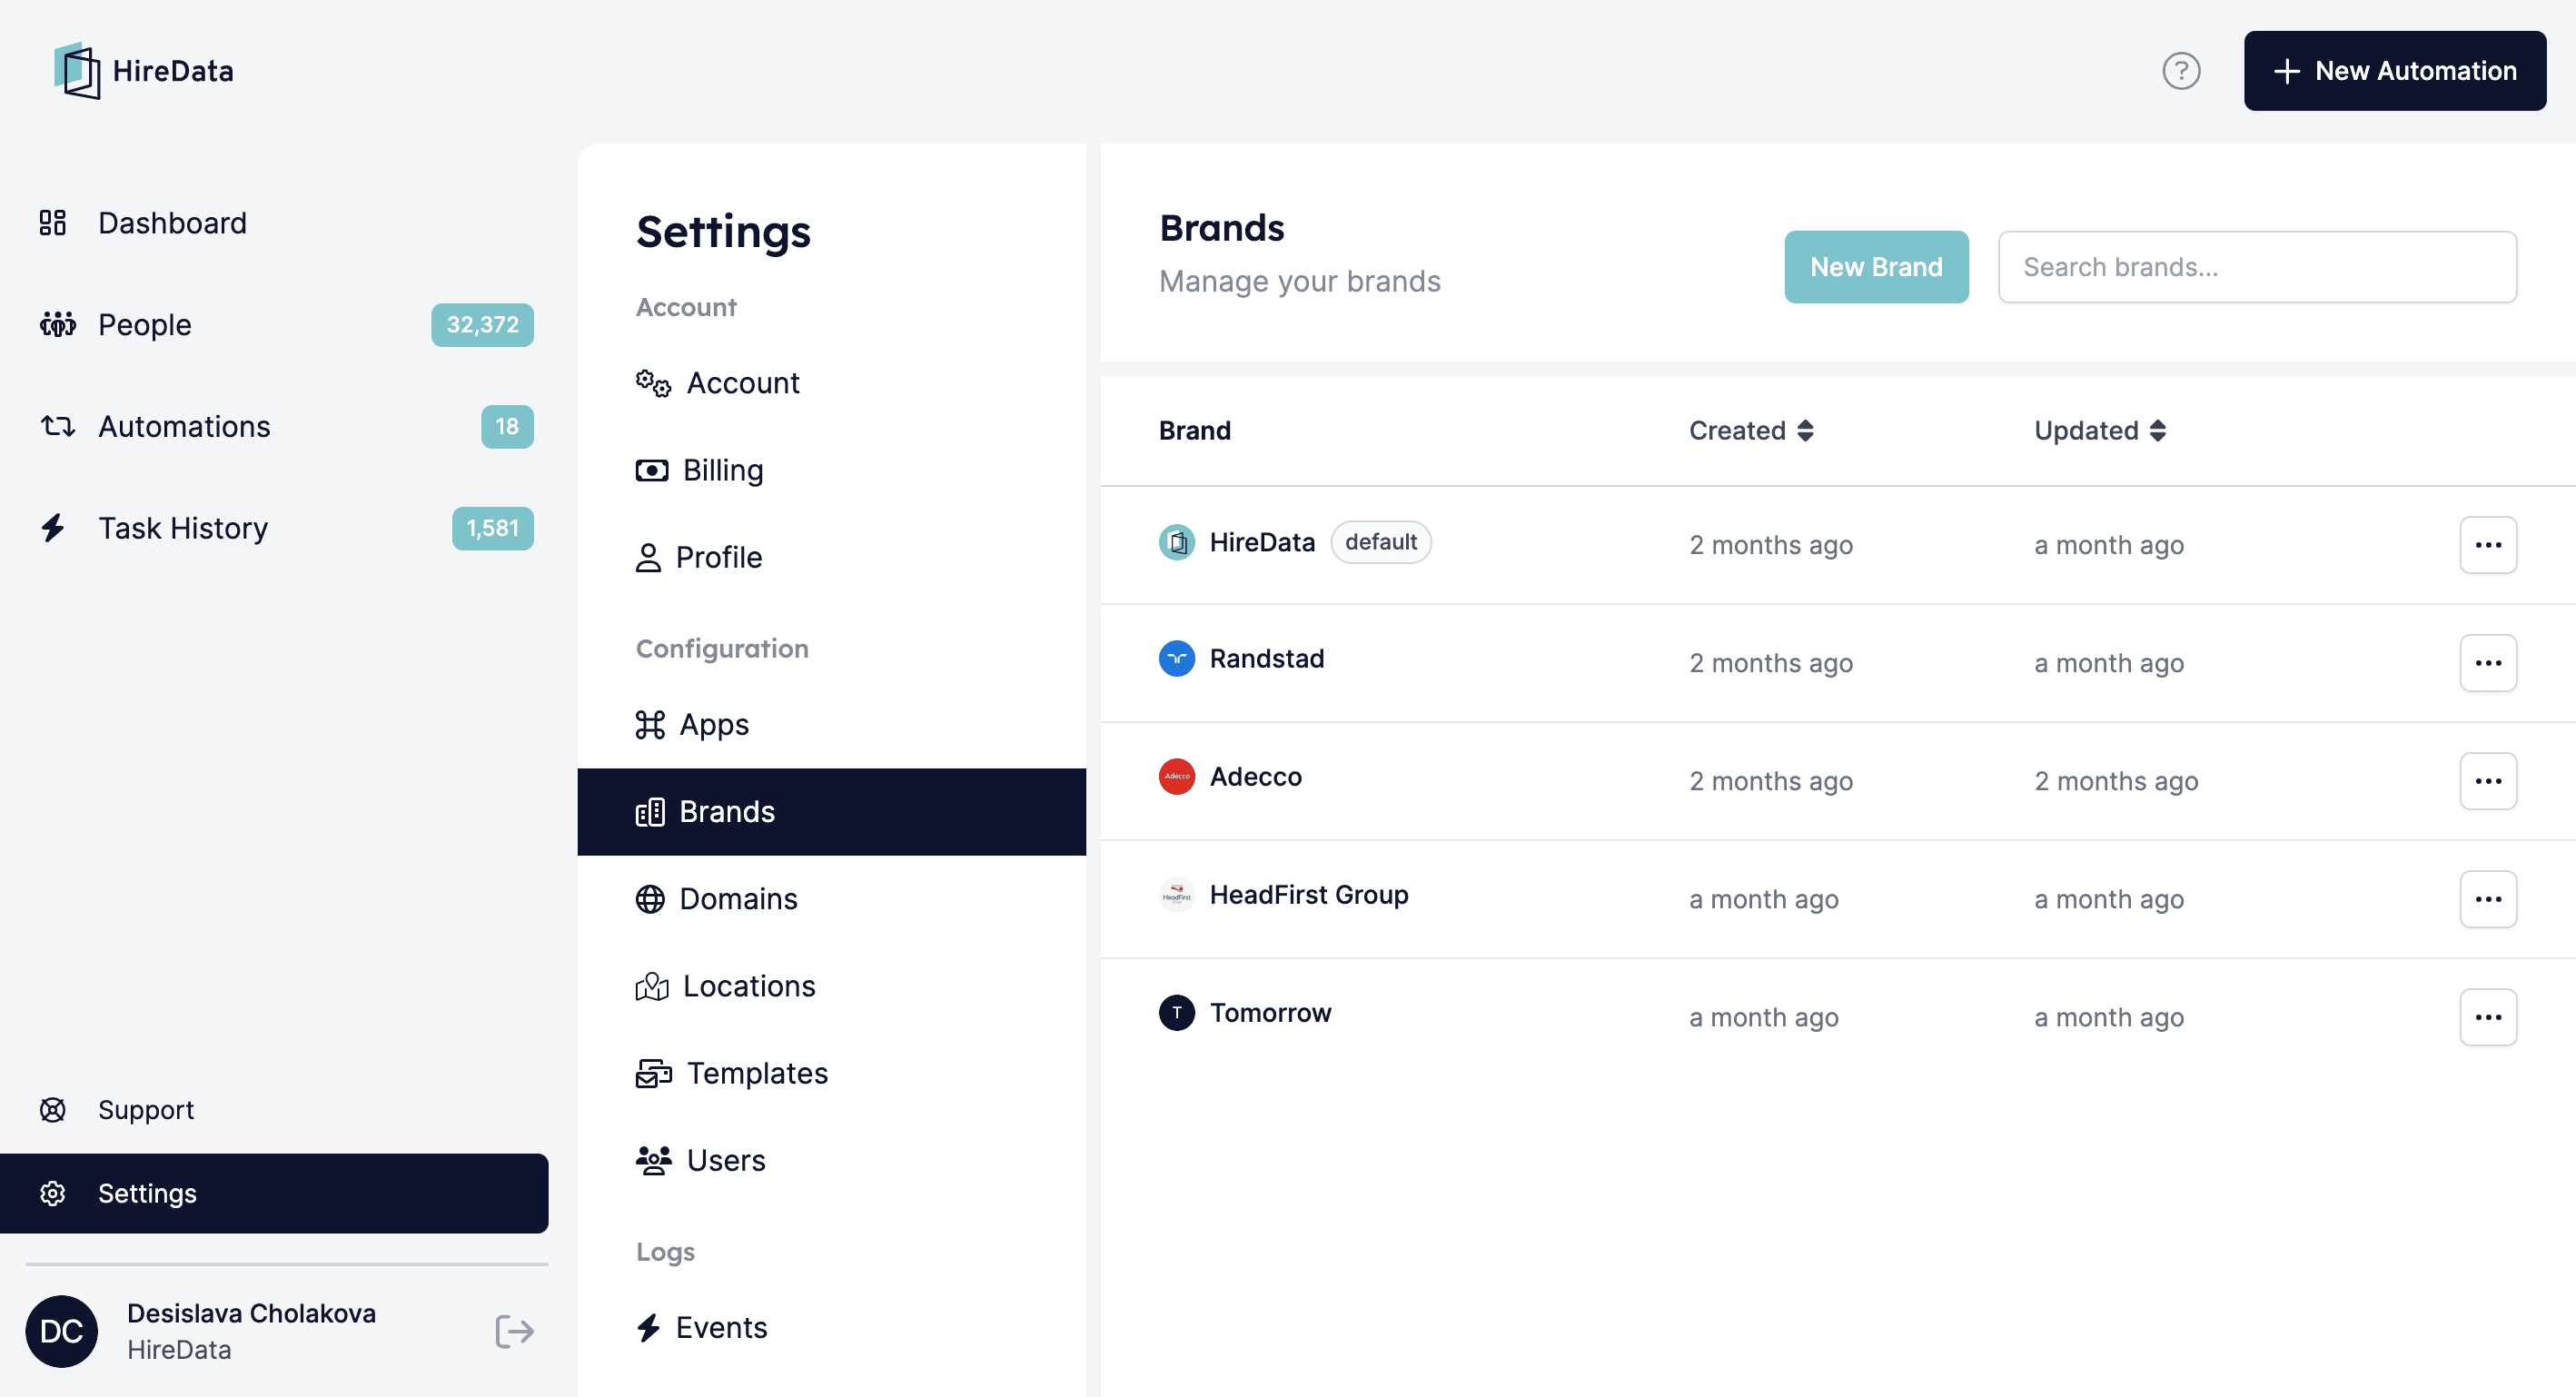
Step 2: Add your brand
To start, click the [New Brand] button:
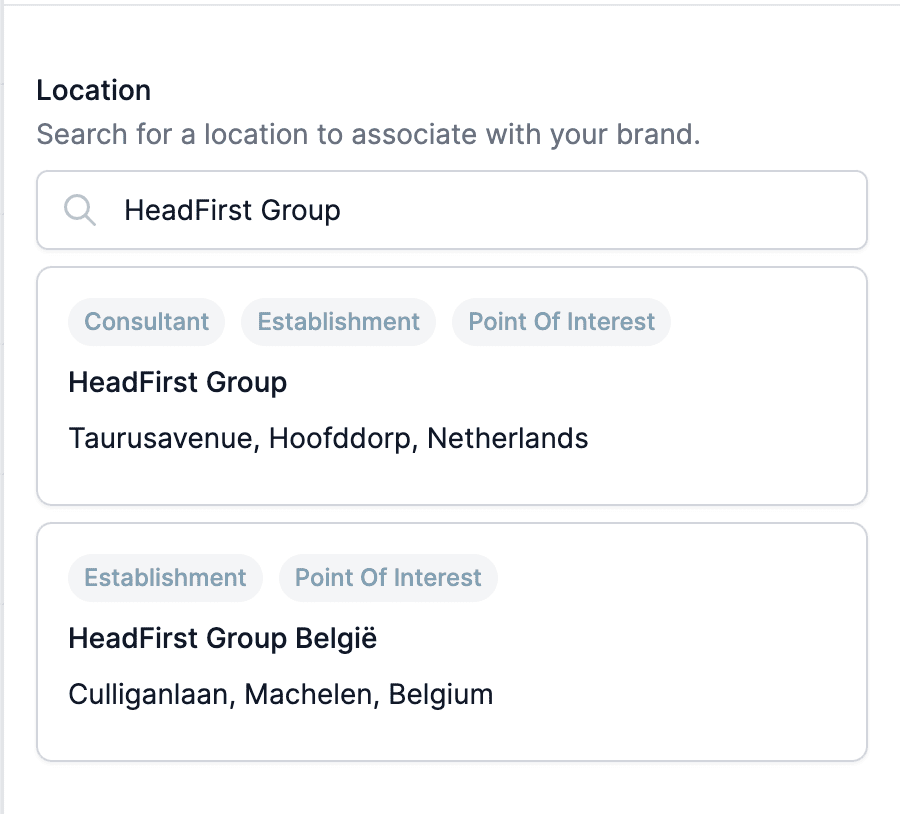

Step 3: Set up the brand profile
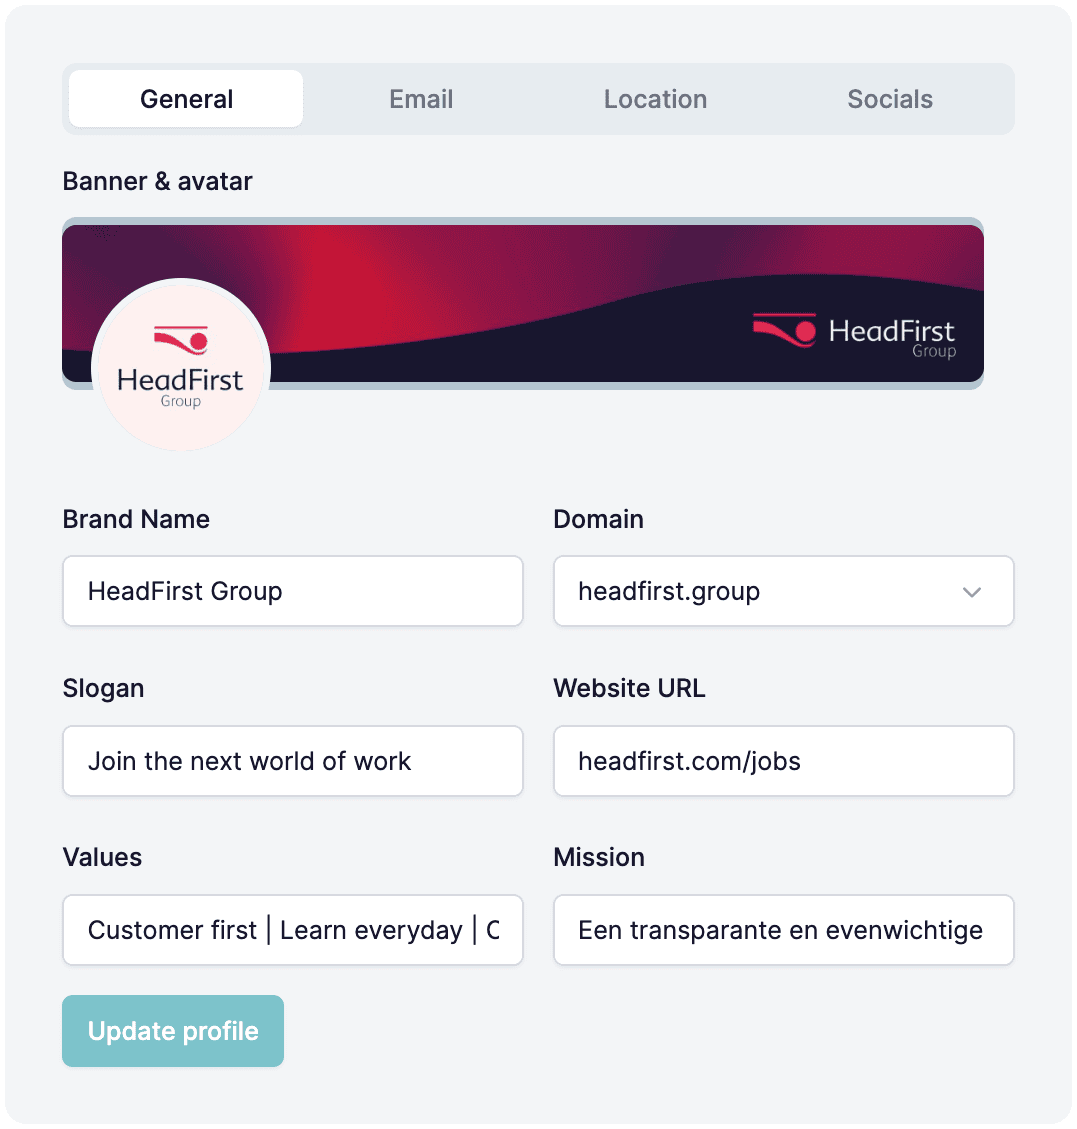
This section shows you how to set up your brand profile: the general information to add, how to import a logo and banner for emails, reviewing the location, and adding links to social media accounts that appear in your communications.3.1. General settings
3.1.1. Check the brand name and add a slogan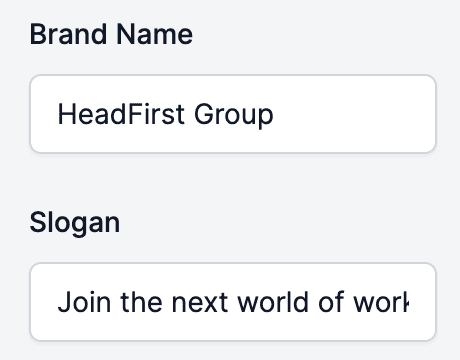
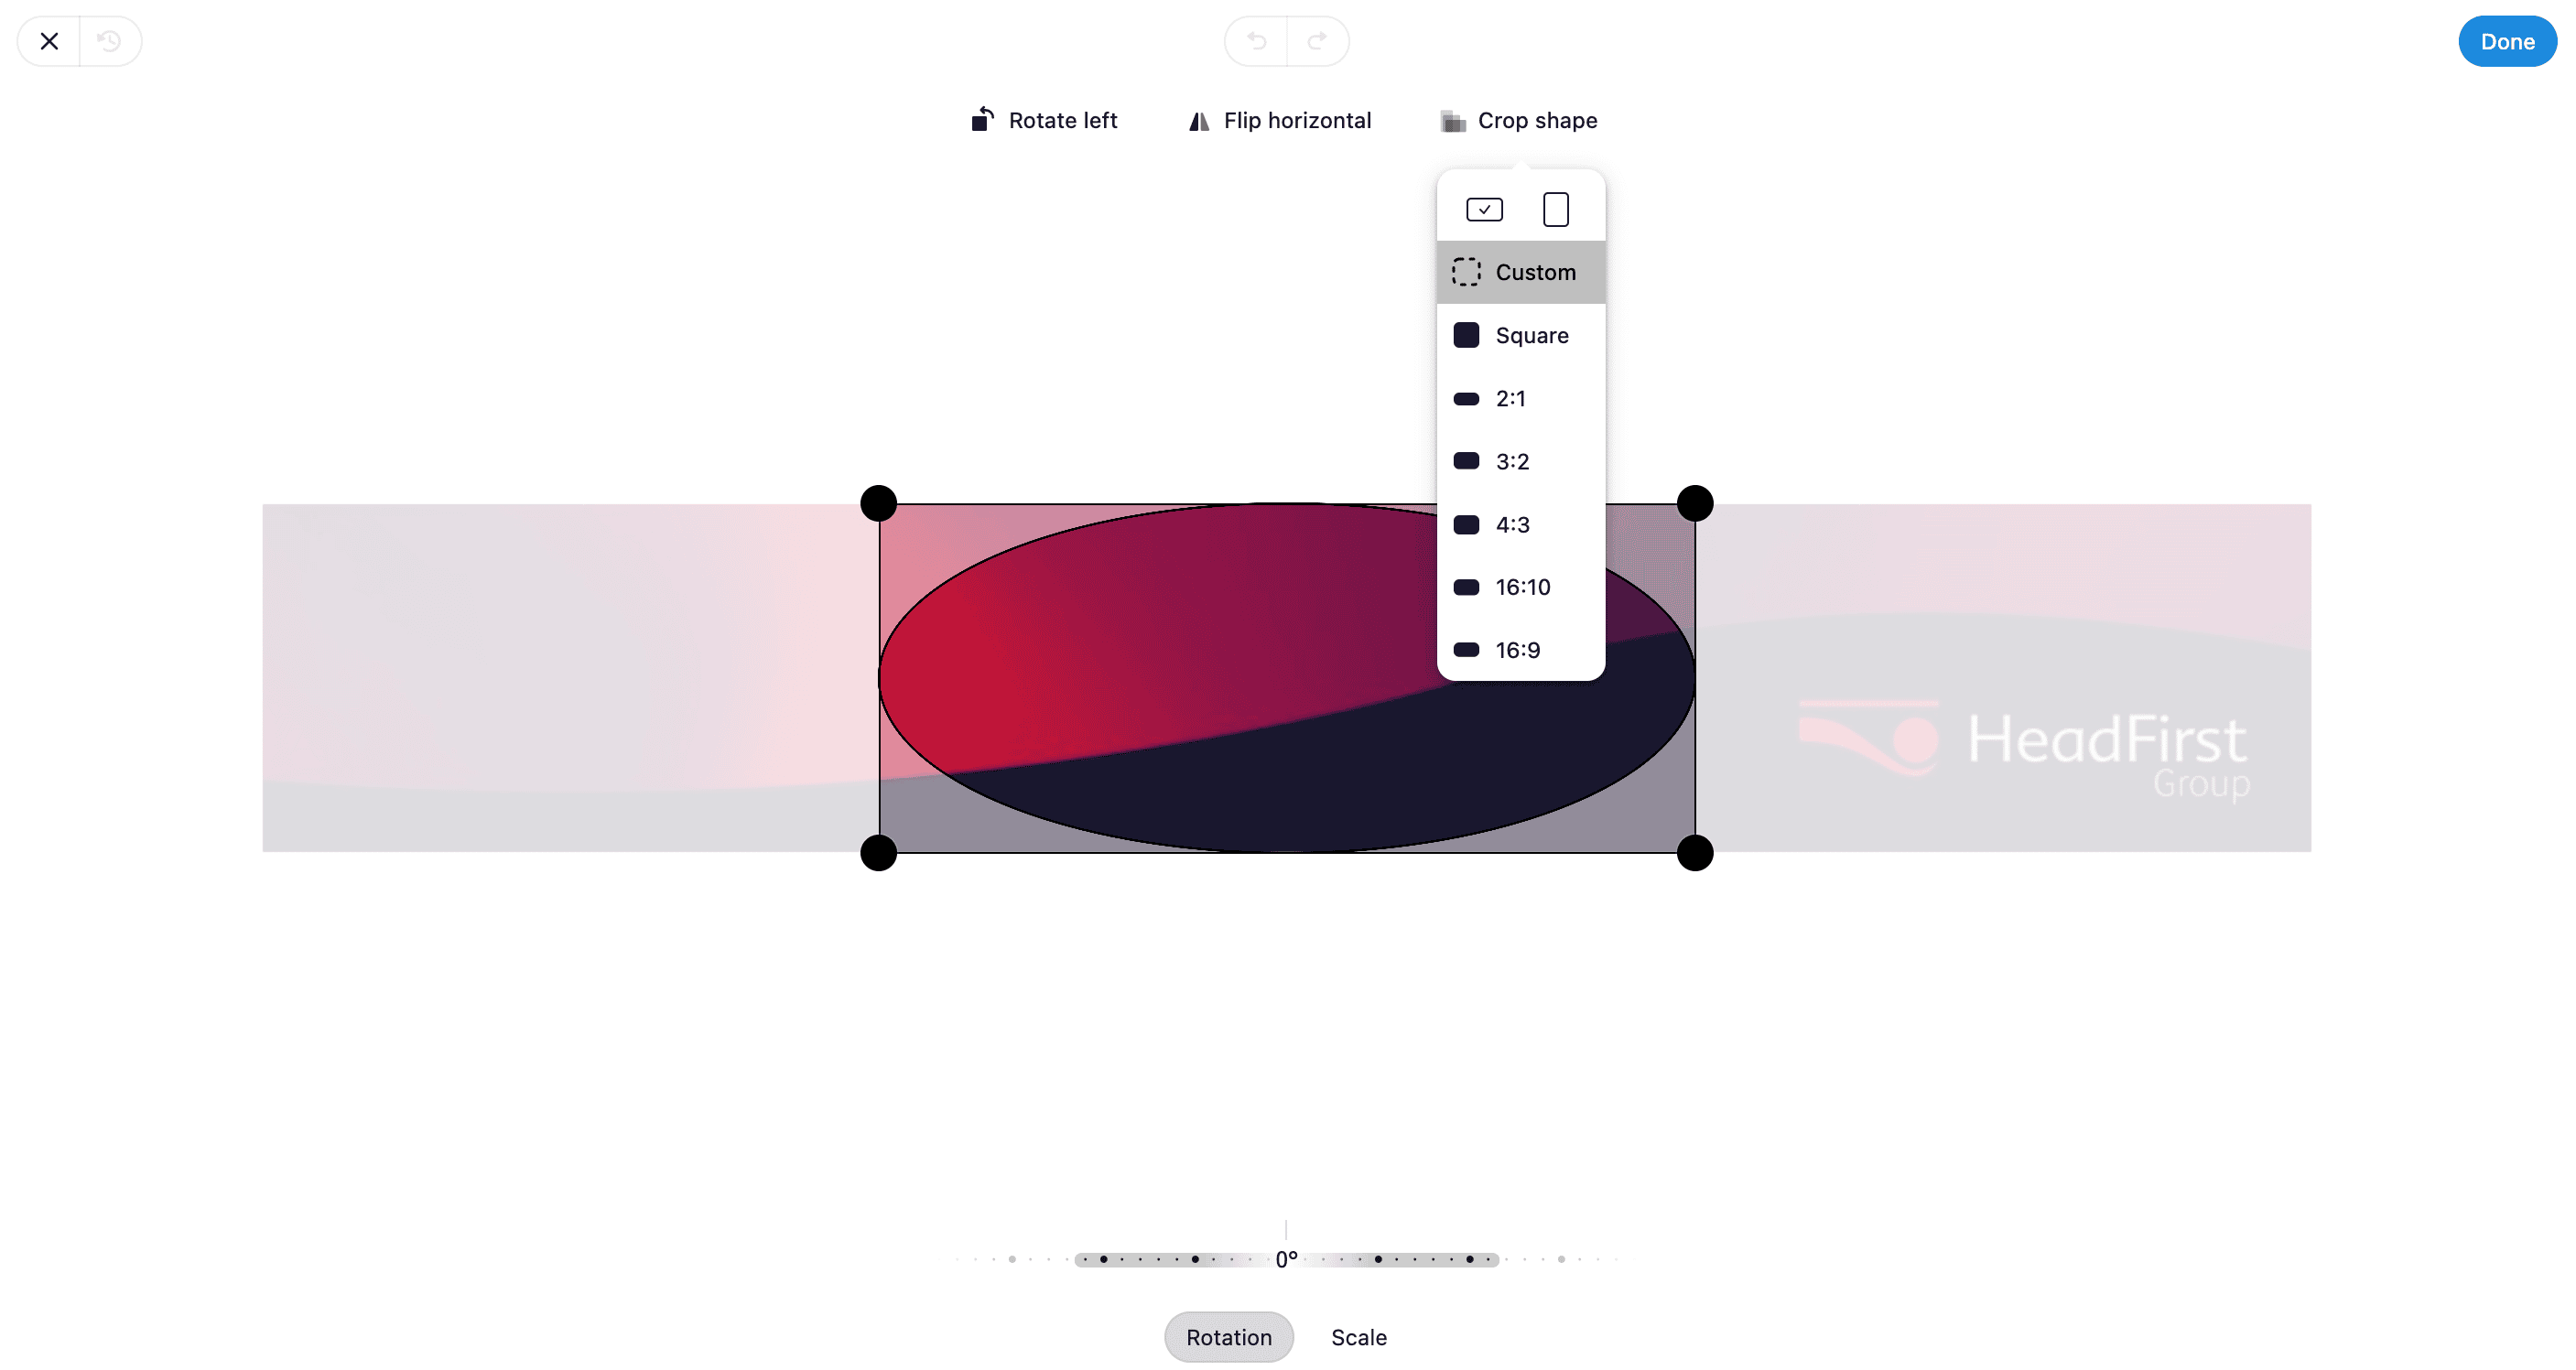

3.2. Email settings
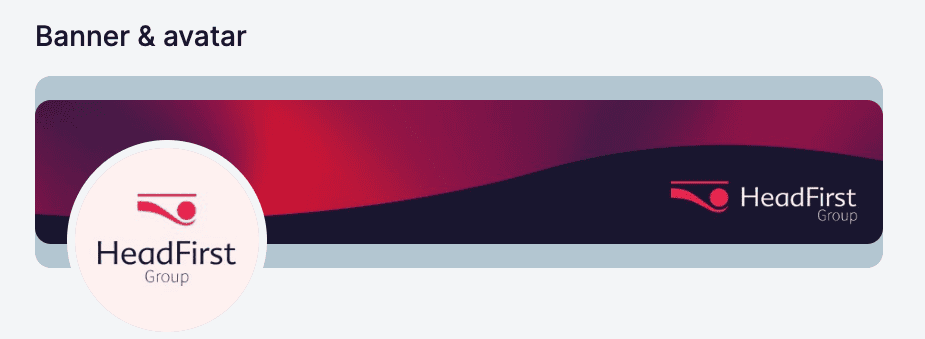
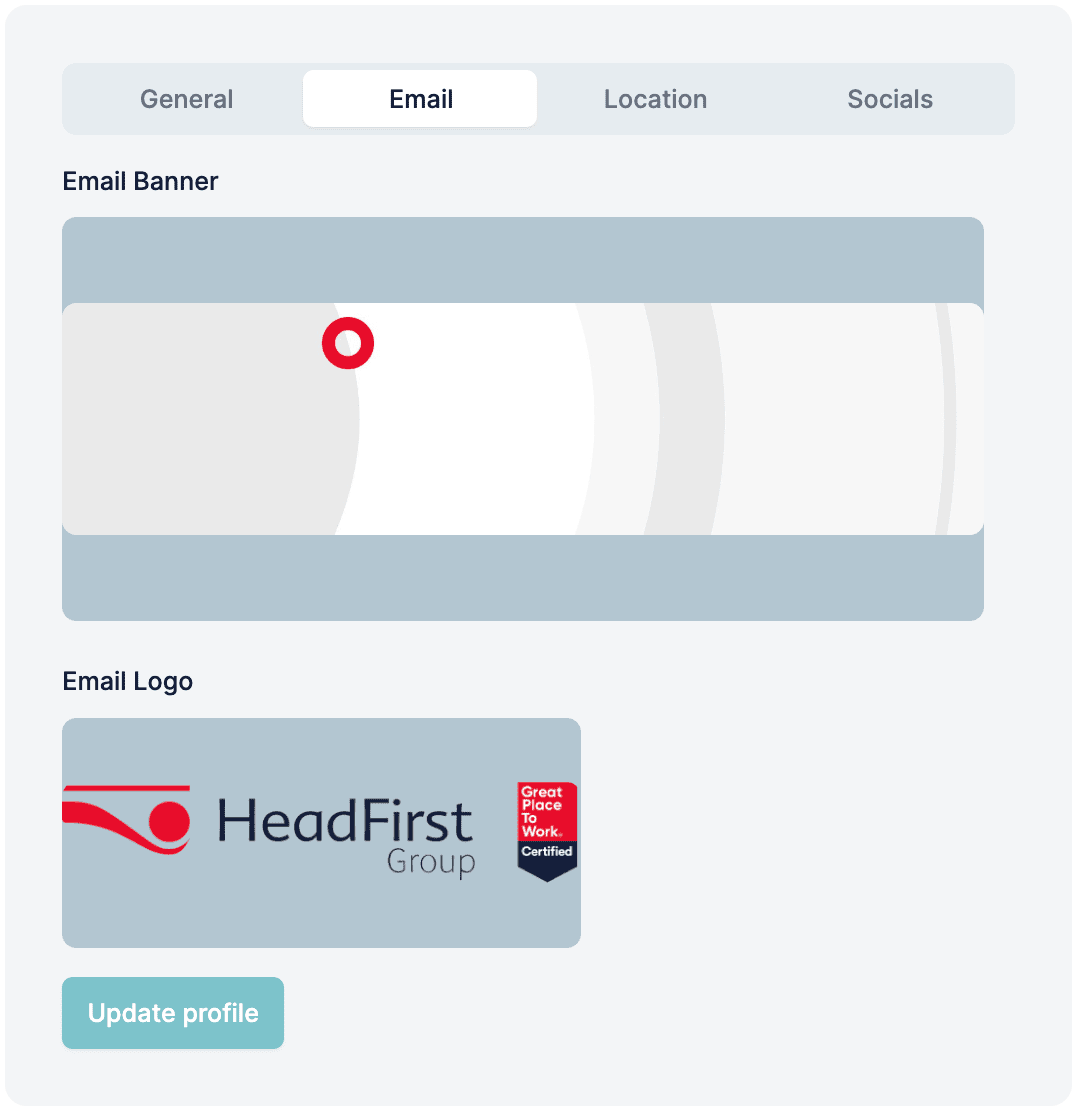
In the email settings, you need to add a banner and logo which will be used in the campaigns you are going to create. 3.2.1. Add email banner
3.3. Location
Make sure the location you’ve added is correct on the interactive map.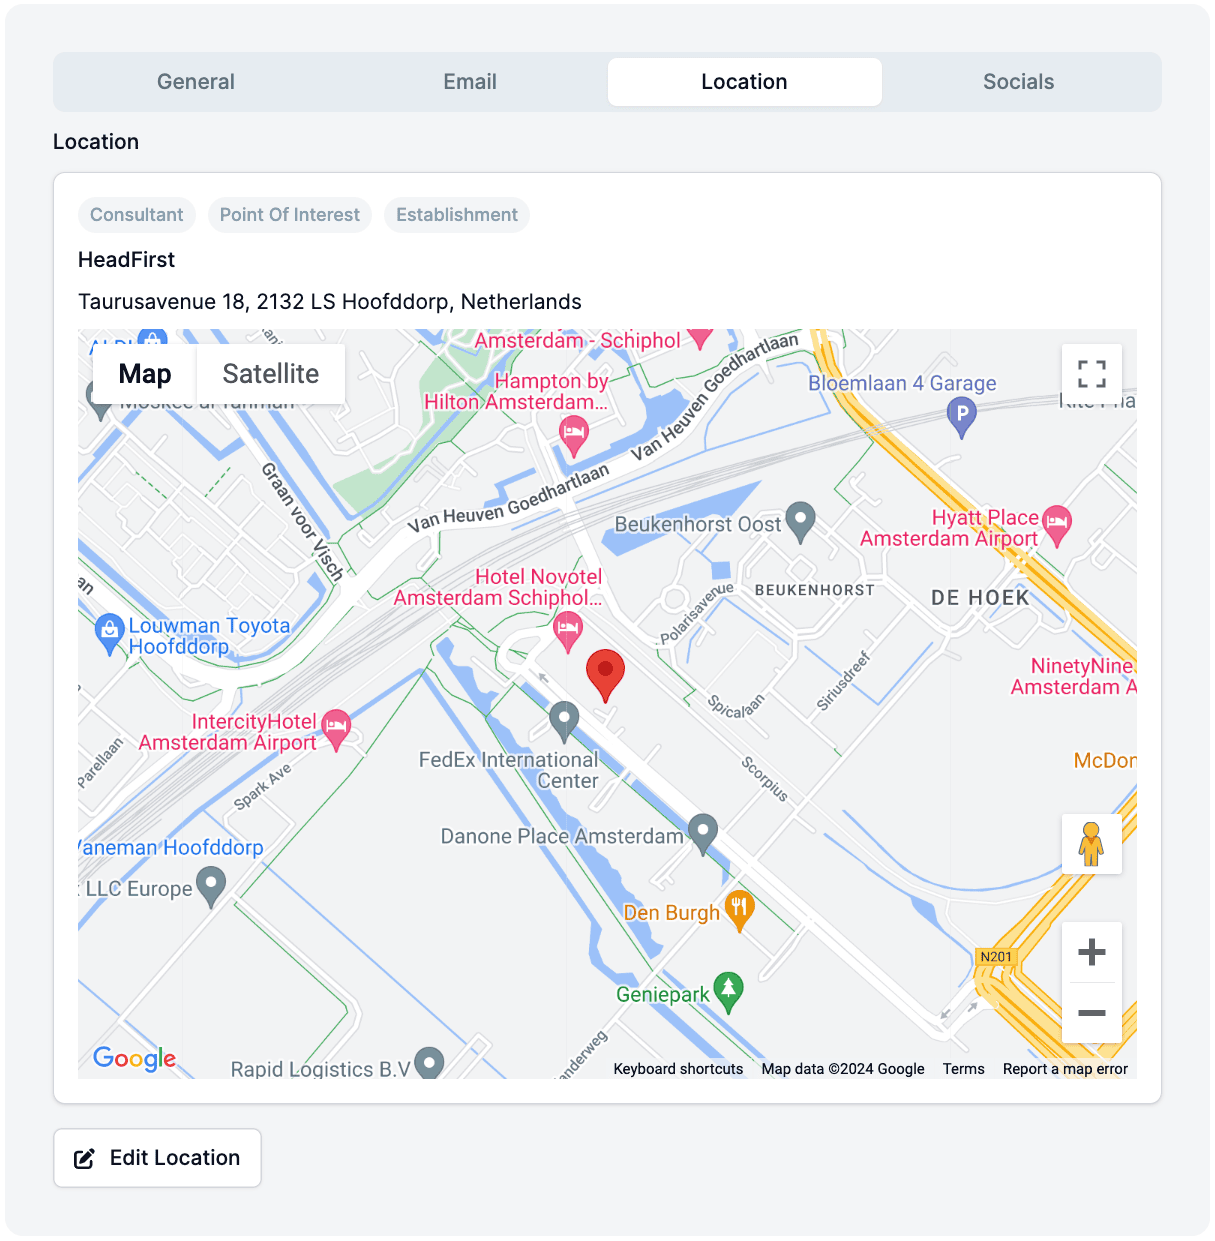
3.4. Socials
You can add as many of your company’s social media accounts as you want, but be careful not to overuse this feature, as you don’t want to overwhelm your campaign recipients.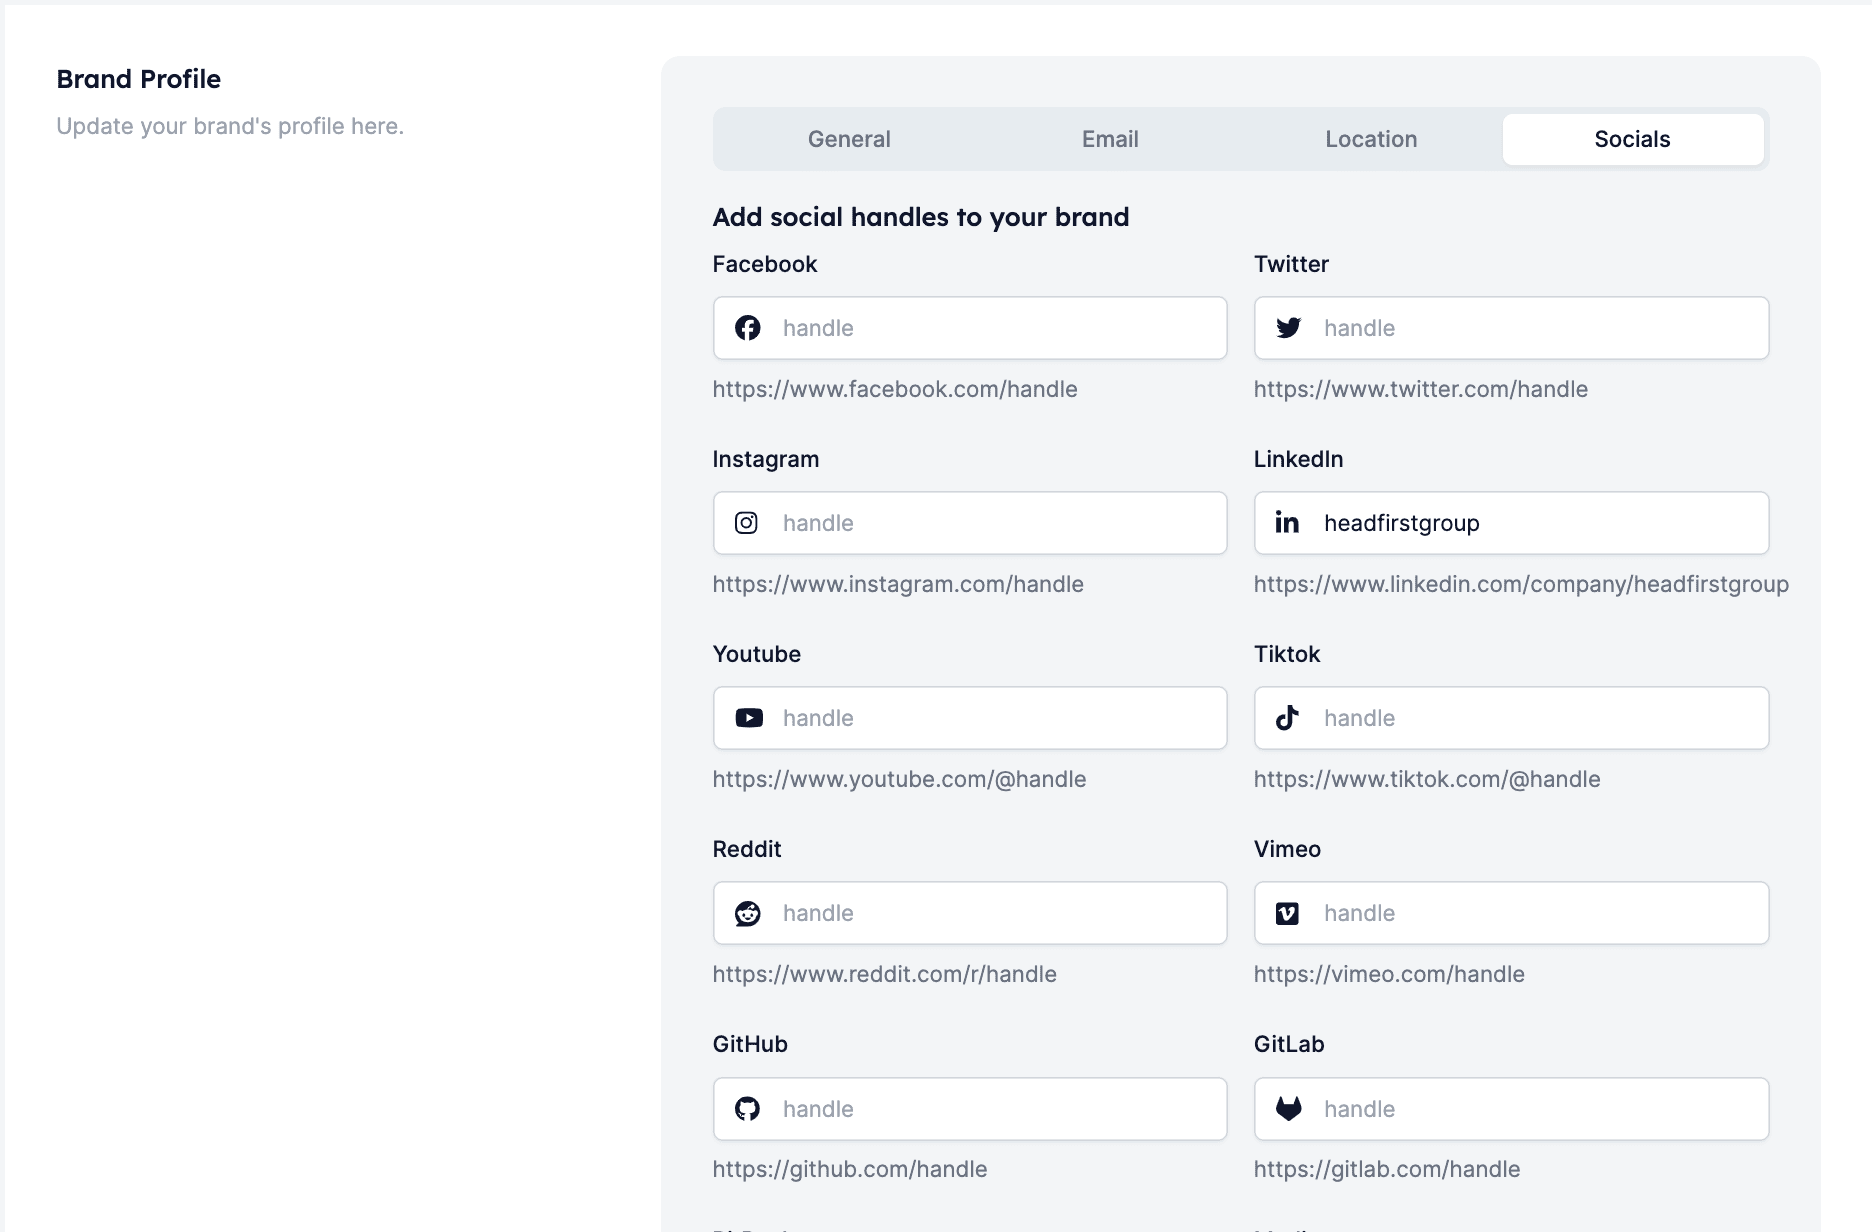
Step 4: Create a colour palette
Creating a colour palette for your brand in HireData allows you to incorporate your brand’s colours into the design of your campaigns so that they are consistent with your business branding. You can manually add them by typing the HEX colour codes or automatically extract the colours from one of the images you previously added, e.g. logo or banner.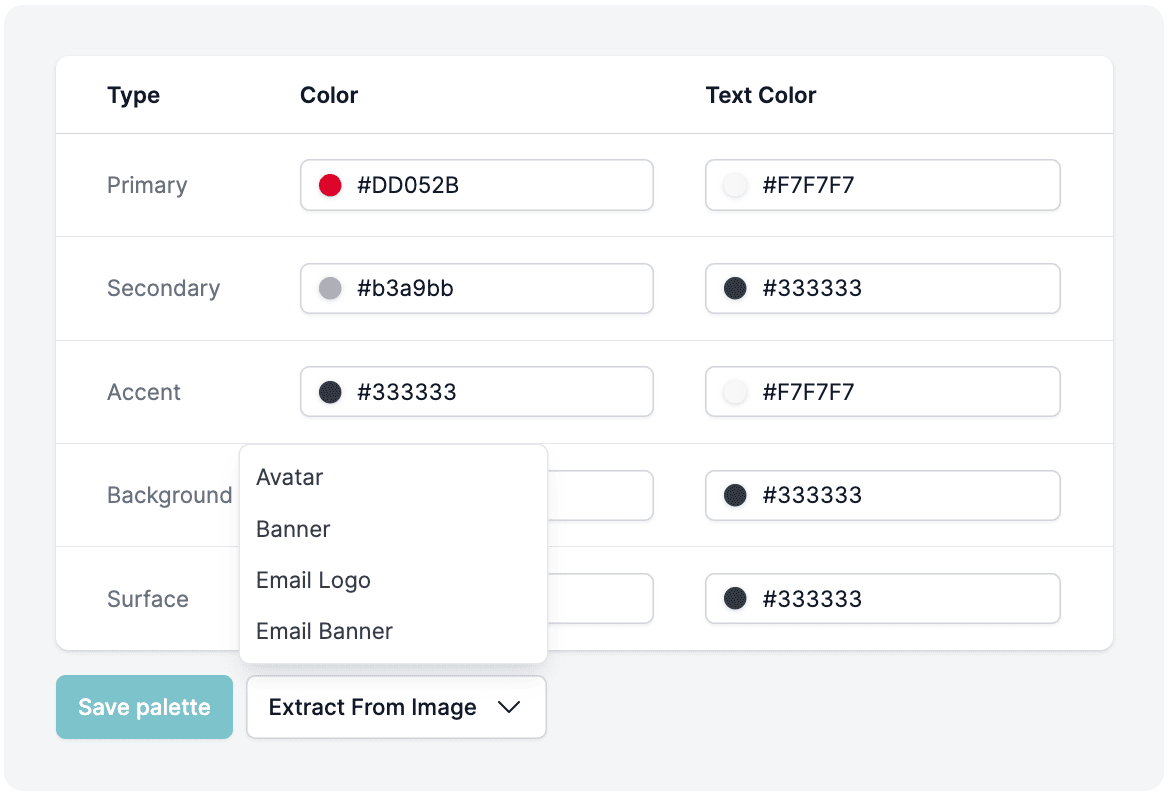
Pro tip
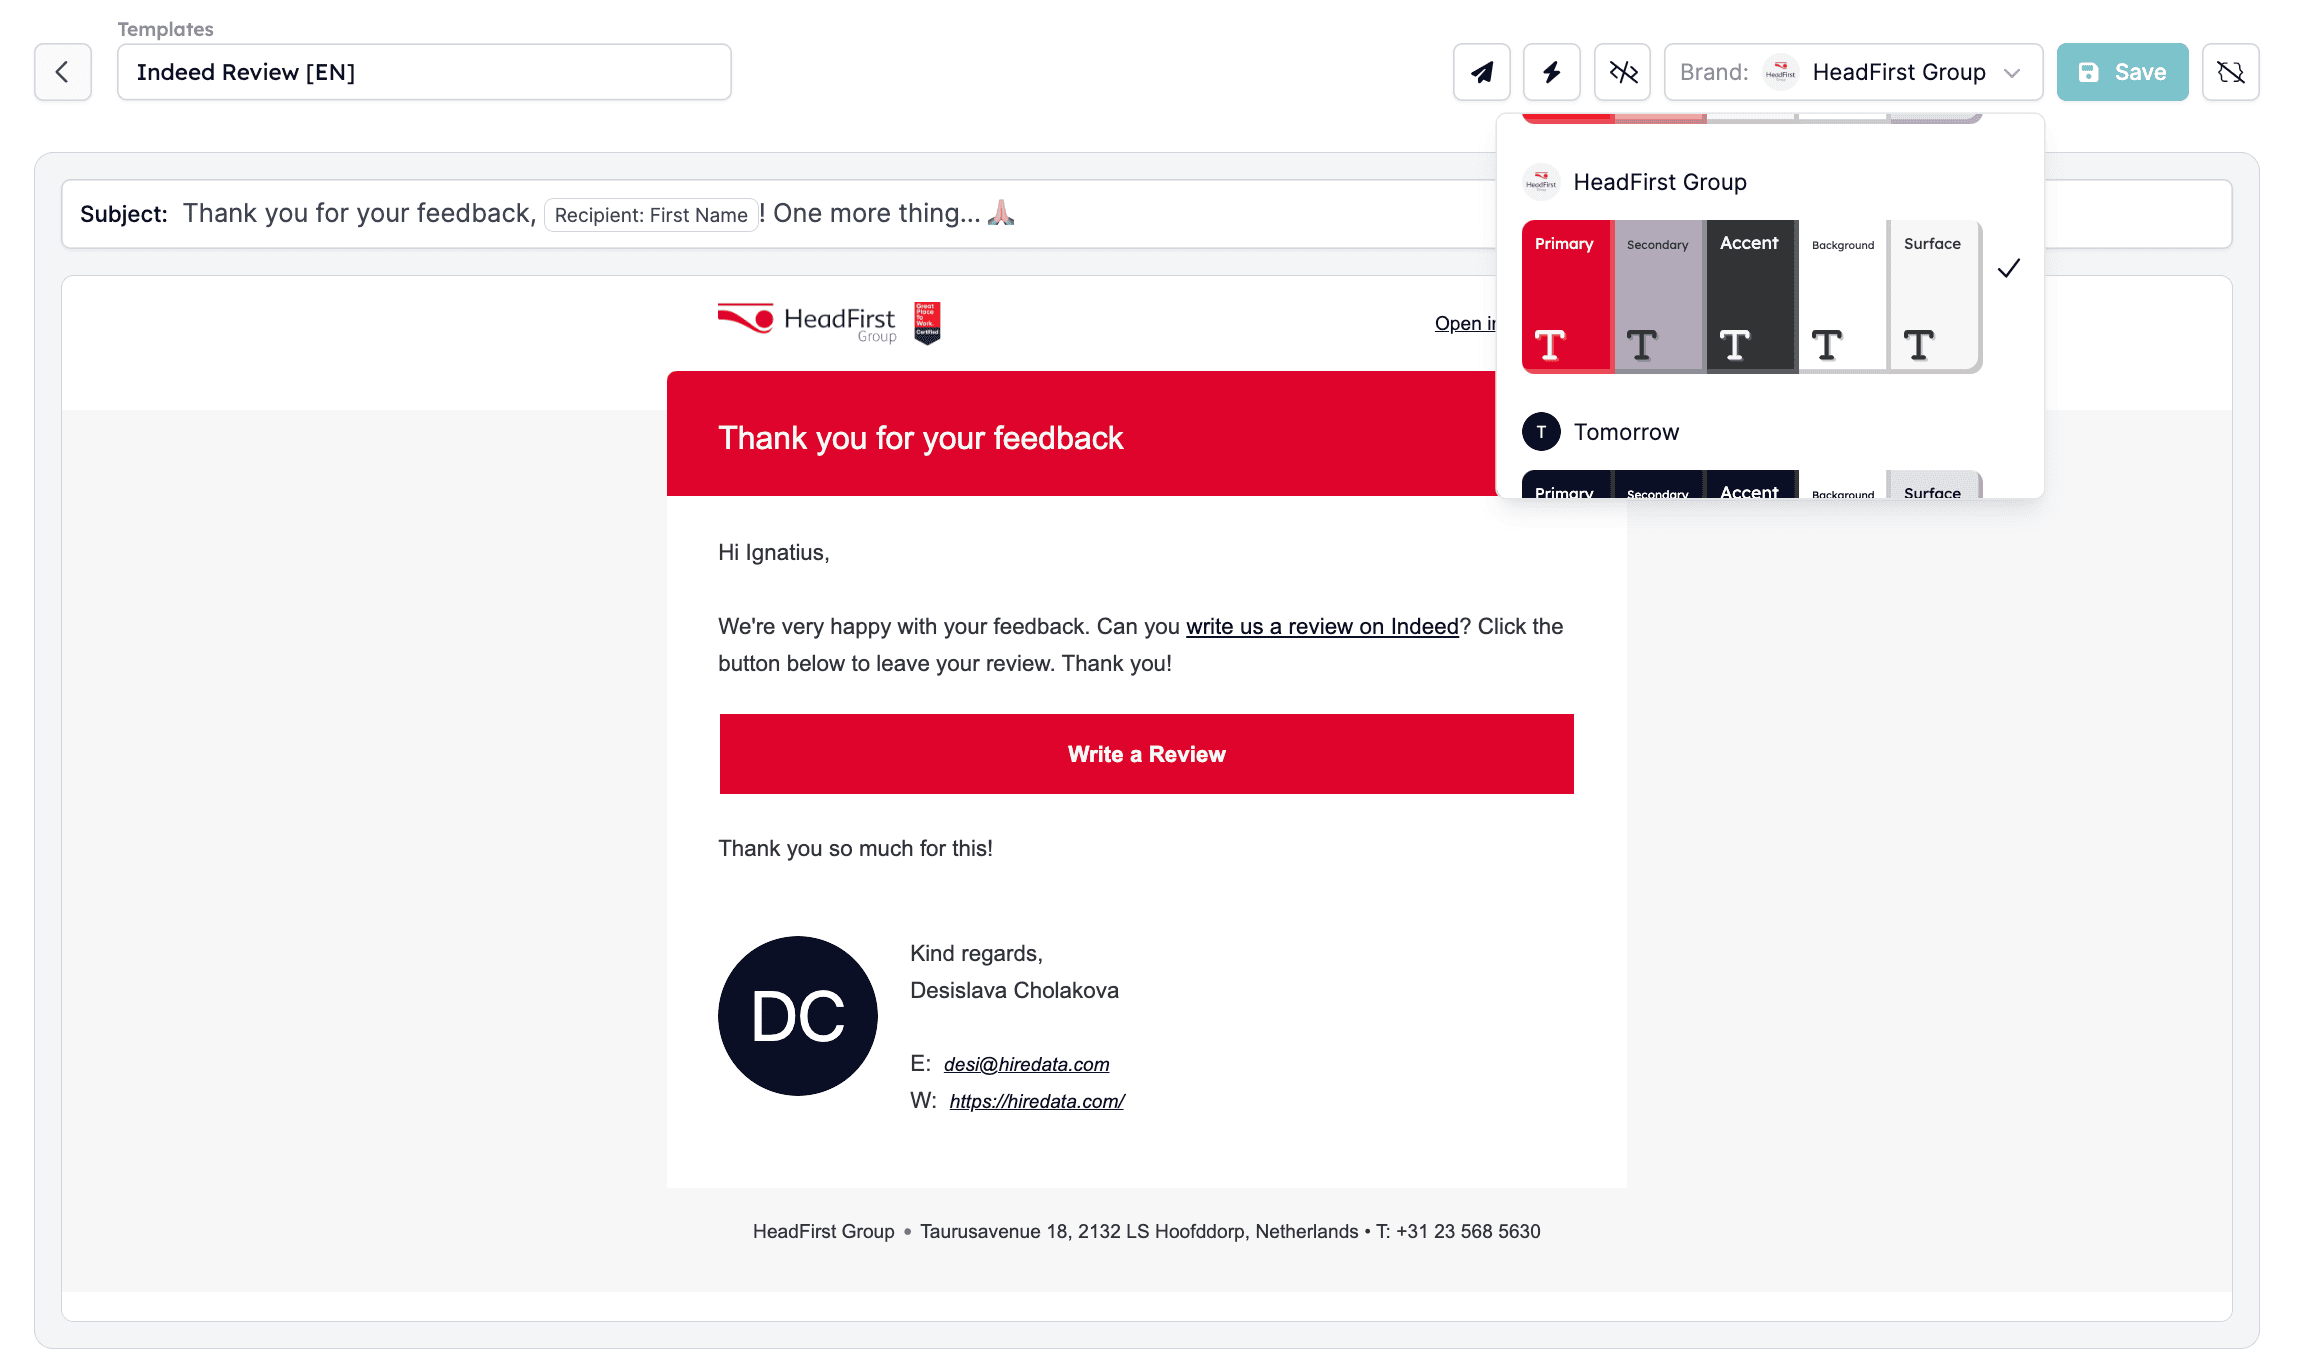
Open one of the templates to see how the branding you’ve just created looks. Go to the Templates sub-menu and select any template: