

Step 1: Access control
1.1. Open the Users page
Navigate to the settings menu within HireData and open the Users page. There you will see a list of users synced with your ATS, e.g. Carerix, OTYS, Salesforce, etc., that you’ve connected to HireData.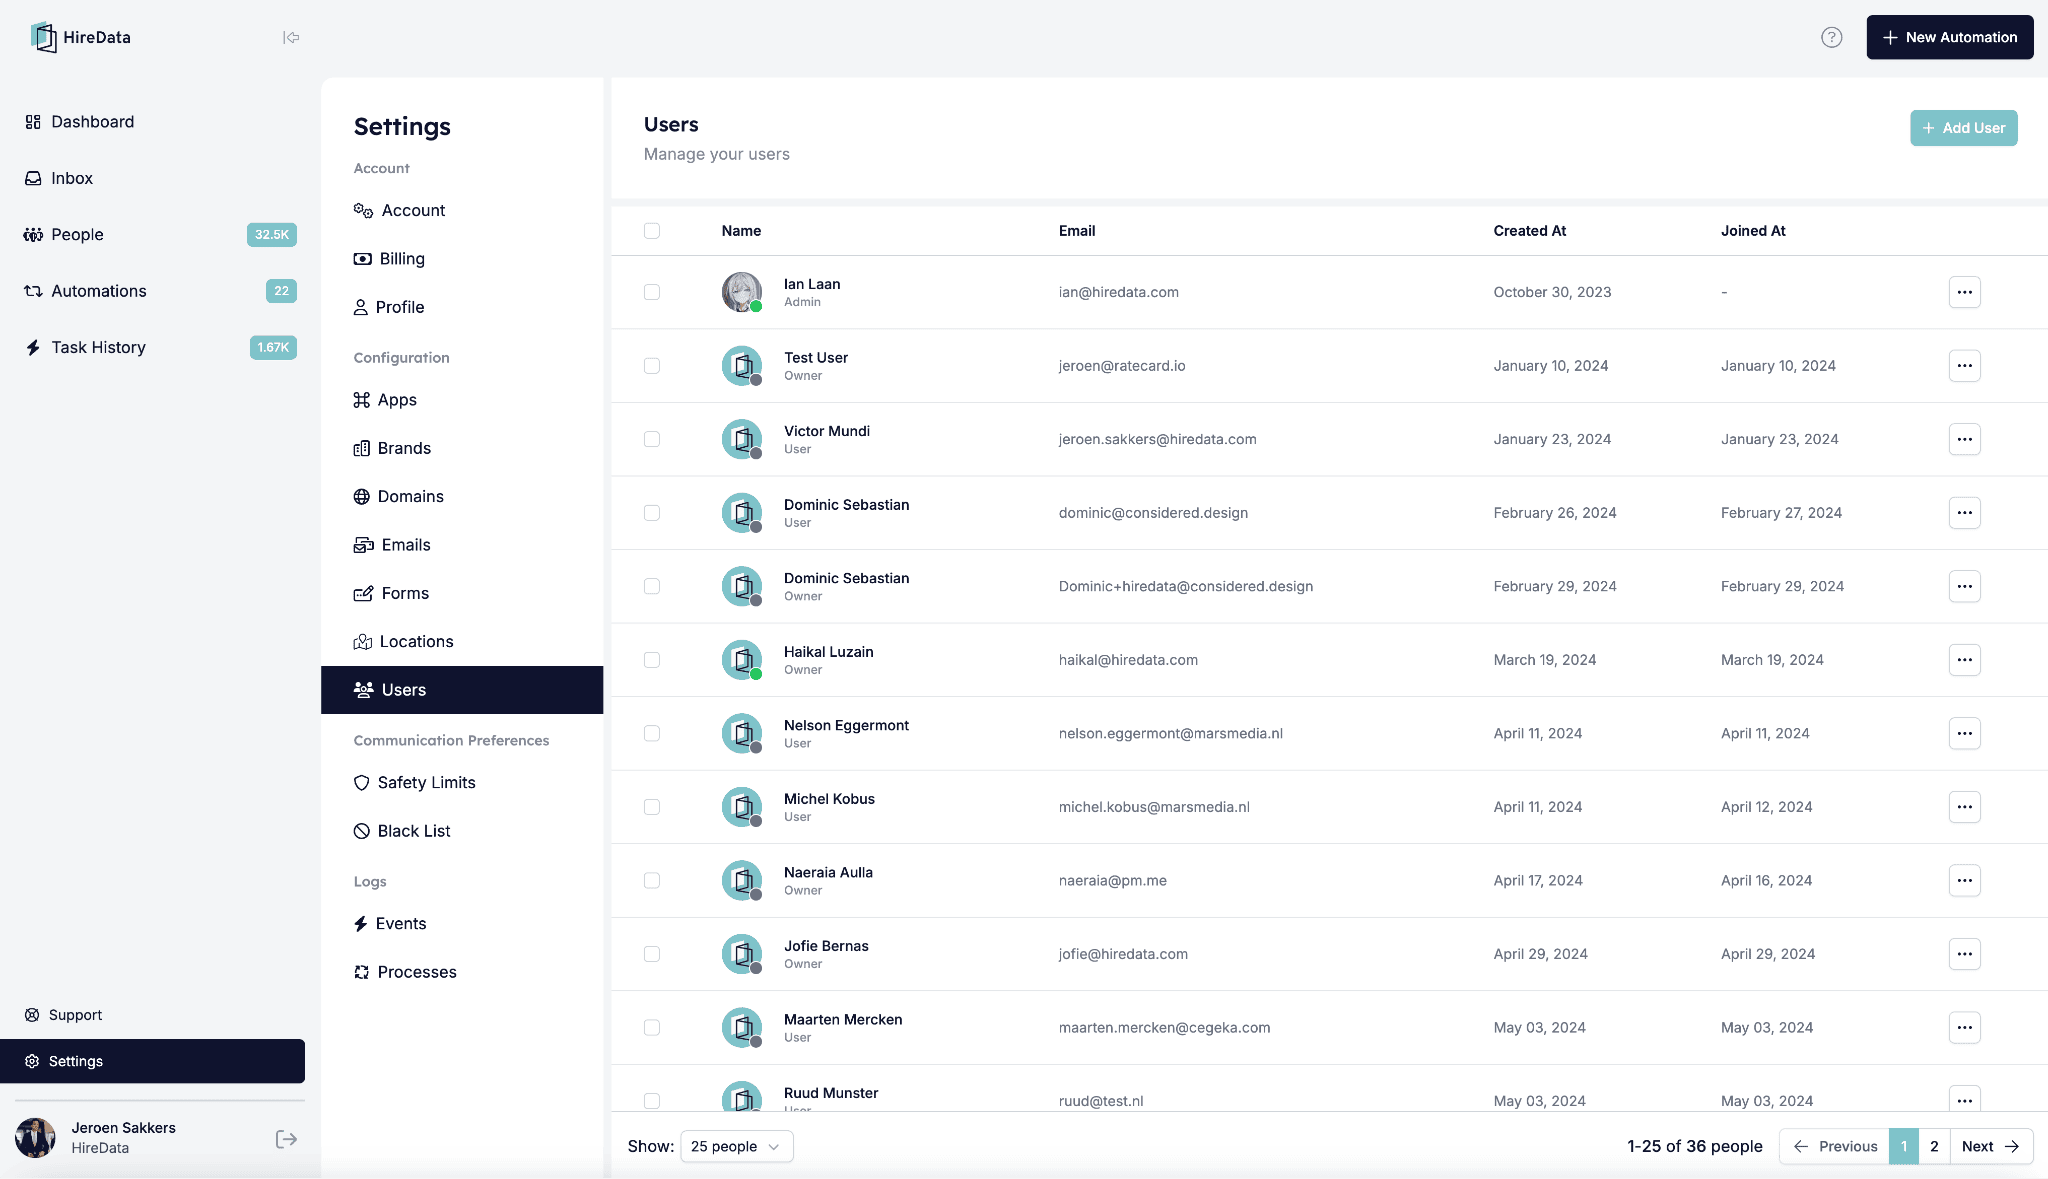
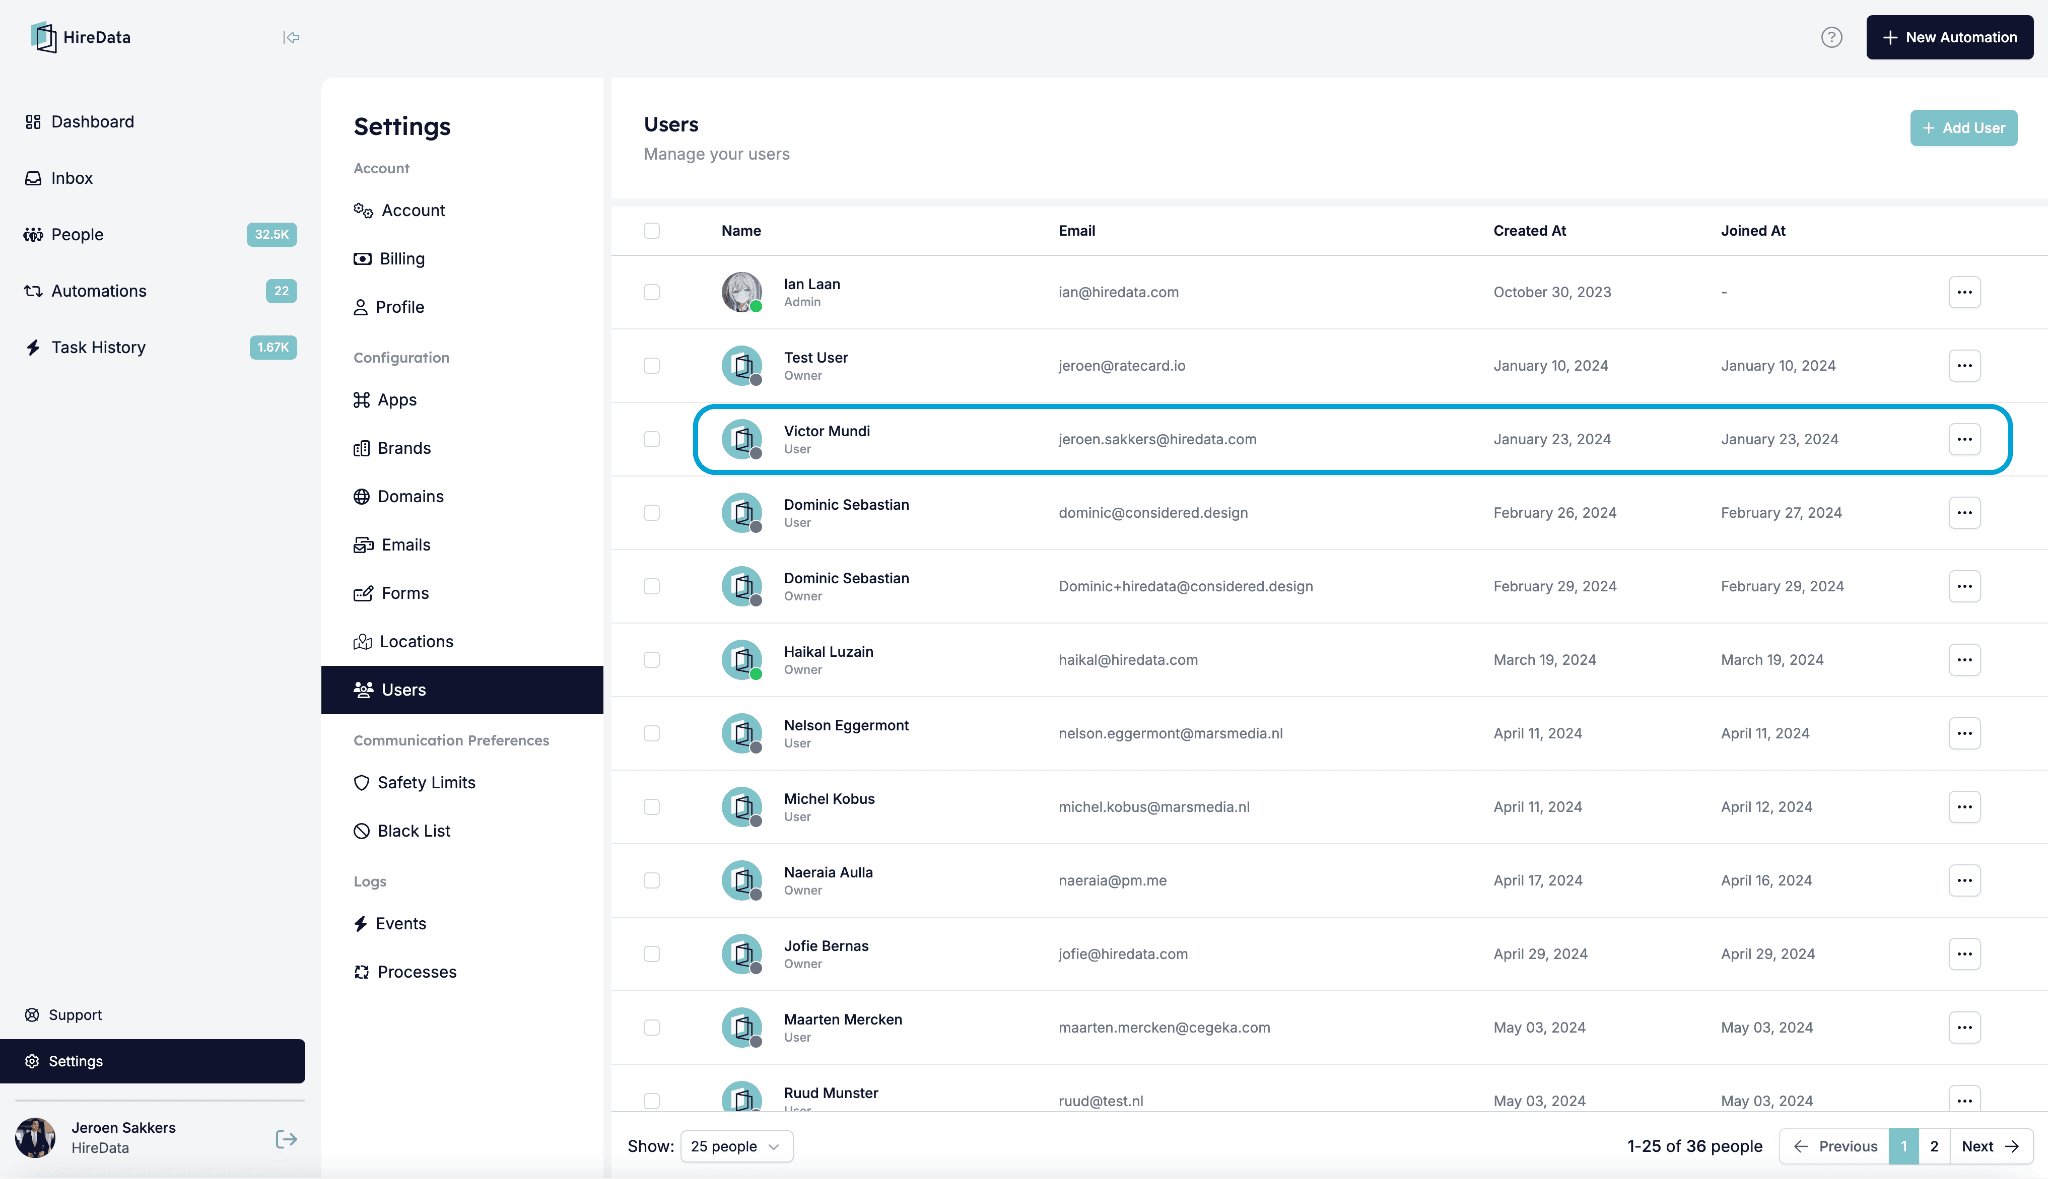
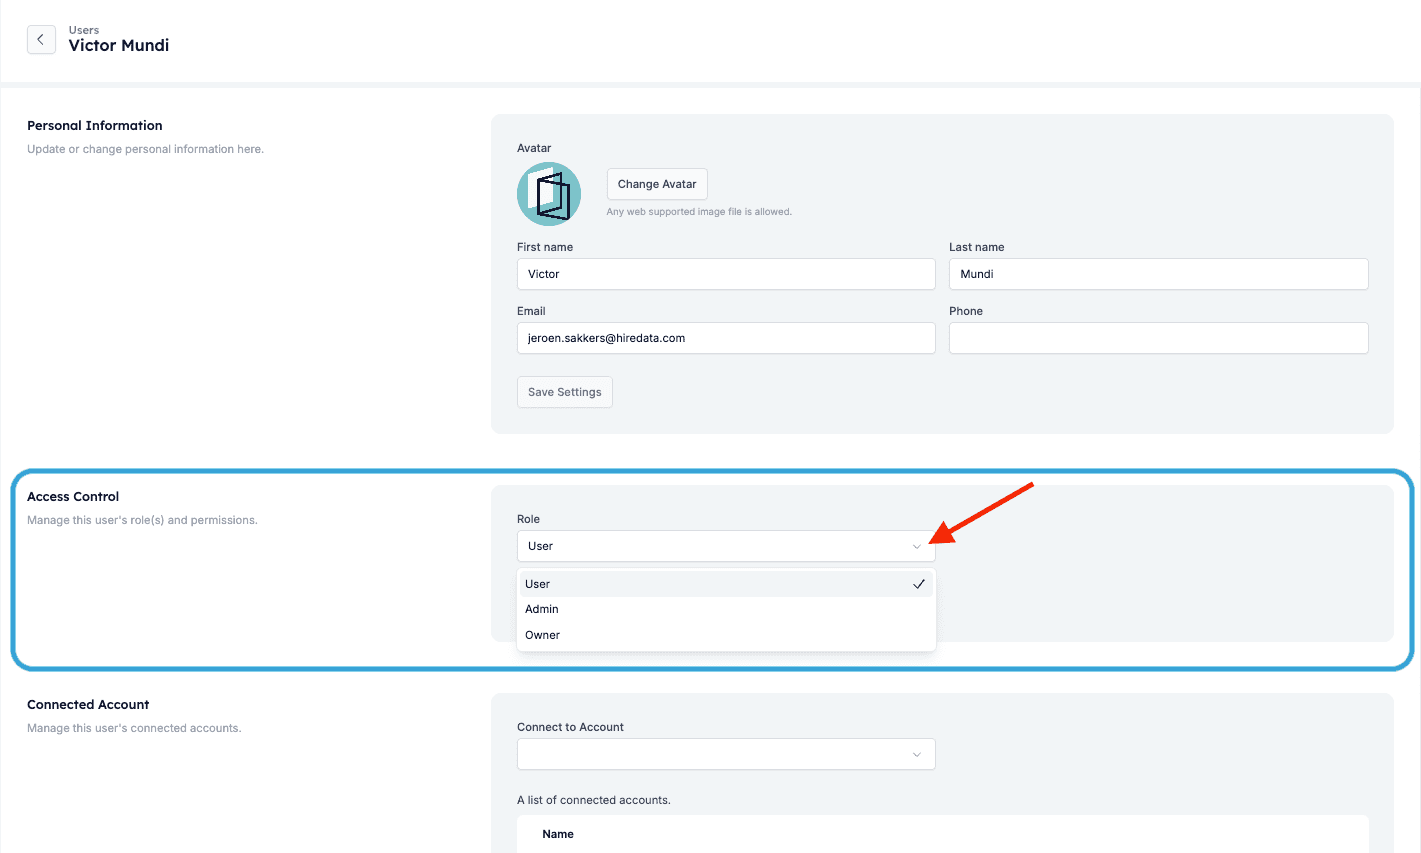
1.2. Manage the users’ roles and permissions
Before inviting anyone to your account, open the user’s account to manage their access level, including the information they can see and the editing permissions. Roles:- Owner
- Admin
- User
Step 2: Invite users to join your account
2.1. Group invitation
If you want to invite multiple members to your account at once, use the tick box to mark each of them and then click the [Invite] button at the top right corner. Confirm your choice, and HireData emails each of the selected users an invitation to join your account.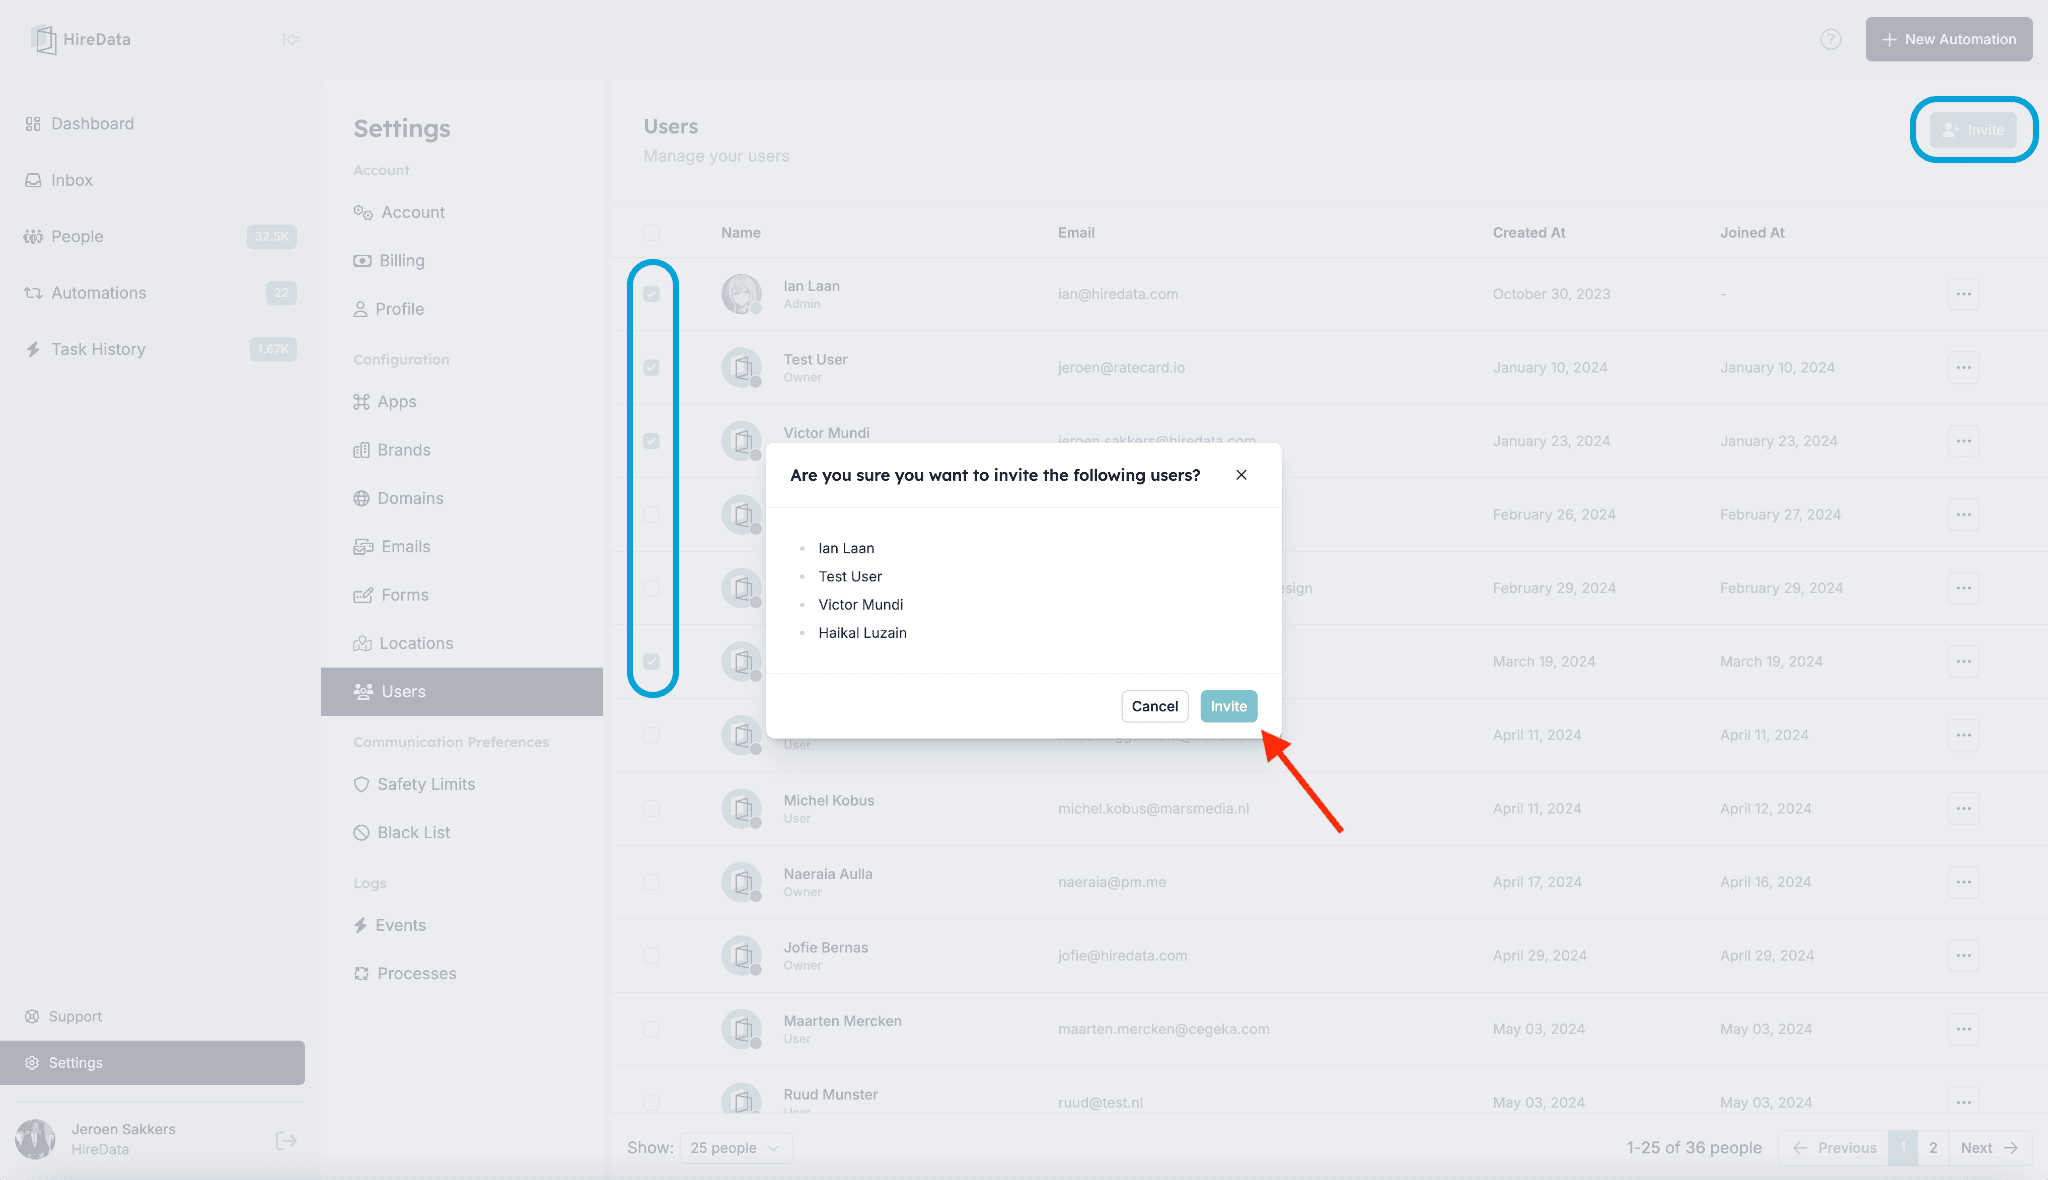
2.2. Individual invitation
You can also send individual invitations to different users. This functionality is best if you want to invite one user at a time or if you have missed selecting someone with the group invitation. To do this, click the three dots button next to the user and click the [Invite] button from the drop-down menu or the one located at the top right corner.
Tips
- Always check the user role before inviting them. If needed, you can update their role anytime by navigating to the user details, as explained in section 1.2. Manage the users’ roles and permissions.
- If the user loses their email invitation, you can resend it from the Users page by clicking [Re-send invite] from the drop-down menu as shown below:
