Build custom forms in HireData to collect structured feedback and candidate data, then feed the responses straight into your automations and ATS fields.
The forms in HireData help you collect structured data during candidate journeys. This guide walks you through setting up and using forms in HireData for your automations.
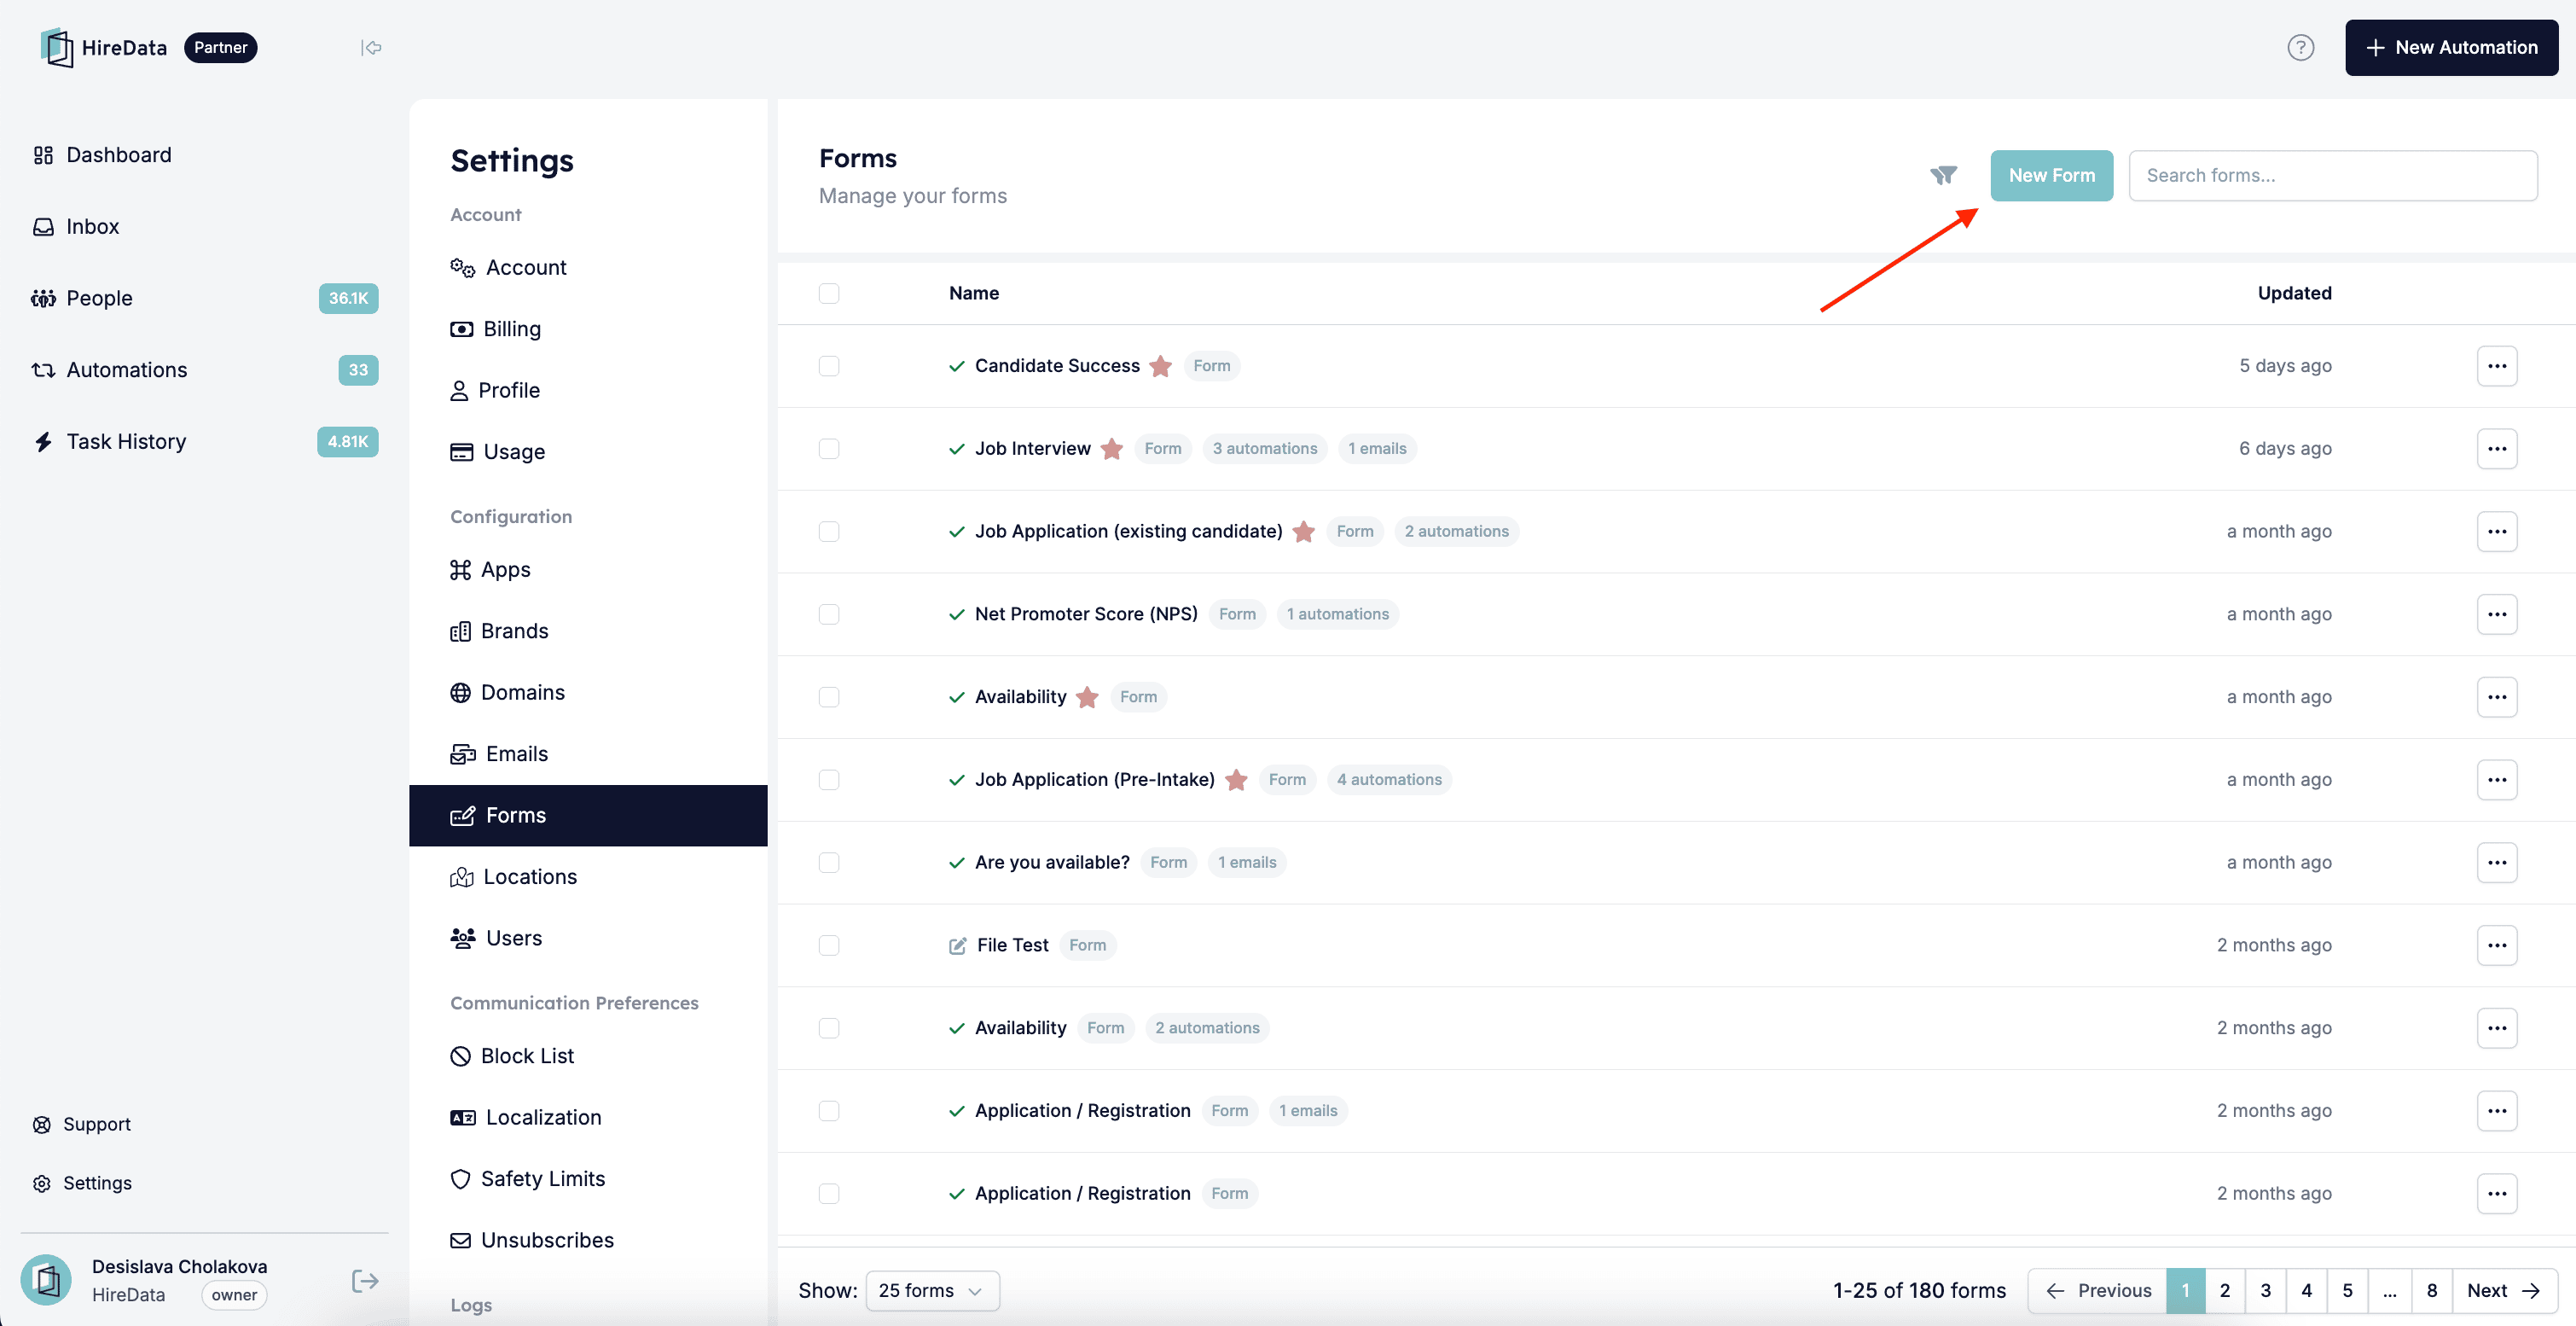
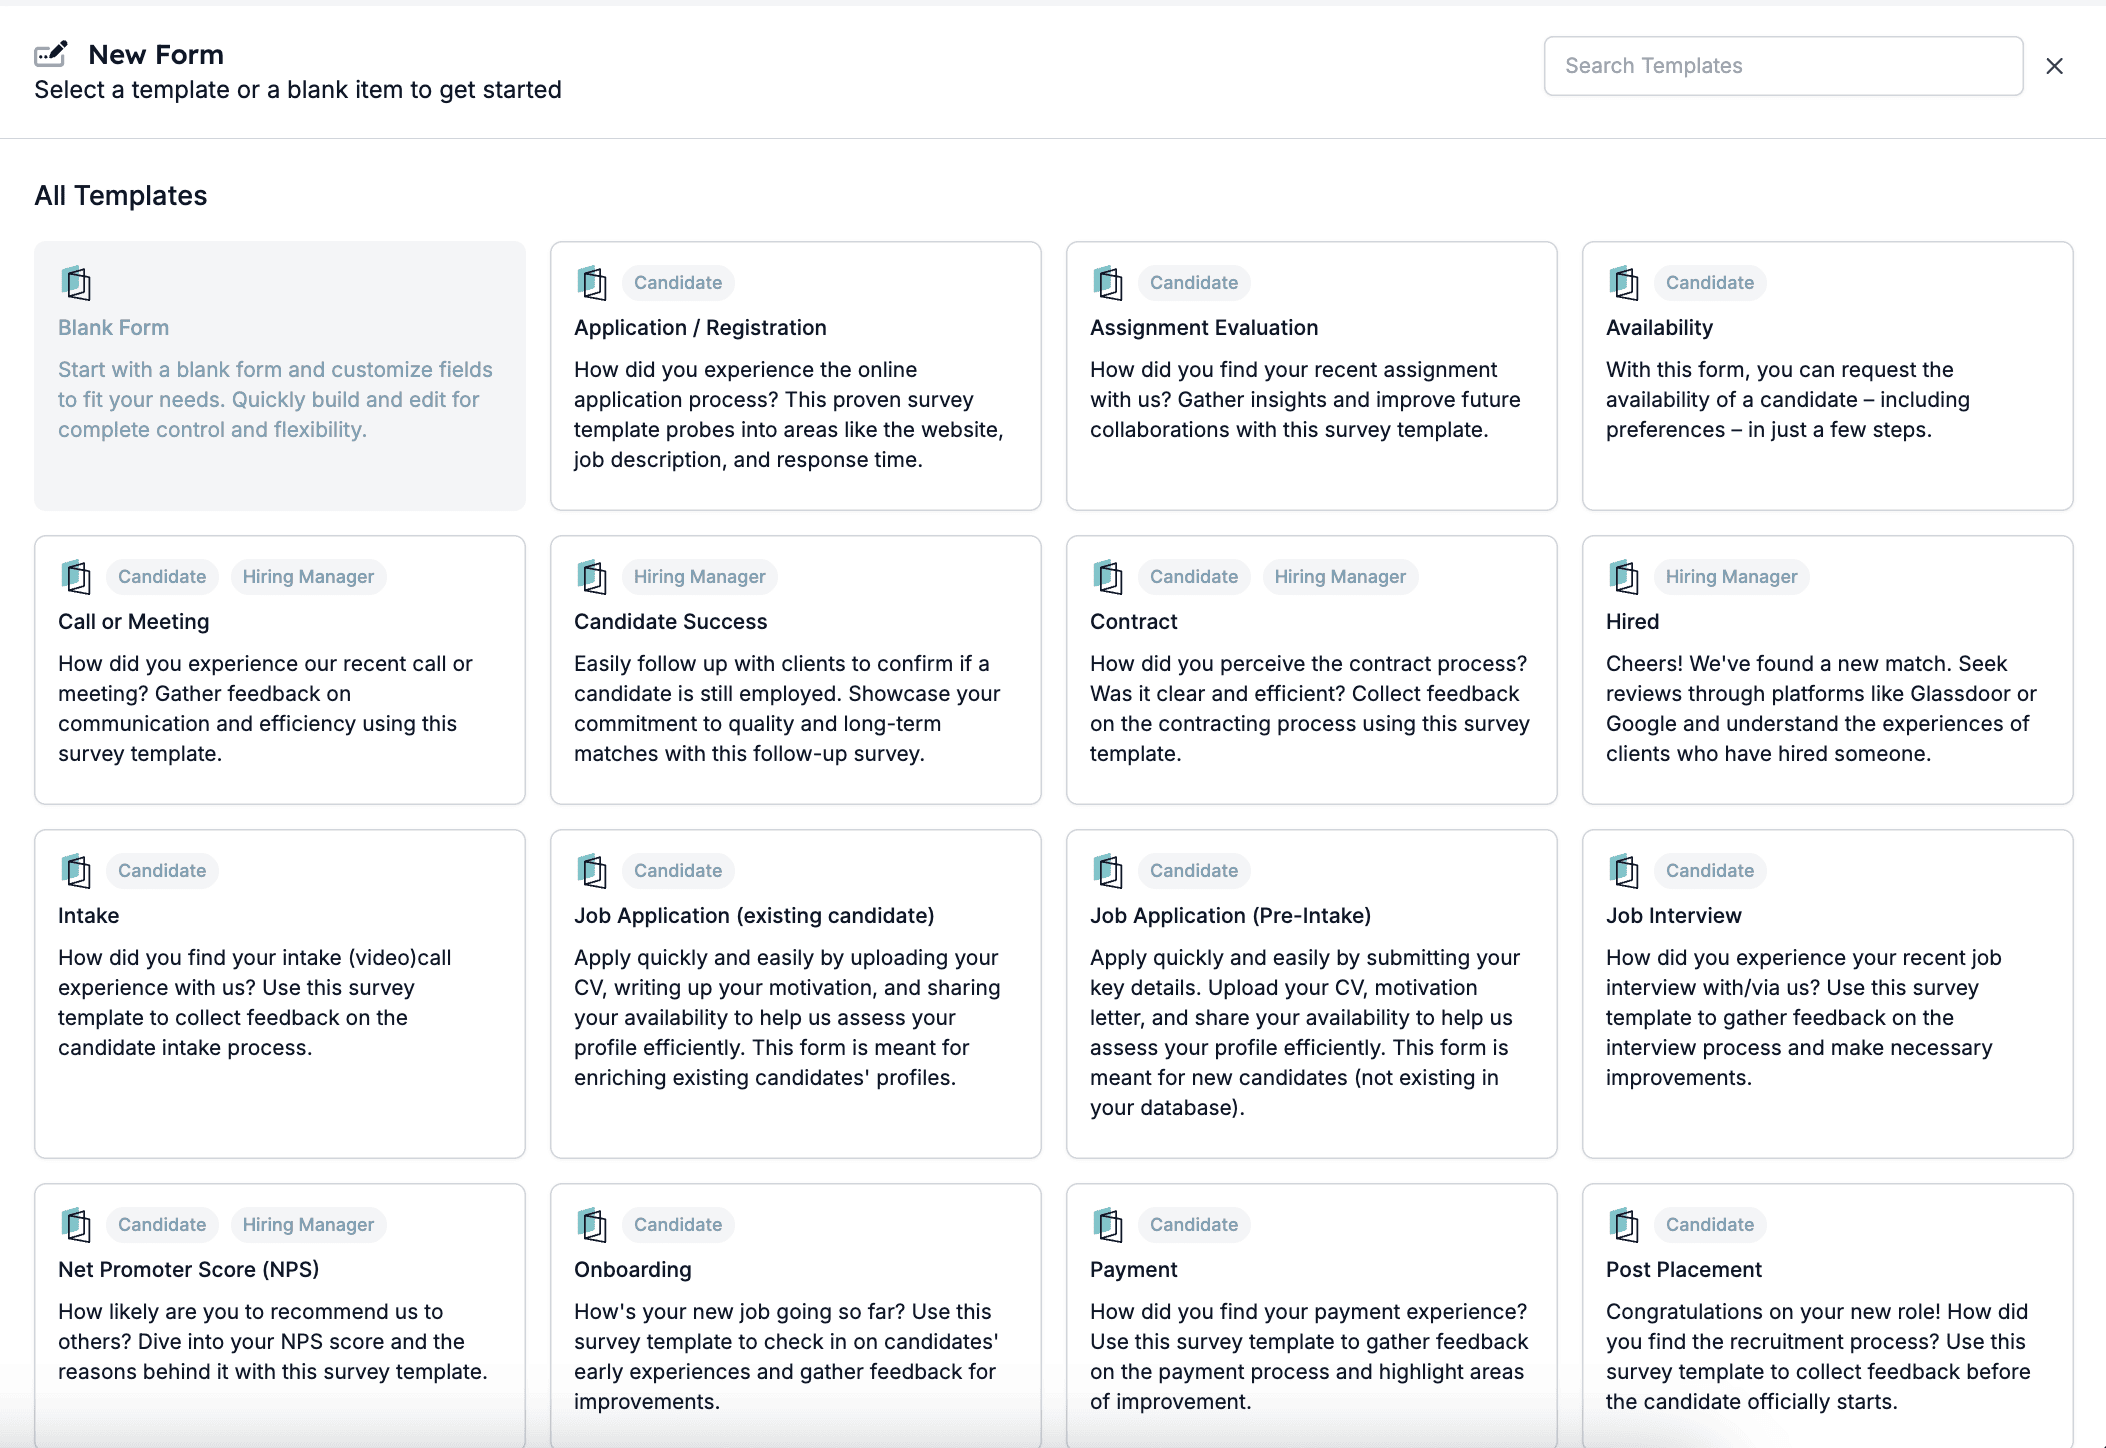
First, define the purpose of the form. Decide what data you need to collect, such as a candidate’s availability or feedback on the recruitment process.Then open the Forms page from Settings and click New Form. You can create a blank form or pick one of the templates:Form templates:If you start from scratch, give the form a name. The name is for internal use only:
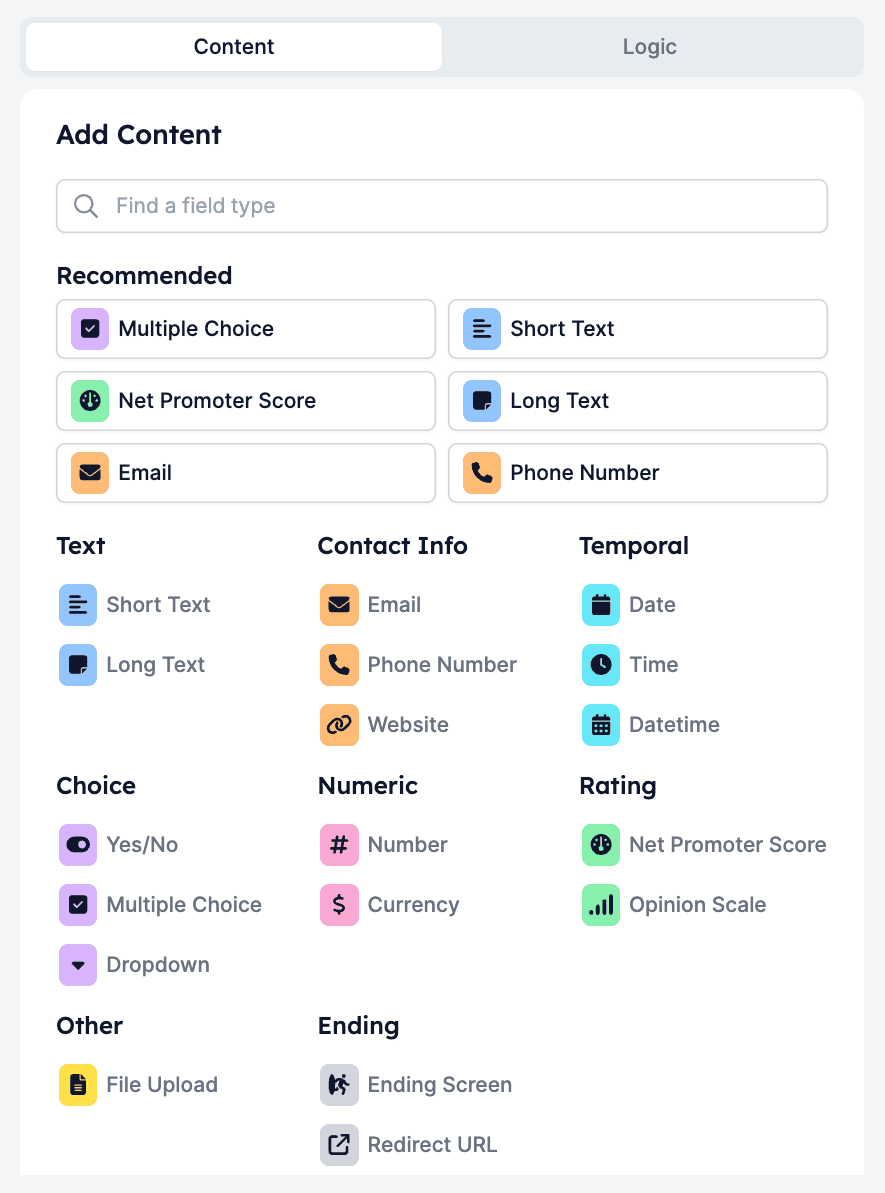
A form is one or more questions. Each question can carry logic, for example to show a follow-up only when a rating is below 8. Click the + button above the question list to open the Add Content palette and pick a question type.The palette offers text, contact, date and time, choice, numeric, rating, file upload, and ending types. For what each type stores and the logic operators it supports, see the form builder overview.
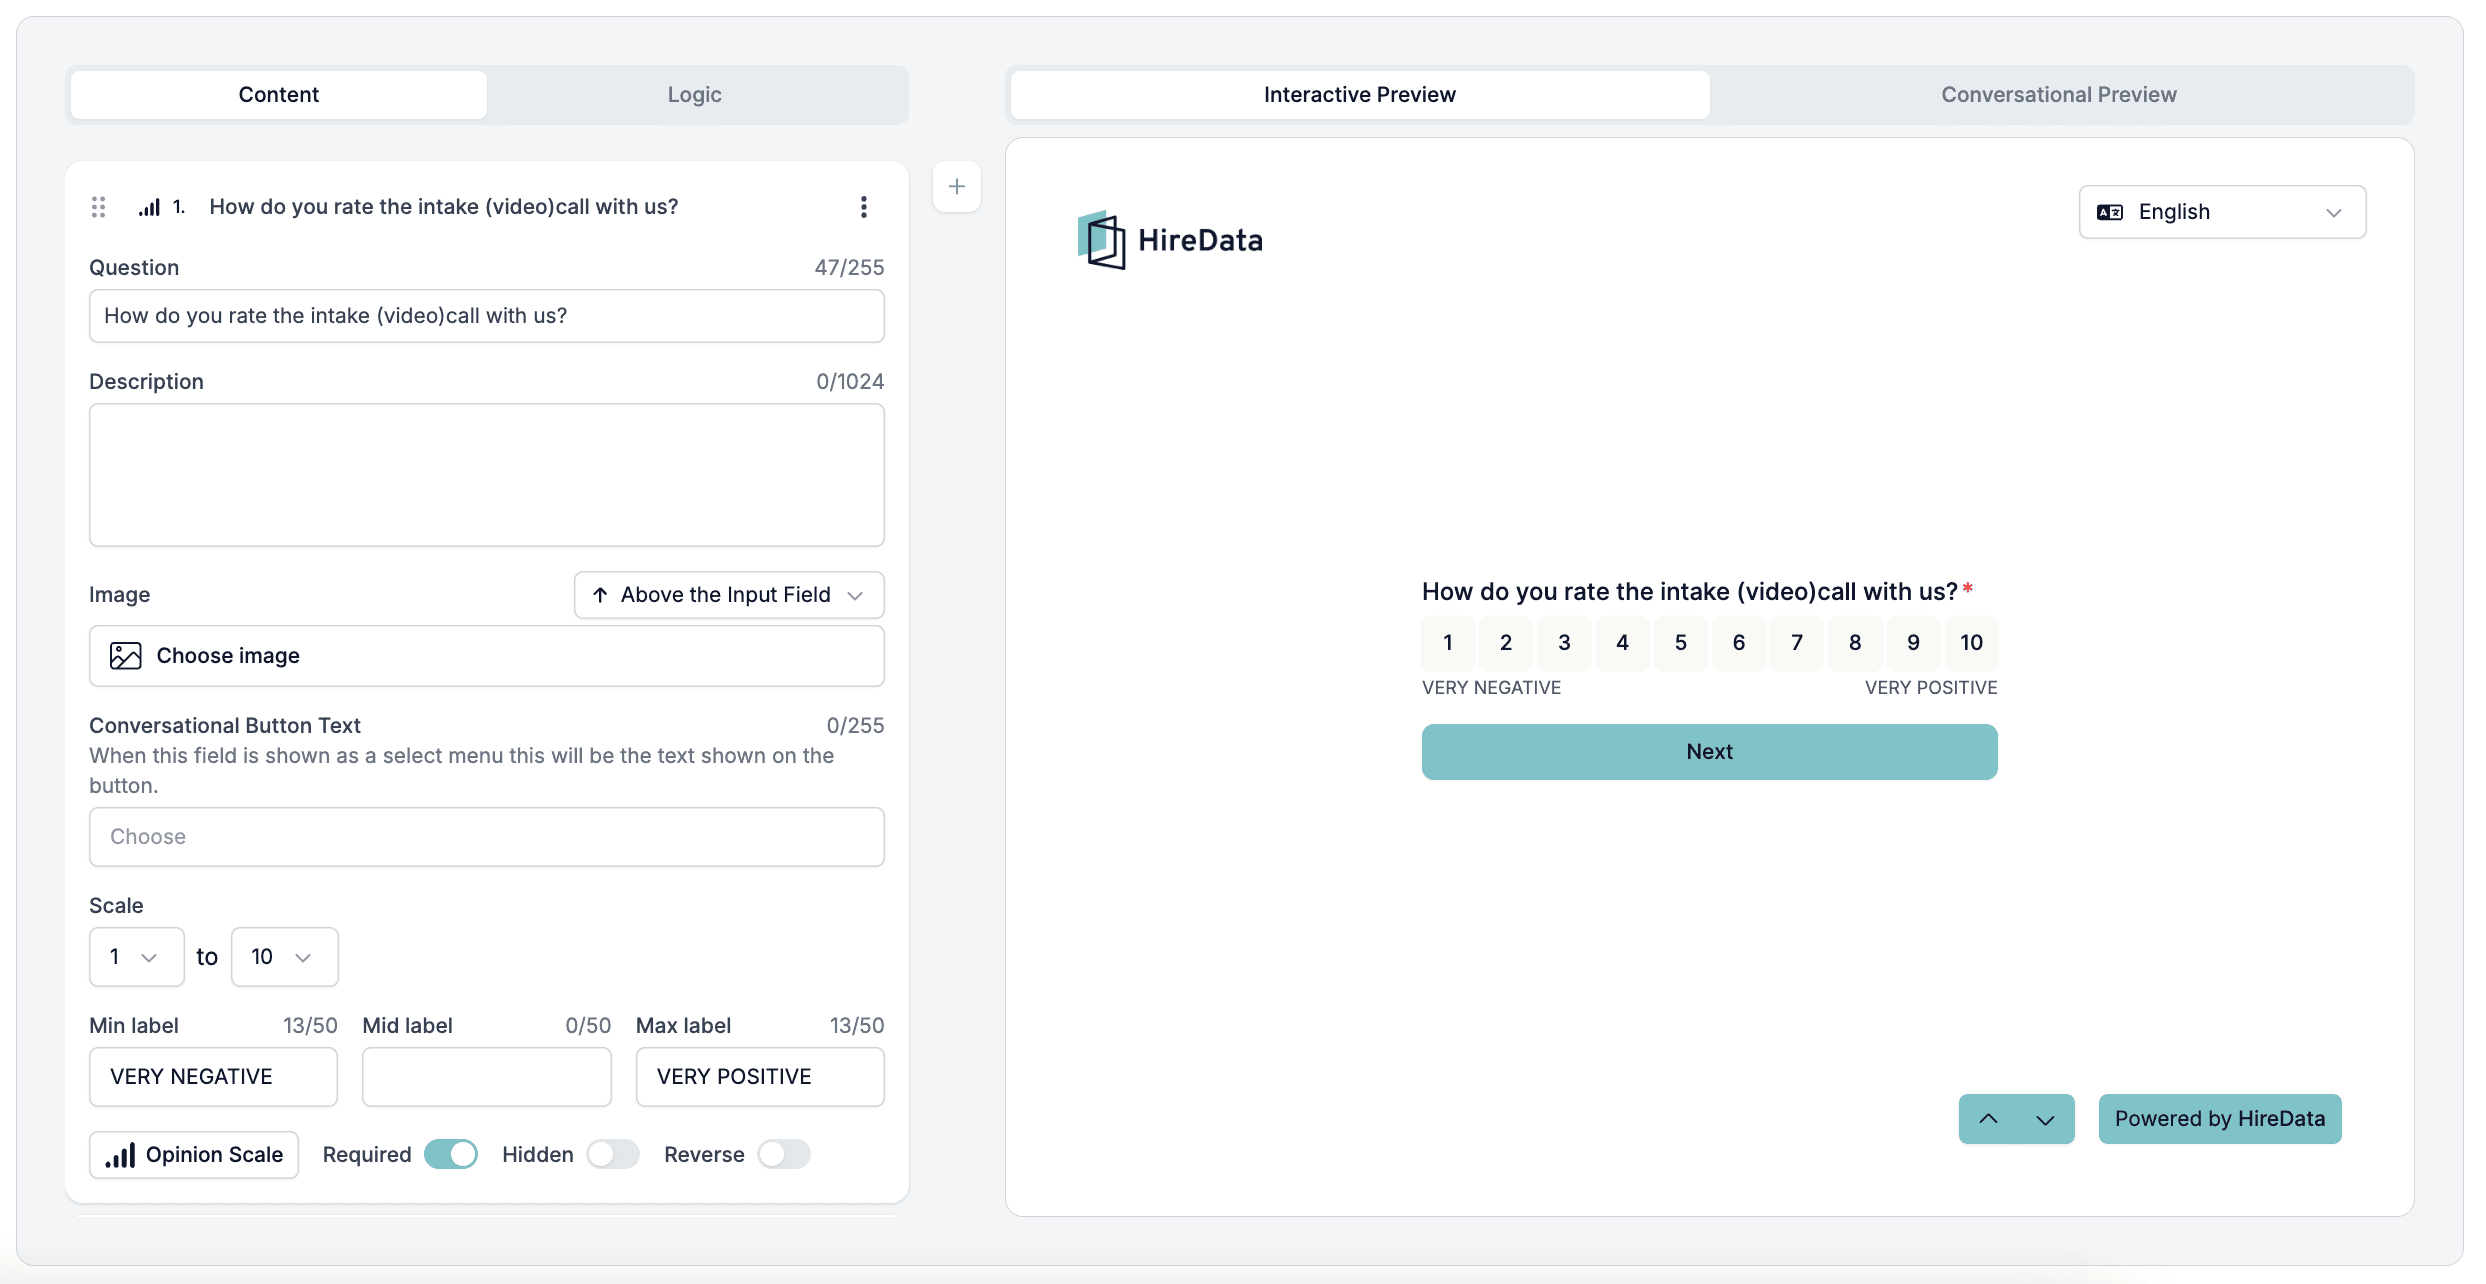
Click a question to open its settings. Every question has a Description and an Image. Text questions add a Placeholder, rating questions a scale and a Reverse toggle, and choice questions their options. The settings that every field carries are in Settings every field shares.The button at the bottom right of the card opens Display & requirements, which holds three switches:
Hidden keeps the question out of the form while its stored answer stays available to your automations.
Required stops the respondent from continuing until they answer.
Always include stops the question being switched off for an individual record, and makes it required.
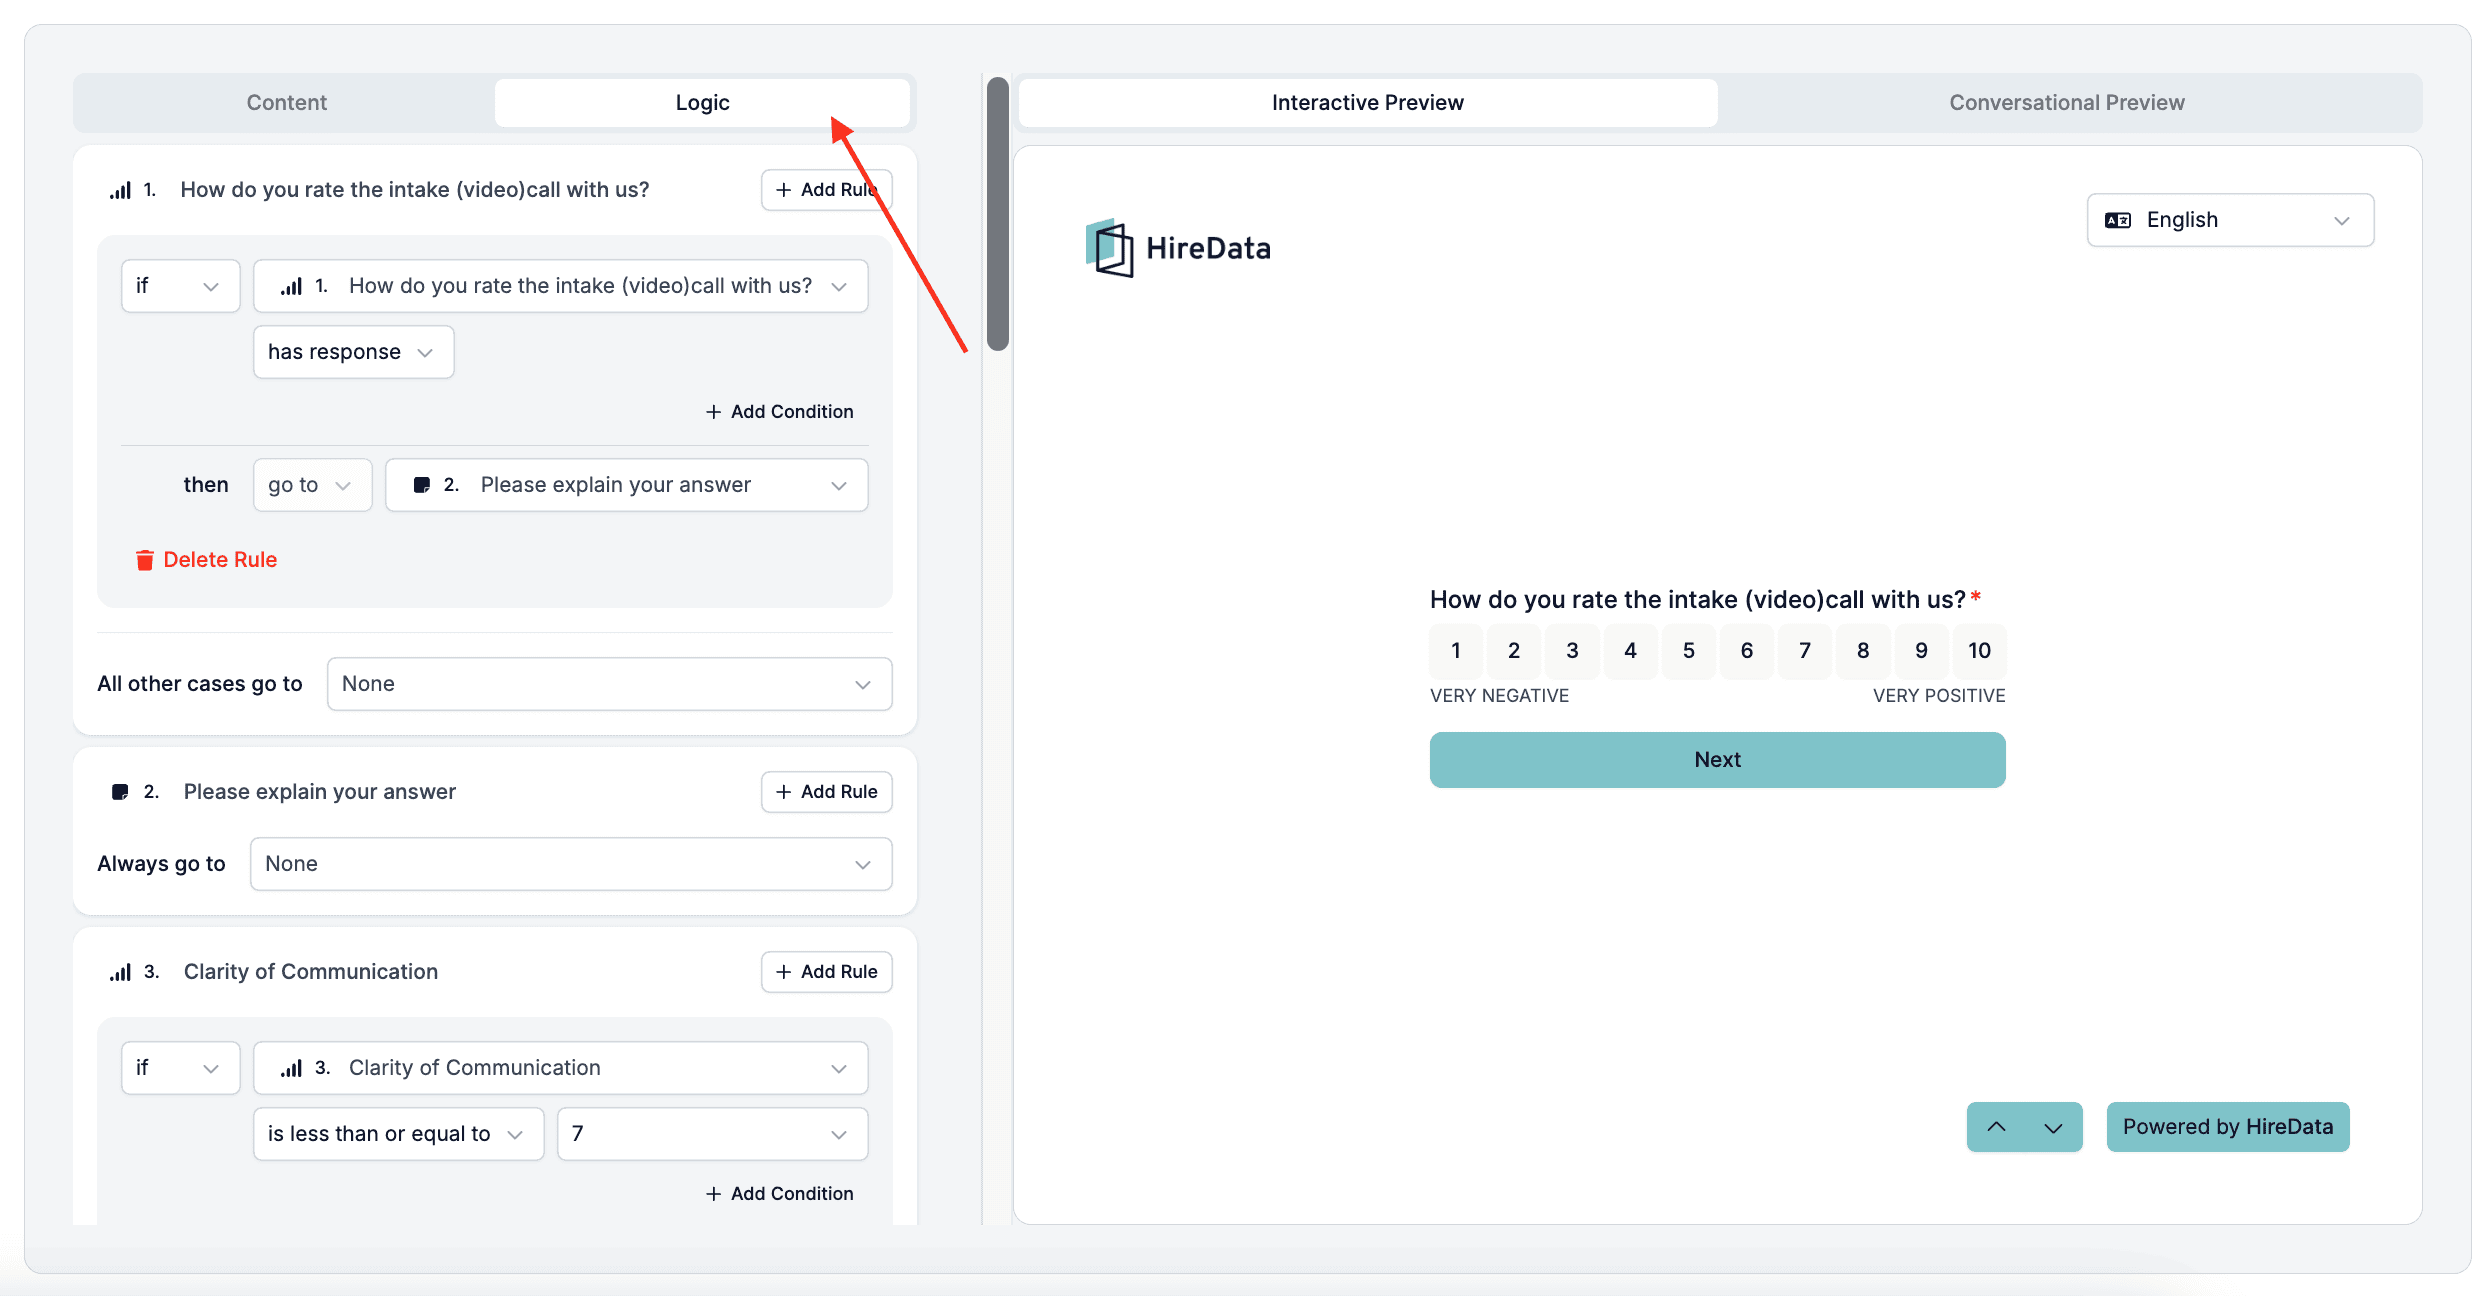
Use rules to set up flows between questions. For example:
If a candidate rates 7 or below, show a follow-up asking for improvement suggestions.
If the rating is 8 or higher, take them to the next question or ask them to leave a Google review.
To set this up, open the Logic tab and click Add Rule under a question. Set the condition, for example “is less than or equal to 7”, then select the question or ending screen to go to. All other cases go to decides where everyone else continues.Which operators each question type supports and how HireData picks between several rules are in the Logic tab reference.
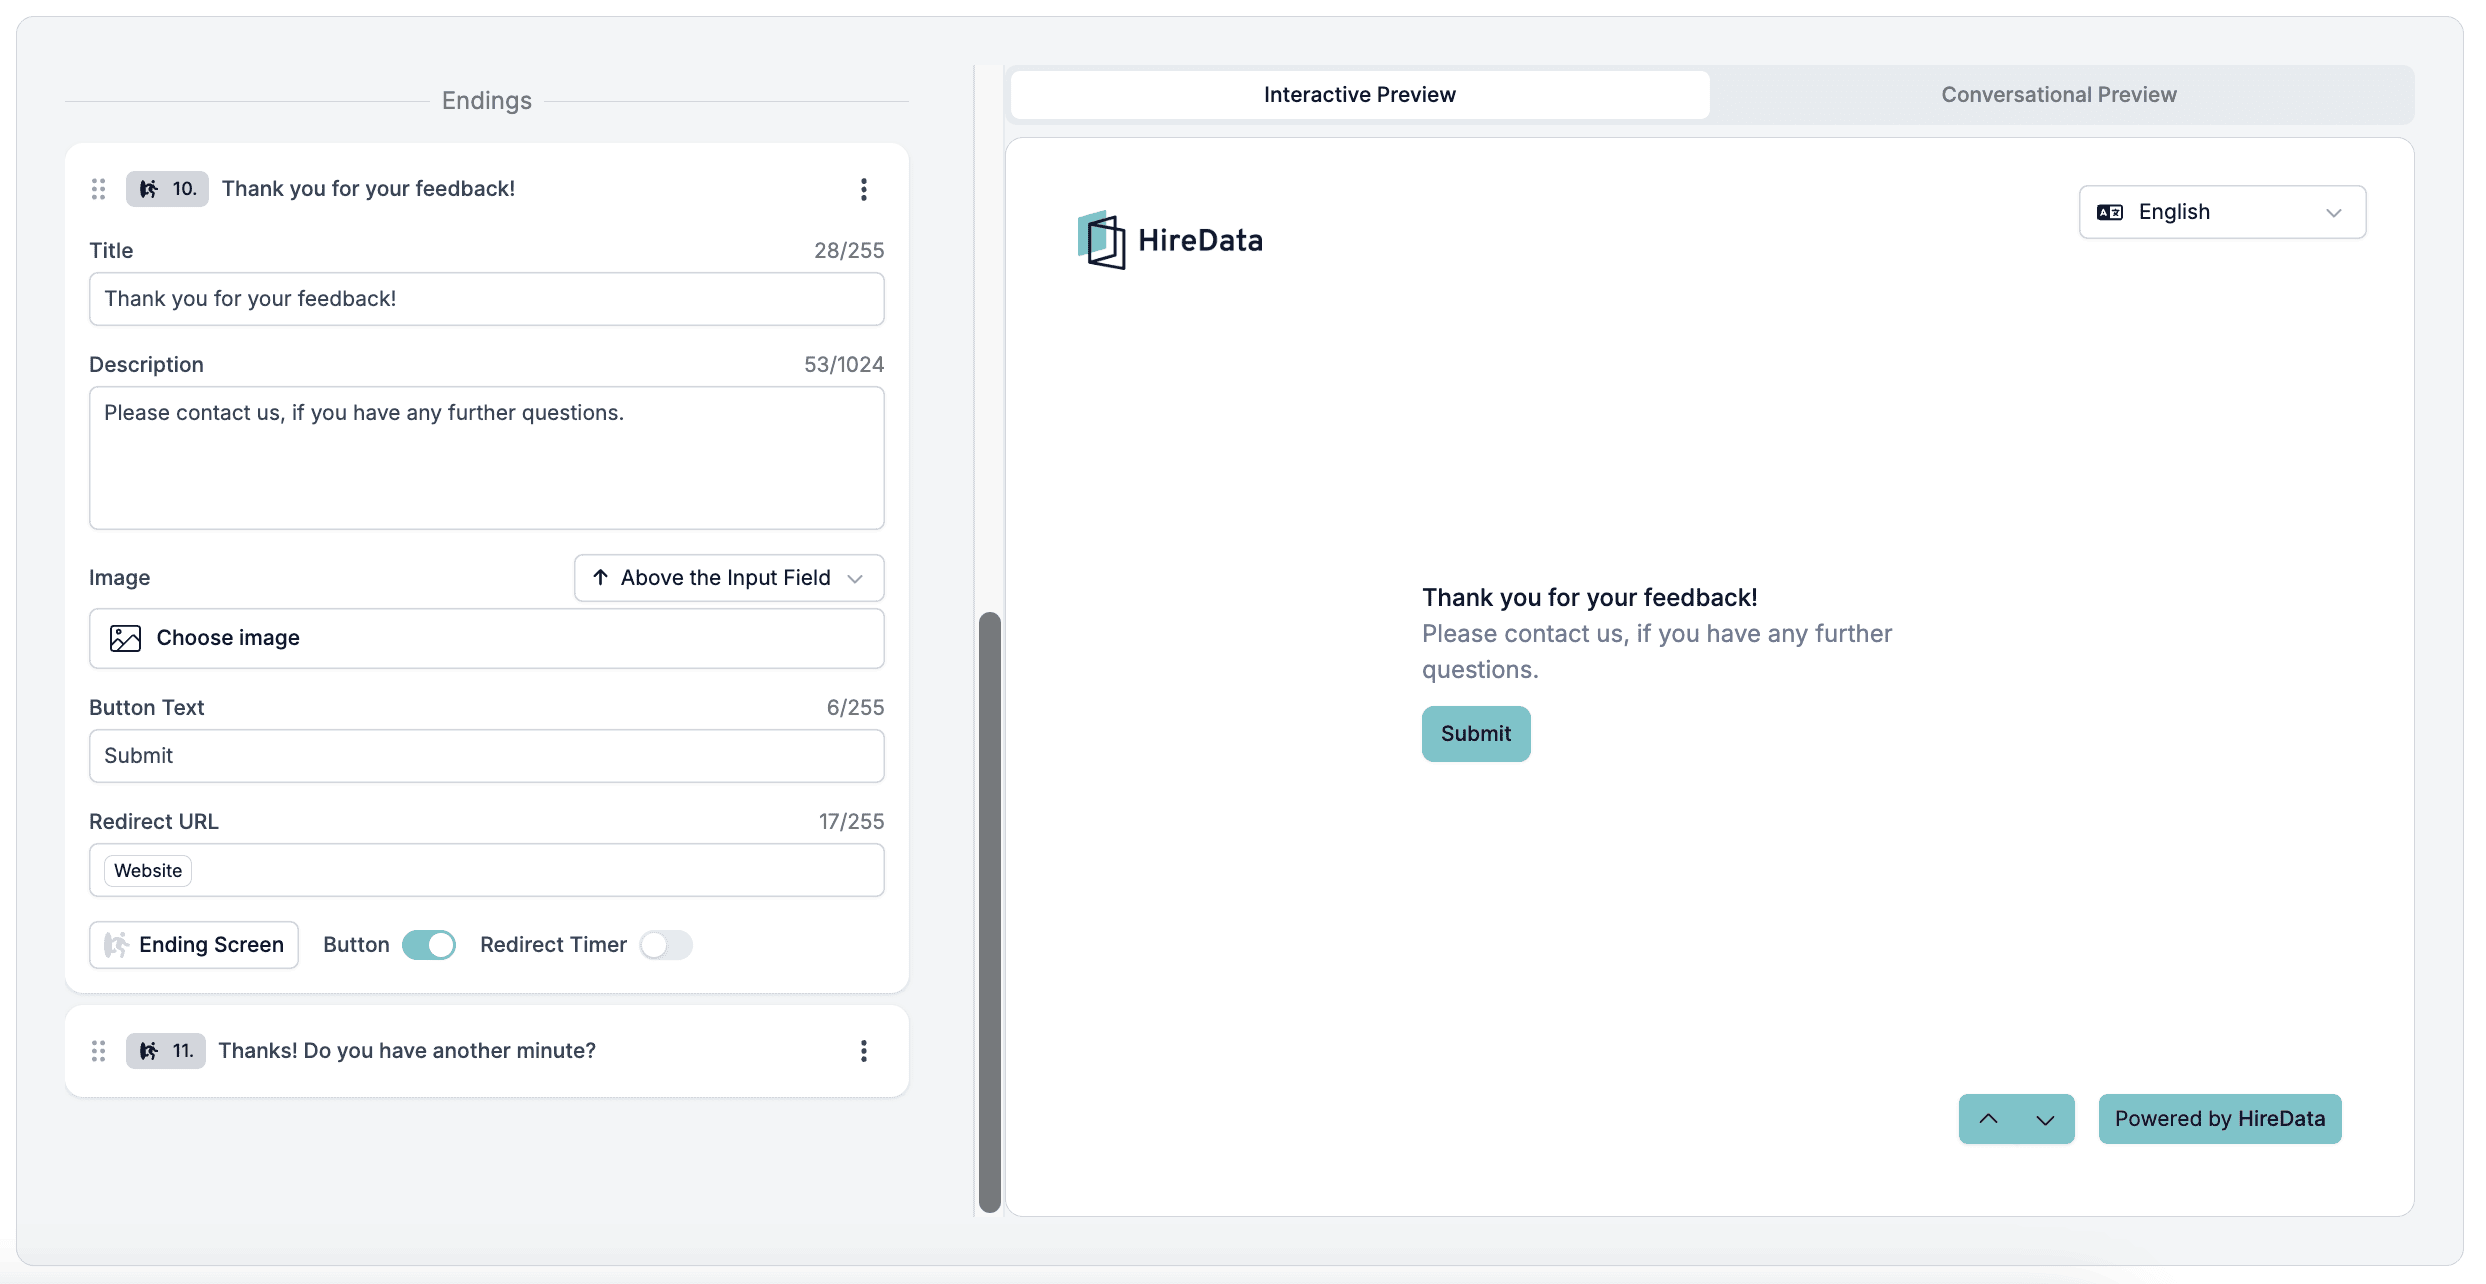
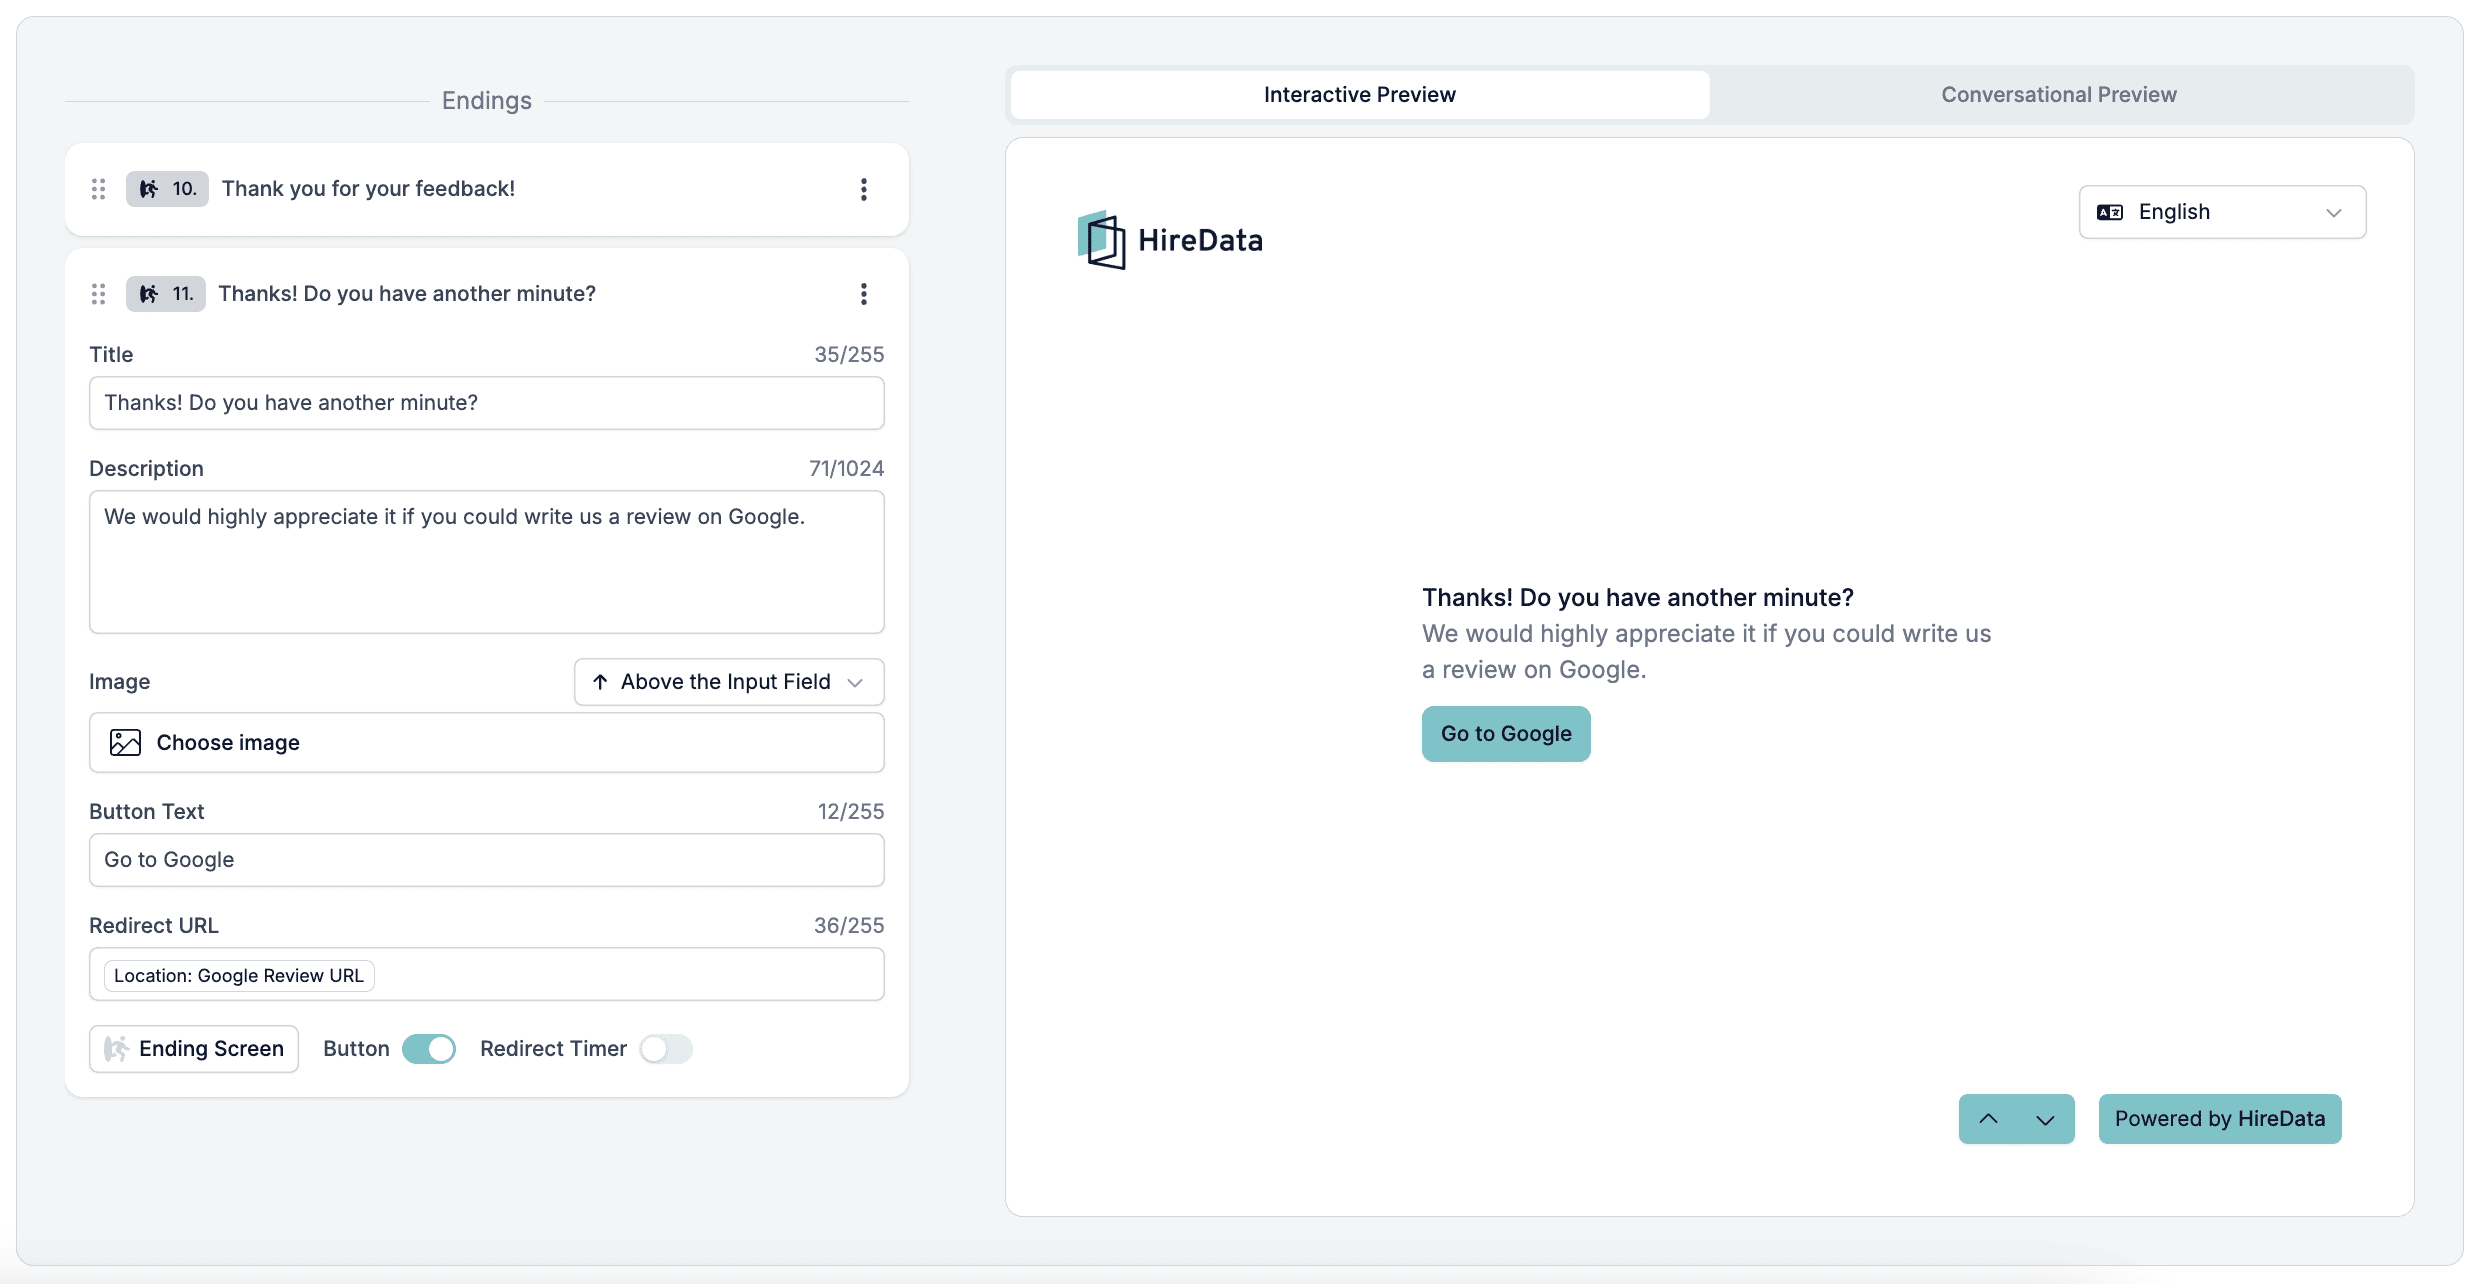
Based on the answers, forms can end with a thank-you message or redirect candidates to an external page to leave a review.You can customise the Thank-you screen with a:
Title
Short message
Image
Button with text
Redirect URL. Use this to direct candidates to leave a review or go to your website.
Thank you screen with Website Redirect URL:Thank you screen with Google Review URL:
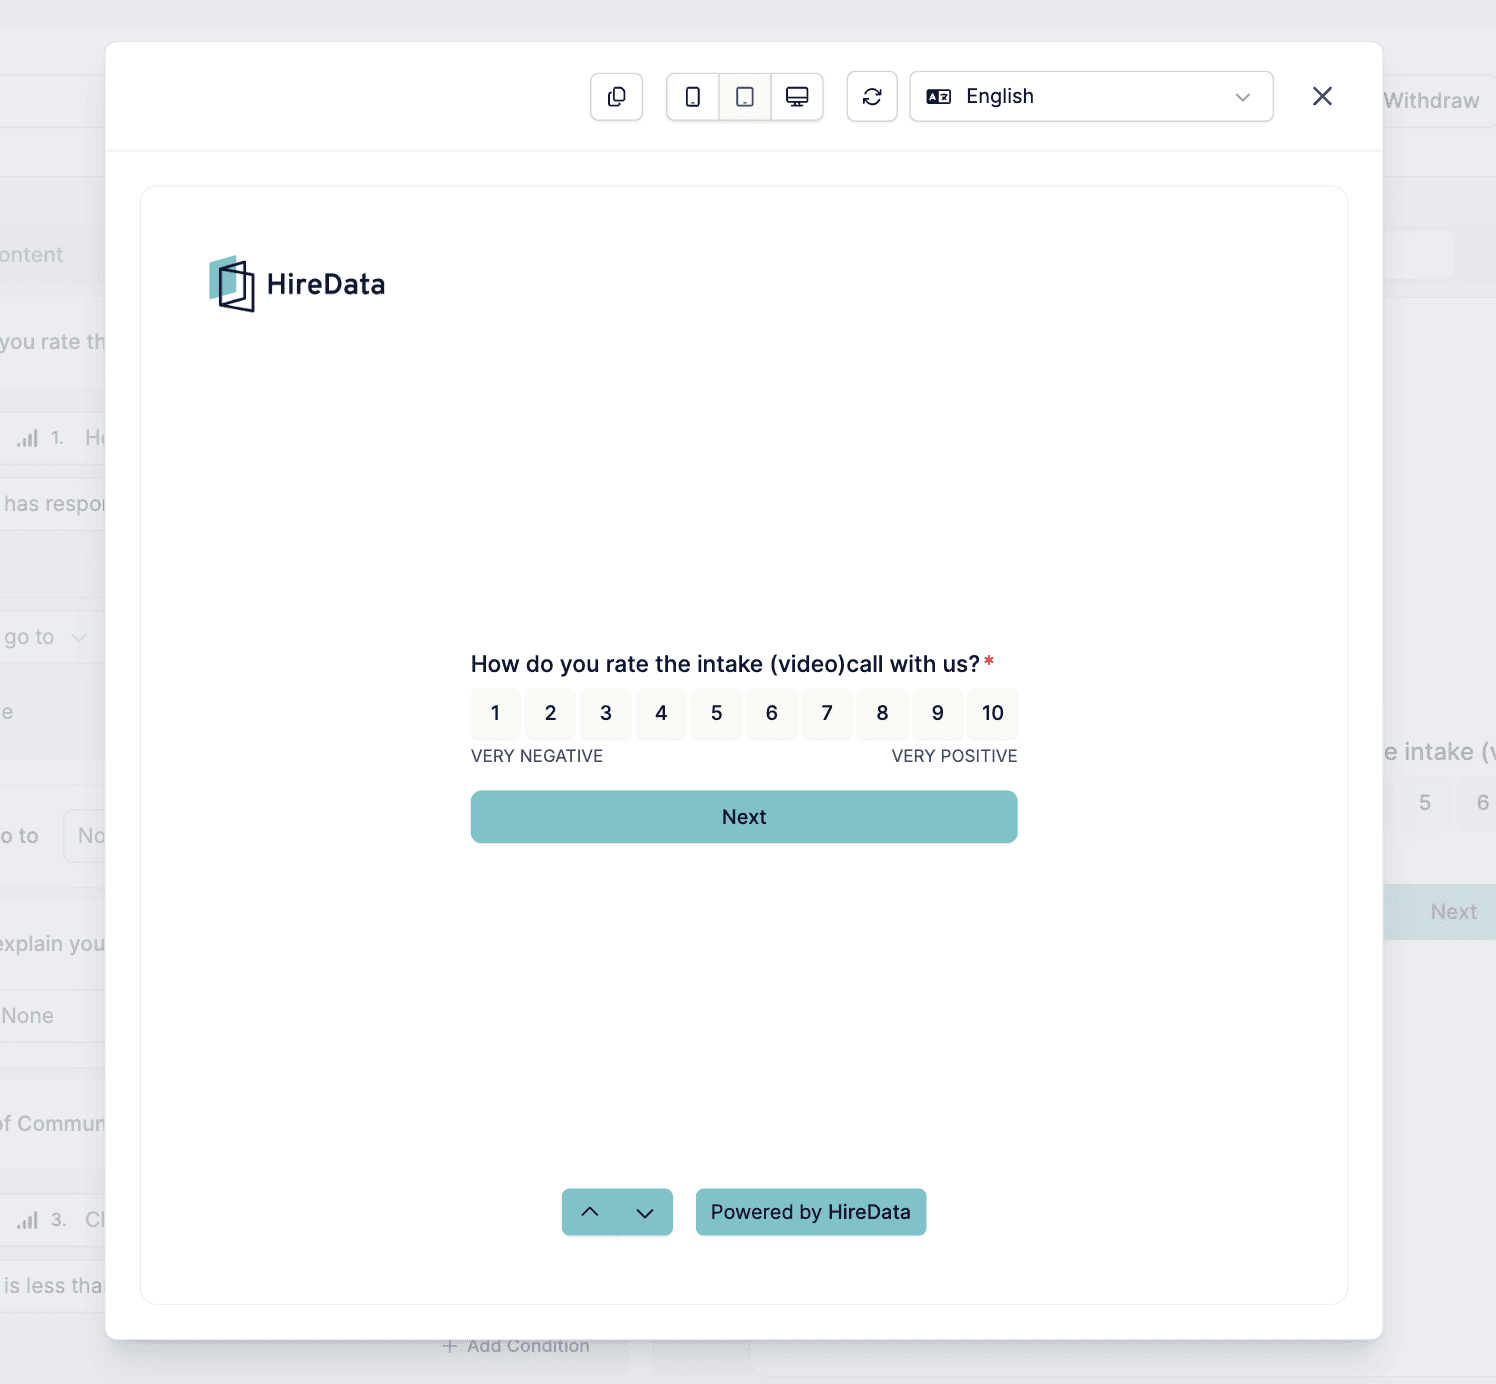
Click the eye icon to preview the form and Save to save it.Form preview on different devices:Once your form is ready, add it to your email templates in HireData and send it through your automations.
Link the form to an object such as a vacancy, and you can switch individual questions on or off for one record without touching the form itself. One pre-screening form then covers every vacancy, each serving only the questions that belong to it. See Configuring a form per record.