WhatsApp templates in HireData
Available WhatsApp templates
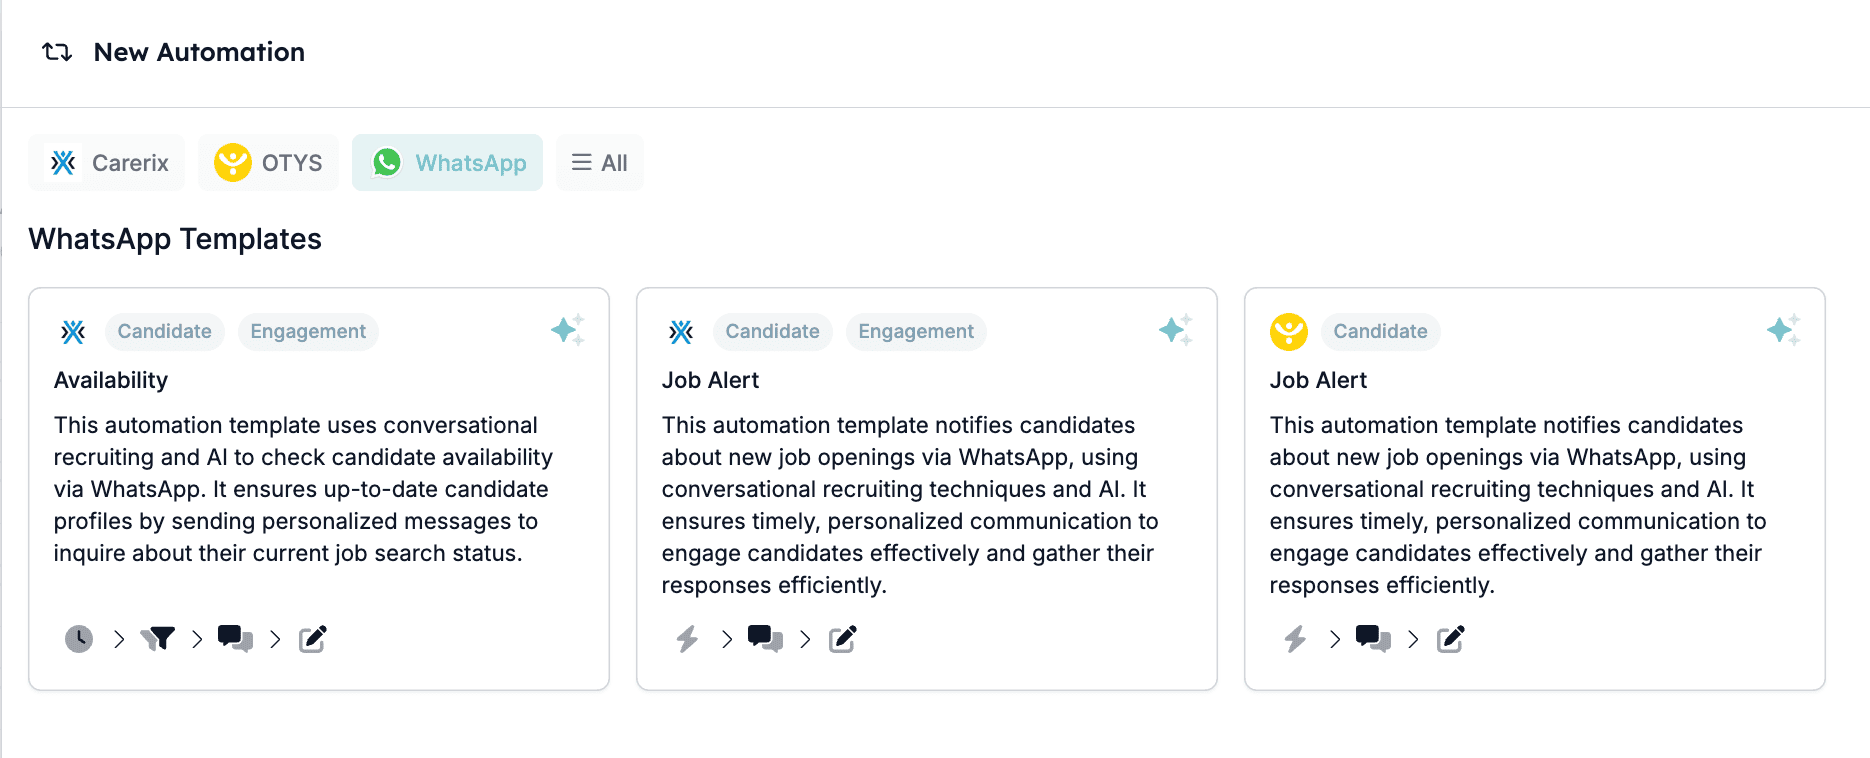
- Availability Check (via Carerix) -** **This template is designed to verify a candidate’s availability for job opportunities. It sends personalised messages to inquire about their current job search status, ensuring that candidate profiles remain up-to-date.
- **Job Alert (via Carerix) **- This automation notifies candidates about new job openings via WhatsApp. It leverages AI-driven conversational techniques to ensure timely communication and gather responses effectively.
- Job Alert (via OTYS) - Similar to the Carerix job alert template, this version is tailored for OTYS users. It informs candidates about new job opportunities while maintaining engagement through AI-powered messaging.
How the trigger works
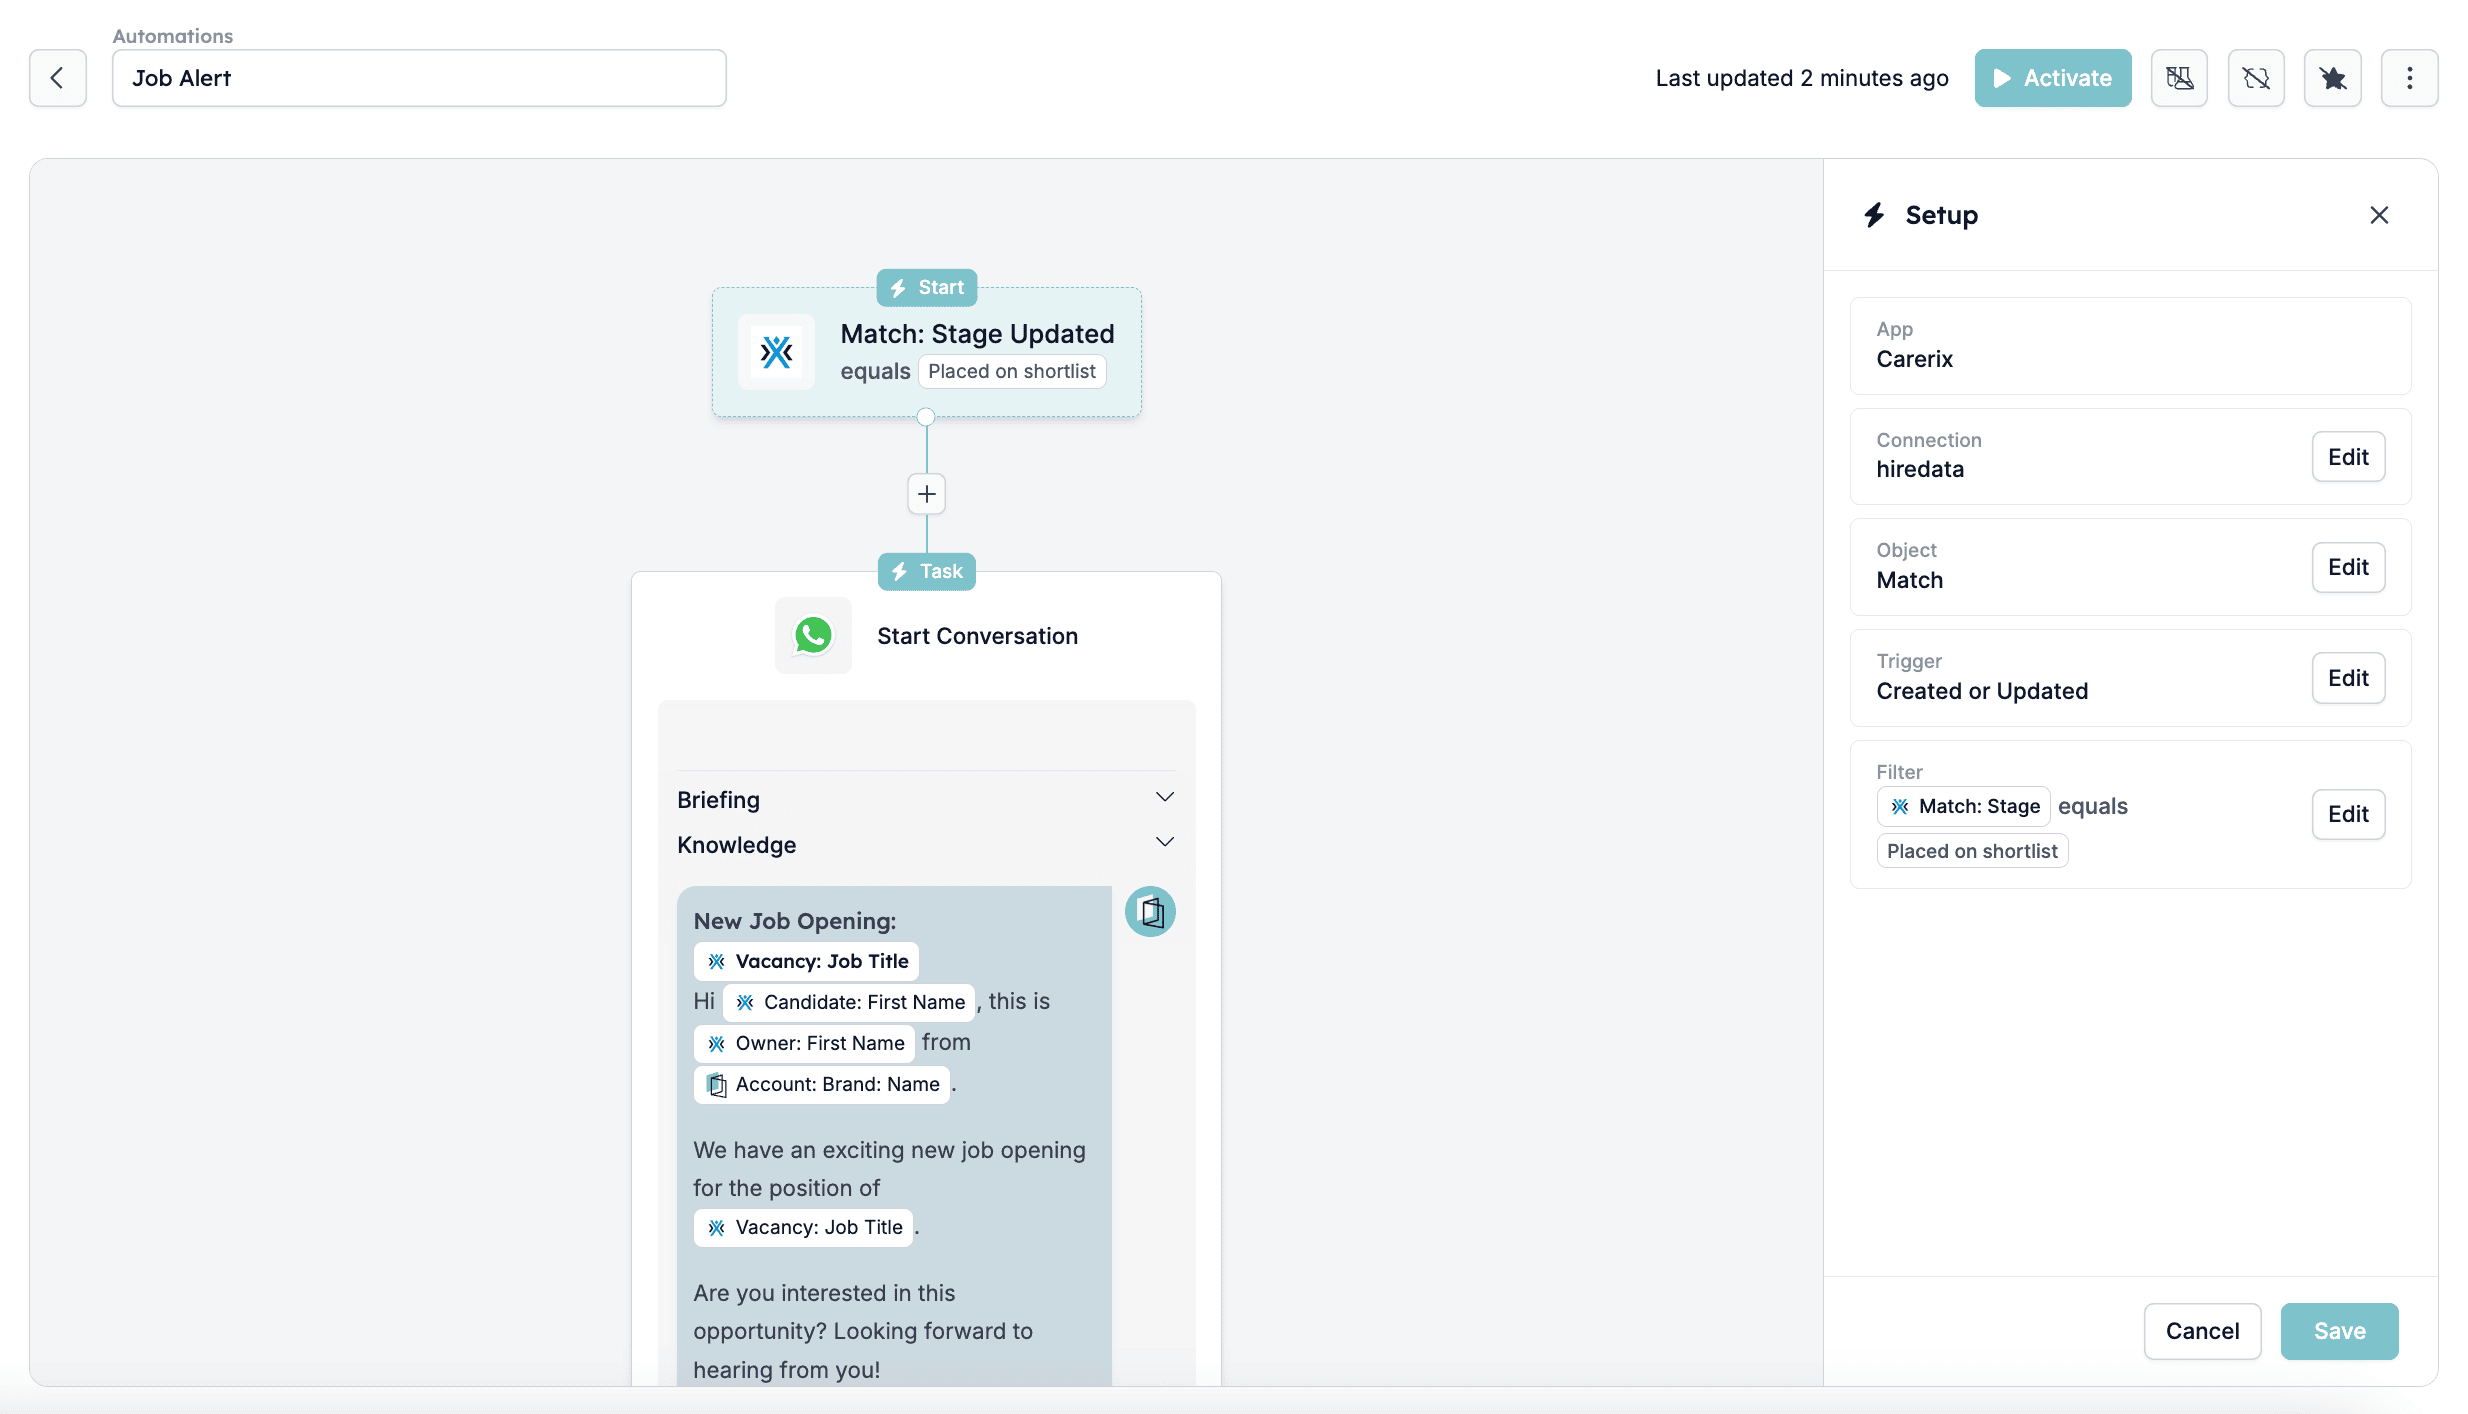
All of the WhatsApp templates use the same logic but can differentiate in the set trigger and the content of the conversation (e.g. the questions asked, the collected information, and the tone of voice). This article focuses on the Job Alert automation via Carerix. In this automation, the trigger is based on a stage update within the Carerix system. Here’s how it functions:- Trigger Object – The automation listens for when a Match is either created or updated.
- Filter Condition – The automation only proceeds if the [Match: Stage] is set to **“Placed on shortlist” **ensuring that only shortlisted candidates receive the job alert message.
Configuring the [Start Conversation] task
Once the trigger is set, the next step is to configure the task that defines how the WhatsApp message will be sent. Here’s a breakdown of each configuration option:- Phone Number Selection
- Select the phone number that will be used to send the WhatsApp messages. This is typically a verified business number associated with your WhatsApp Business that should already be verified and visible in the WhatsApp connection in HireData.
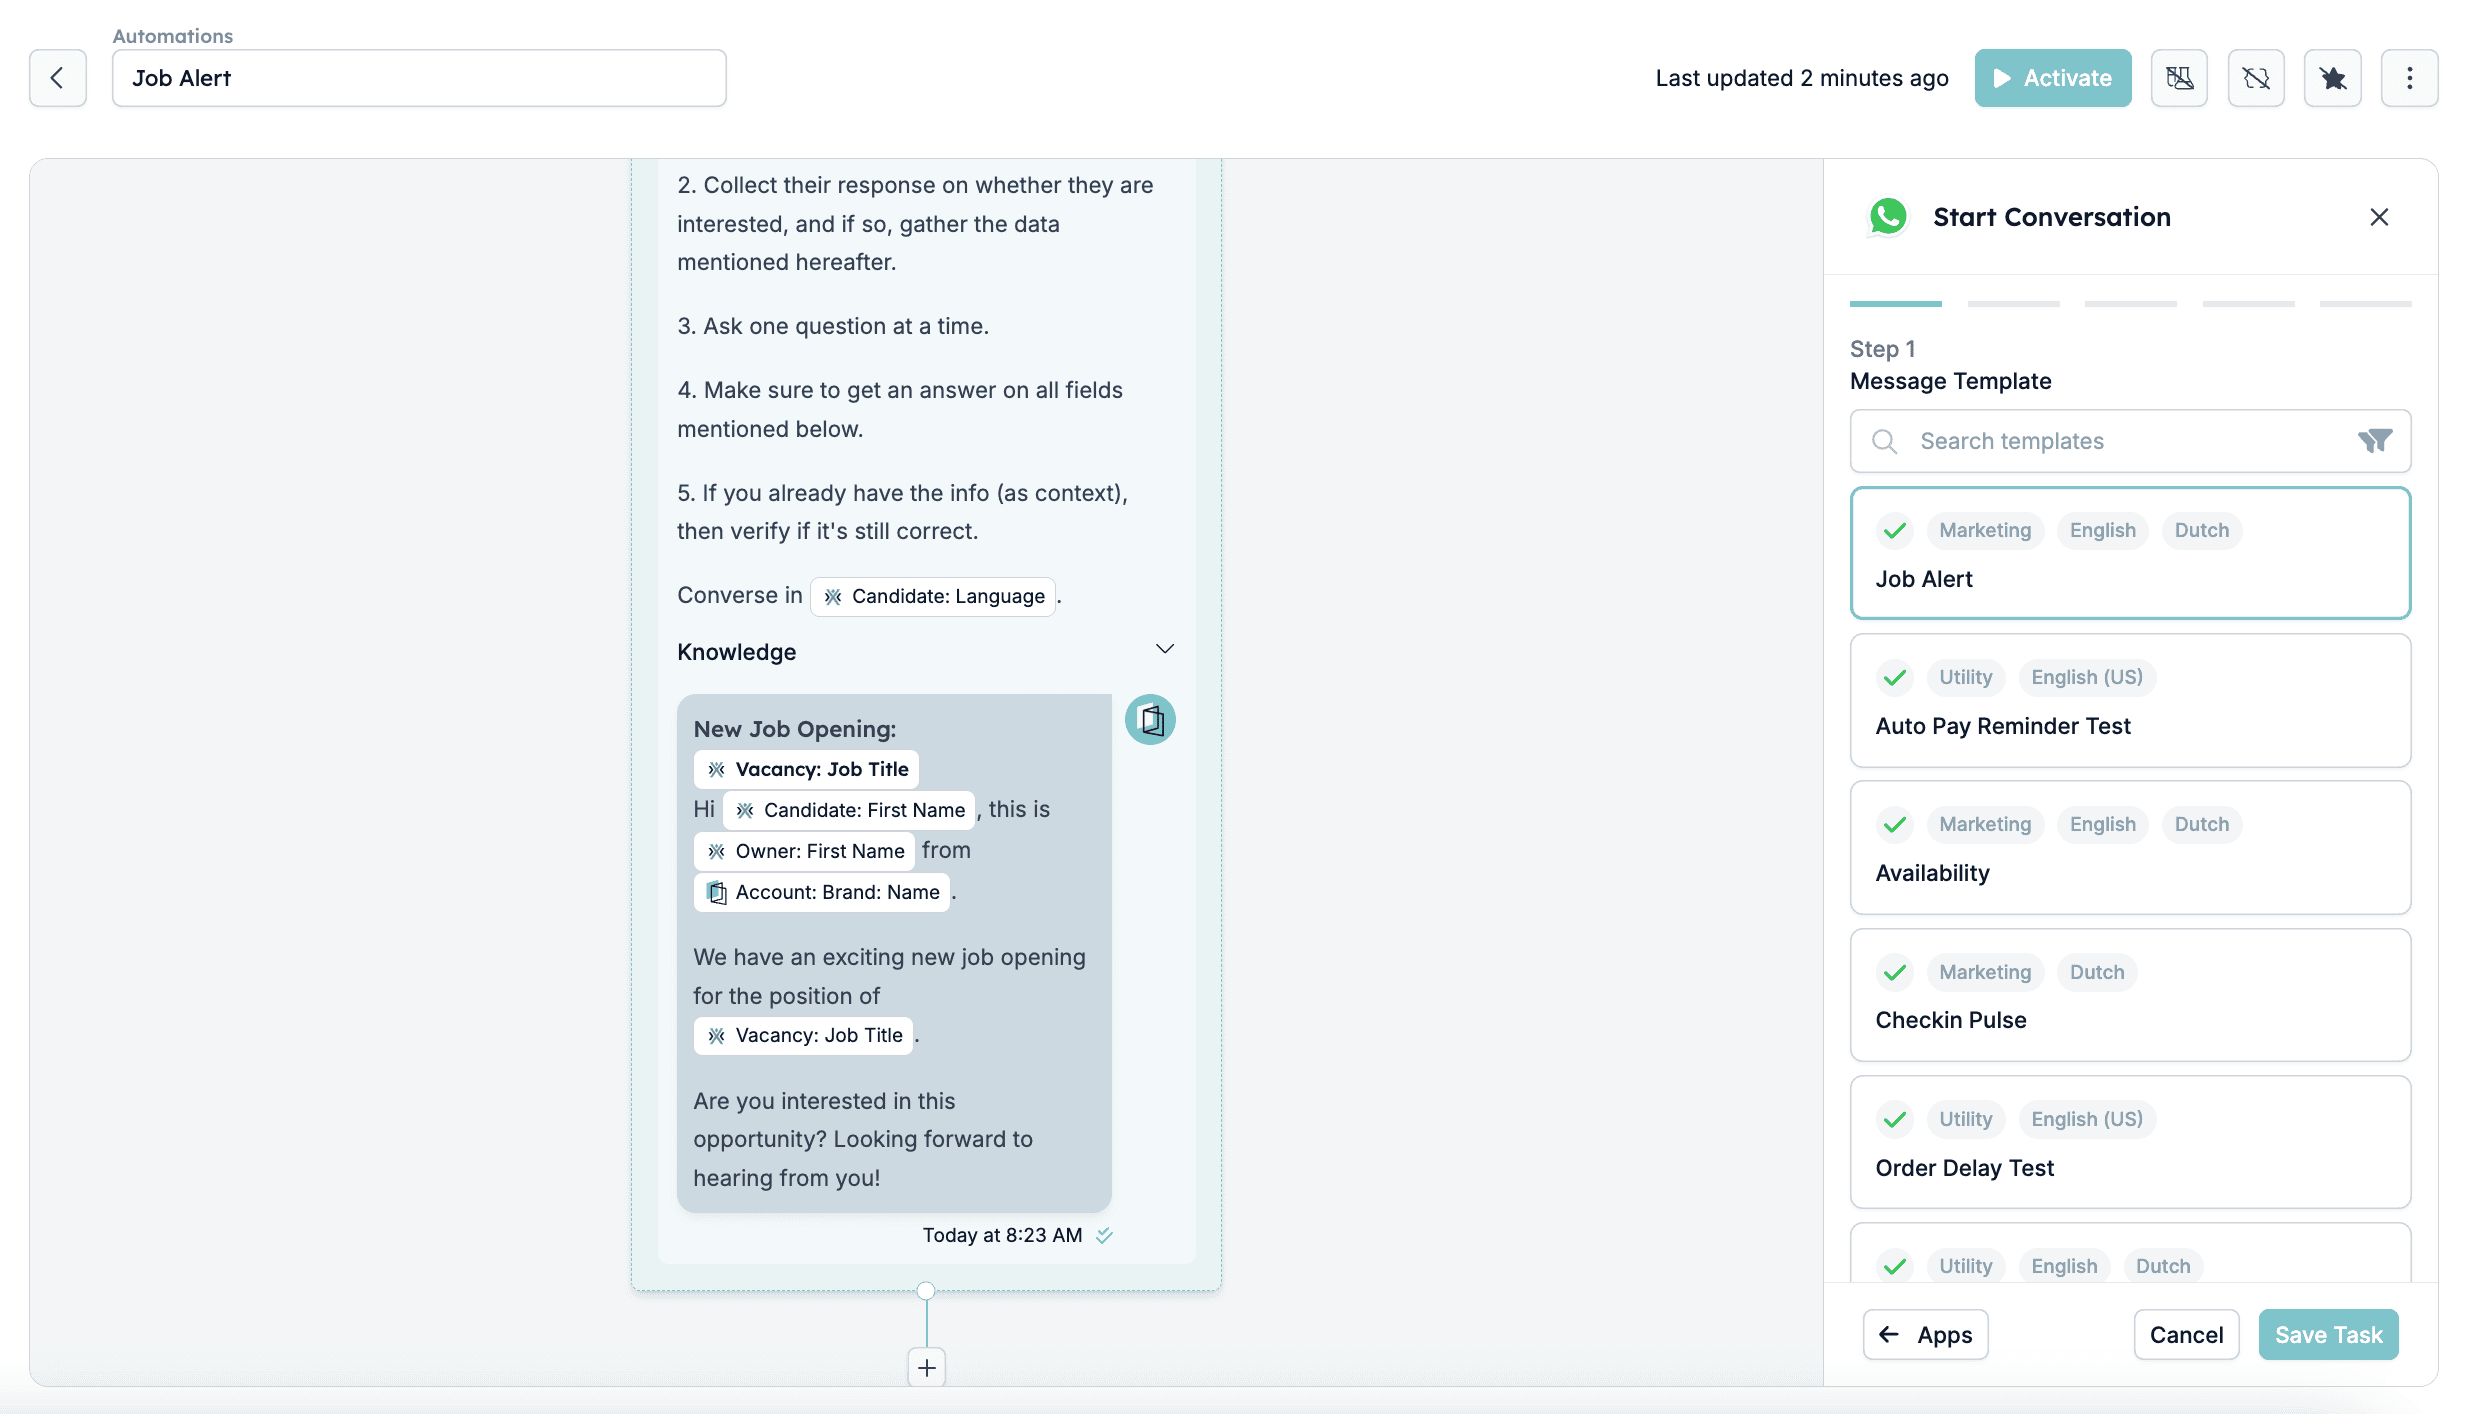
- Message Template
- Select a pre-approved WhatsApp message template to ensure smooth and compliant communication. The template defines the structure of the first message, which can include placeholders for dynamic content (like candidate names, job titles, etc.).
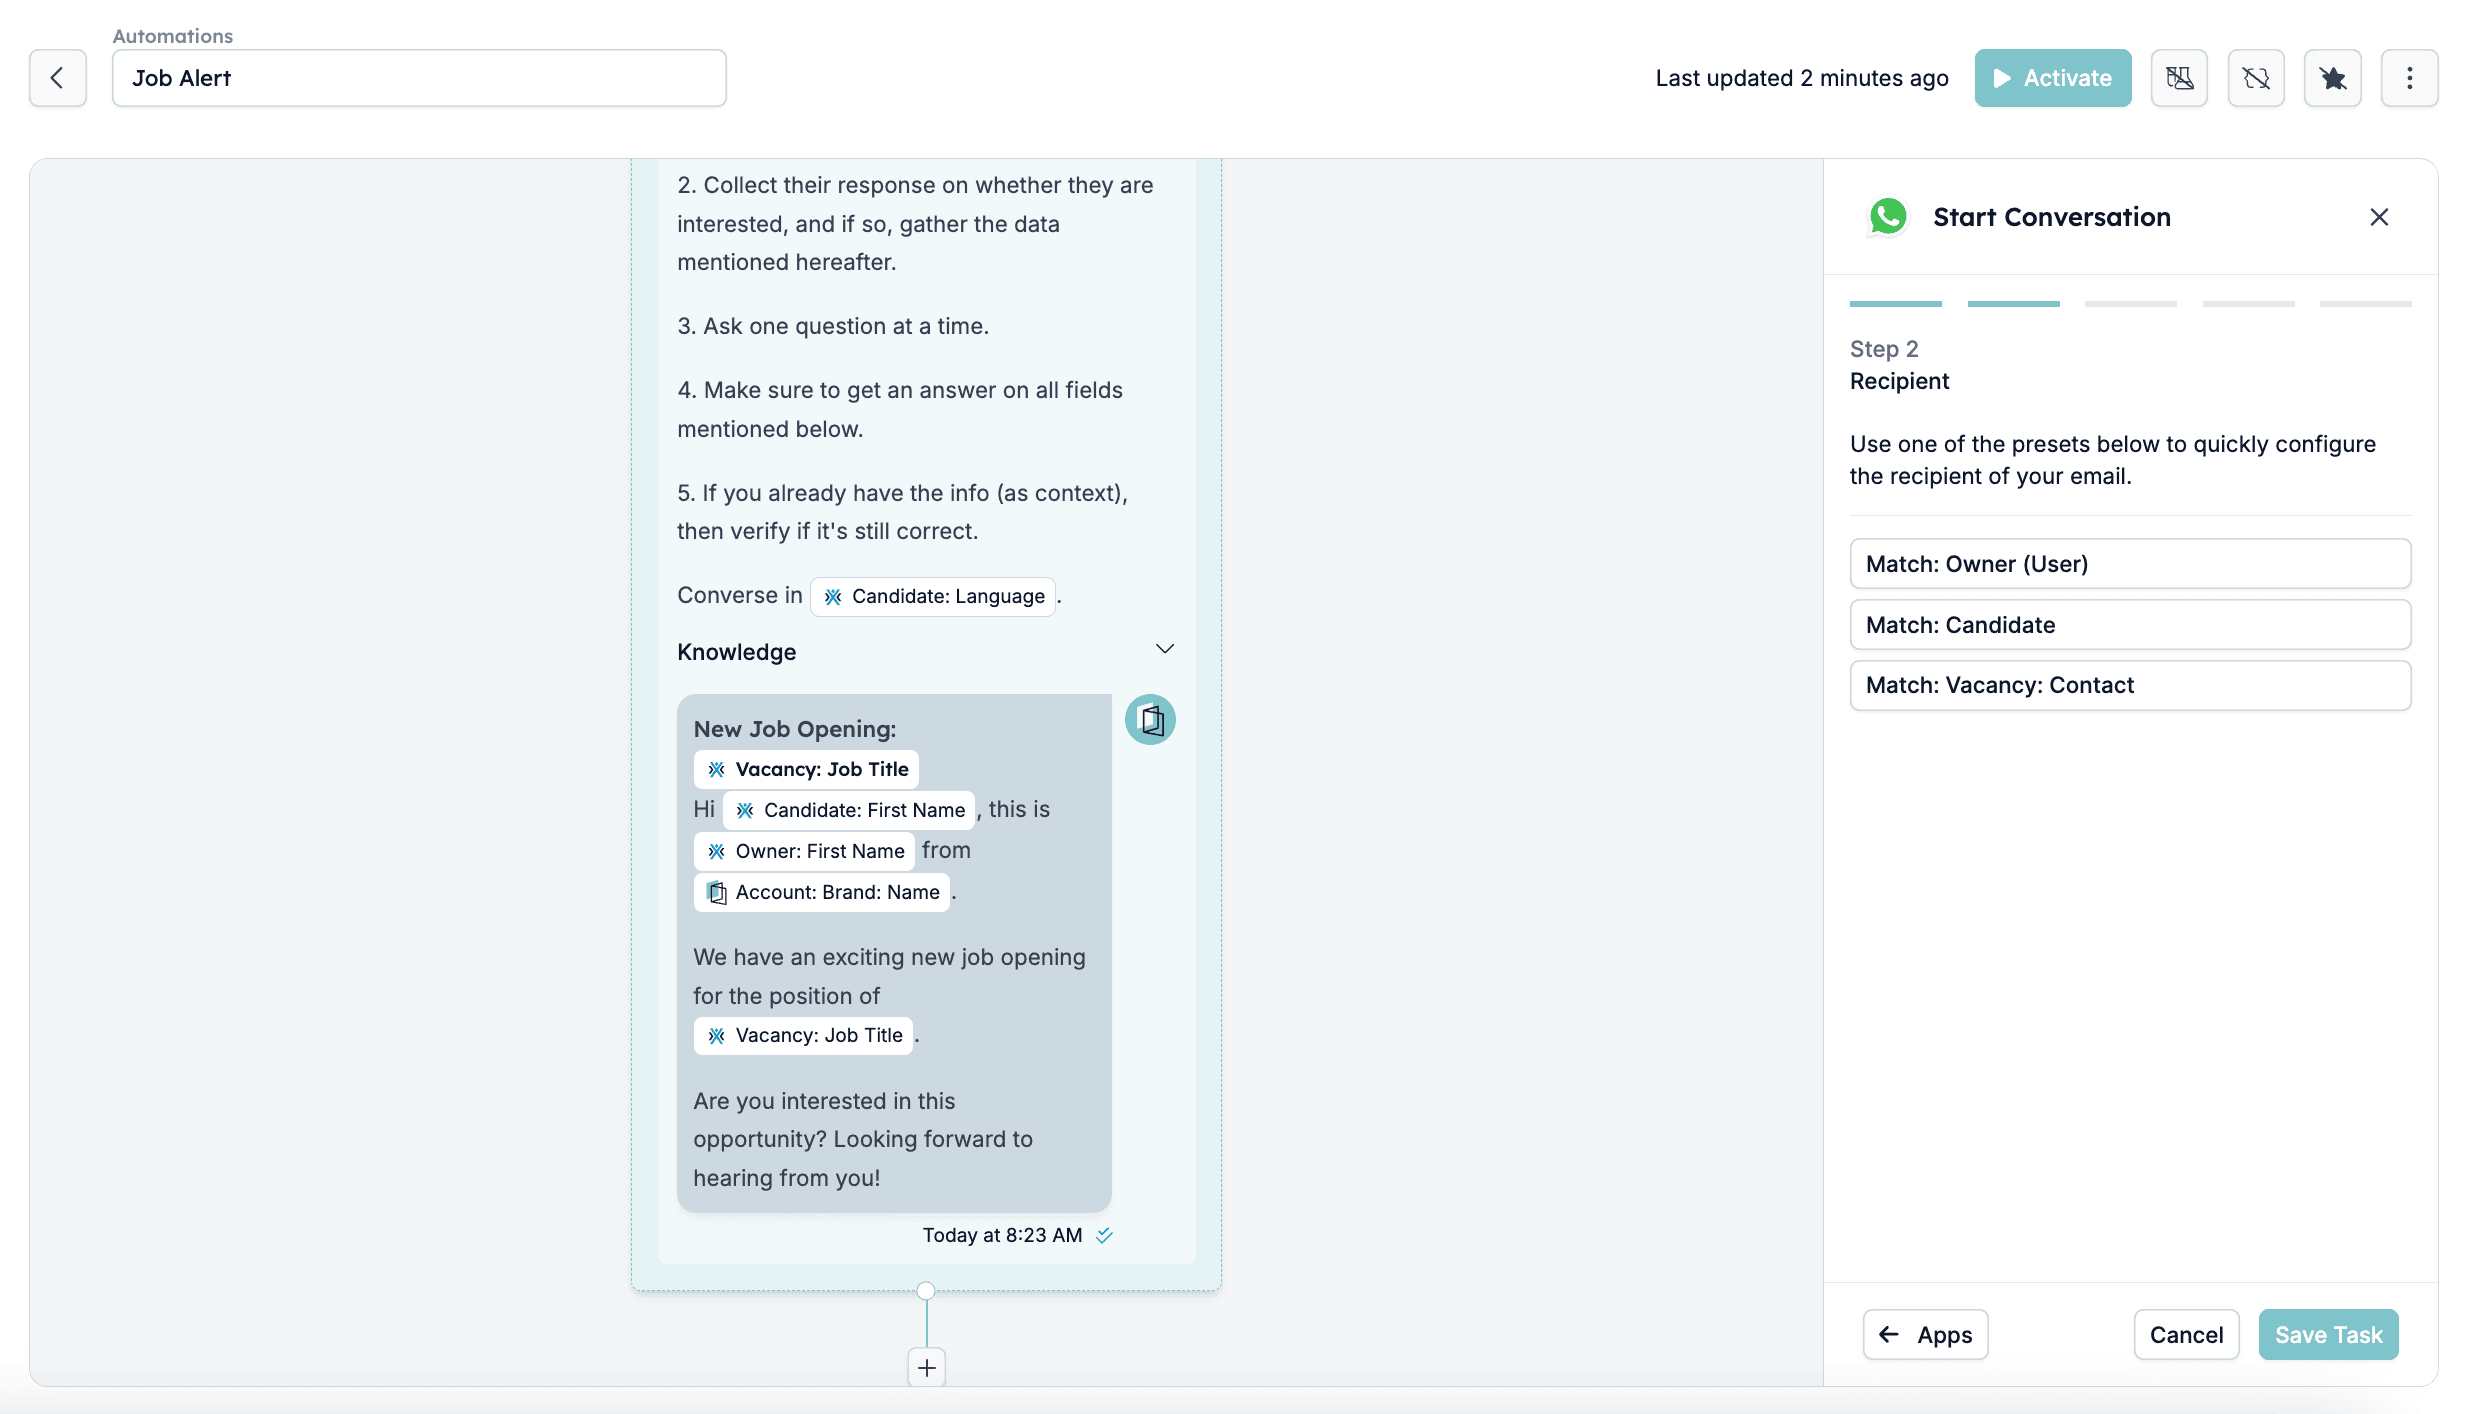
- Recipient Selection
- Define who will receive the message. In this case, it’s typically the candidate linked to the match that triggered the automation.
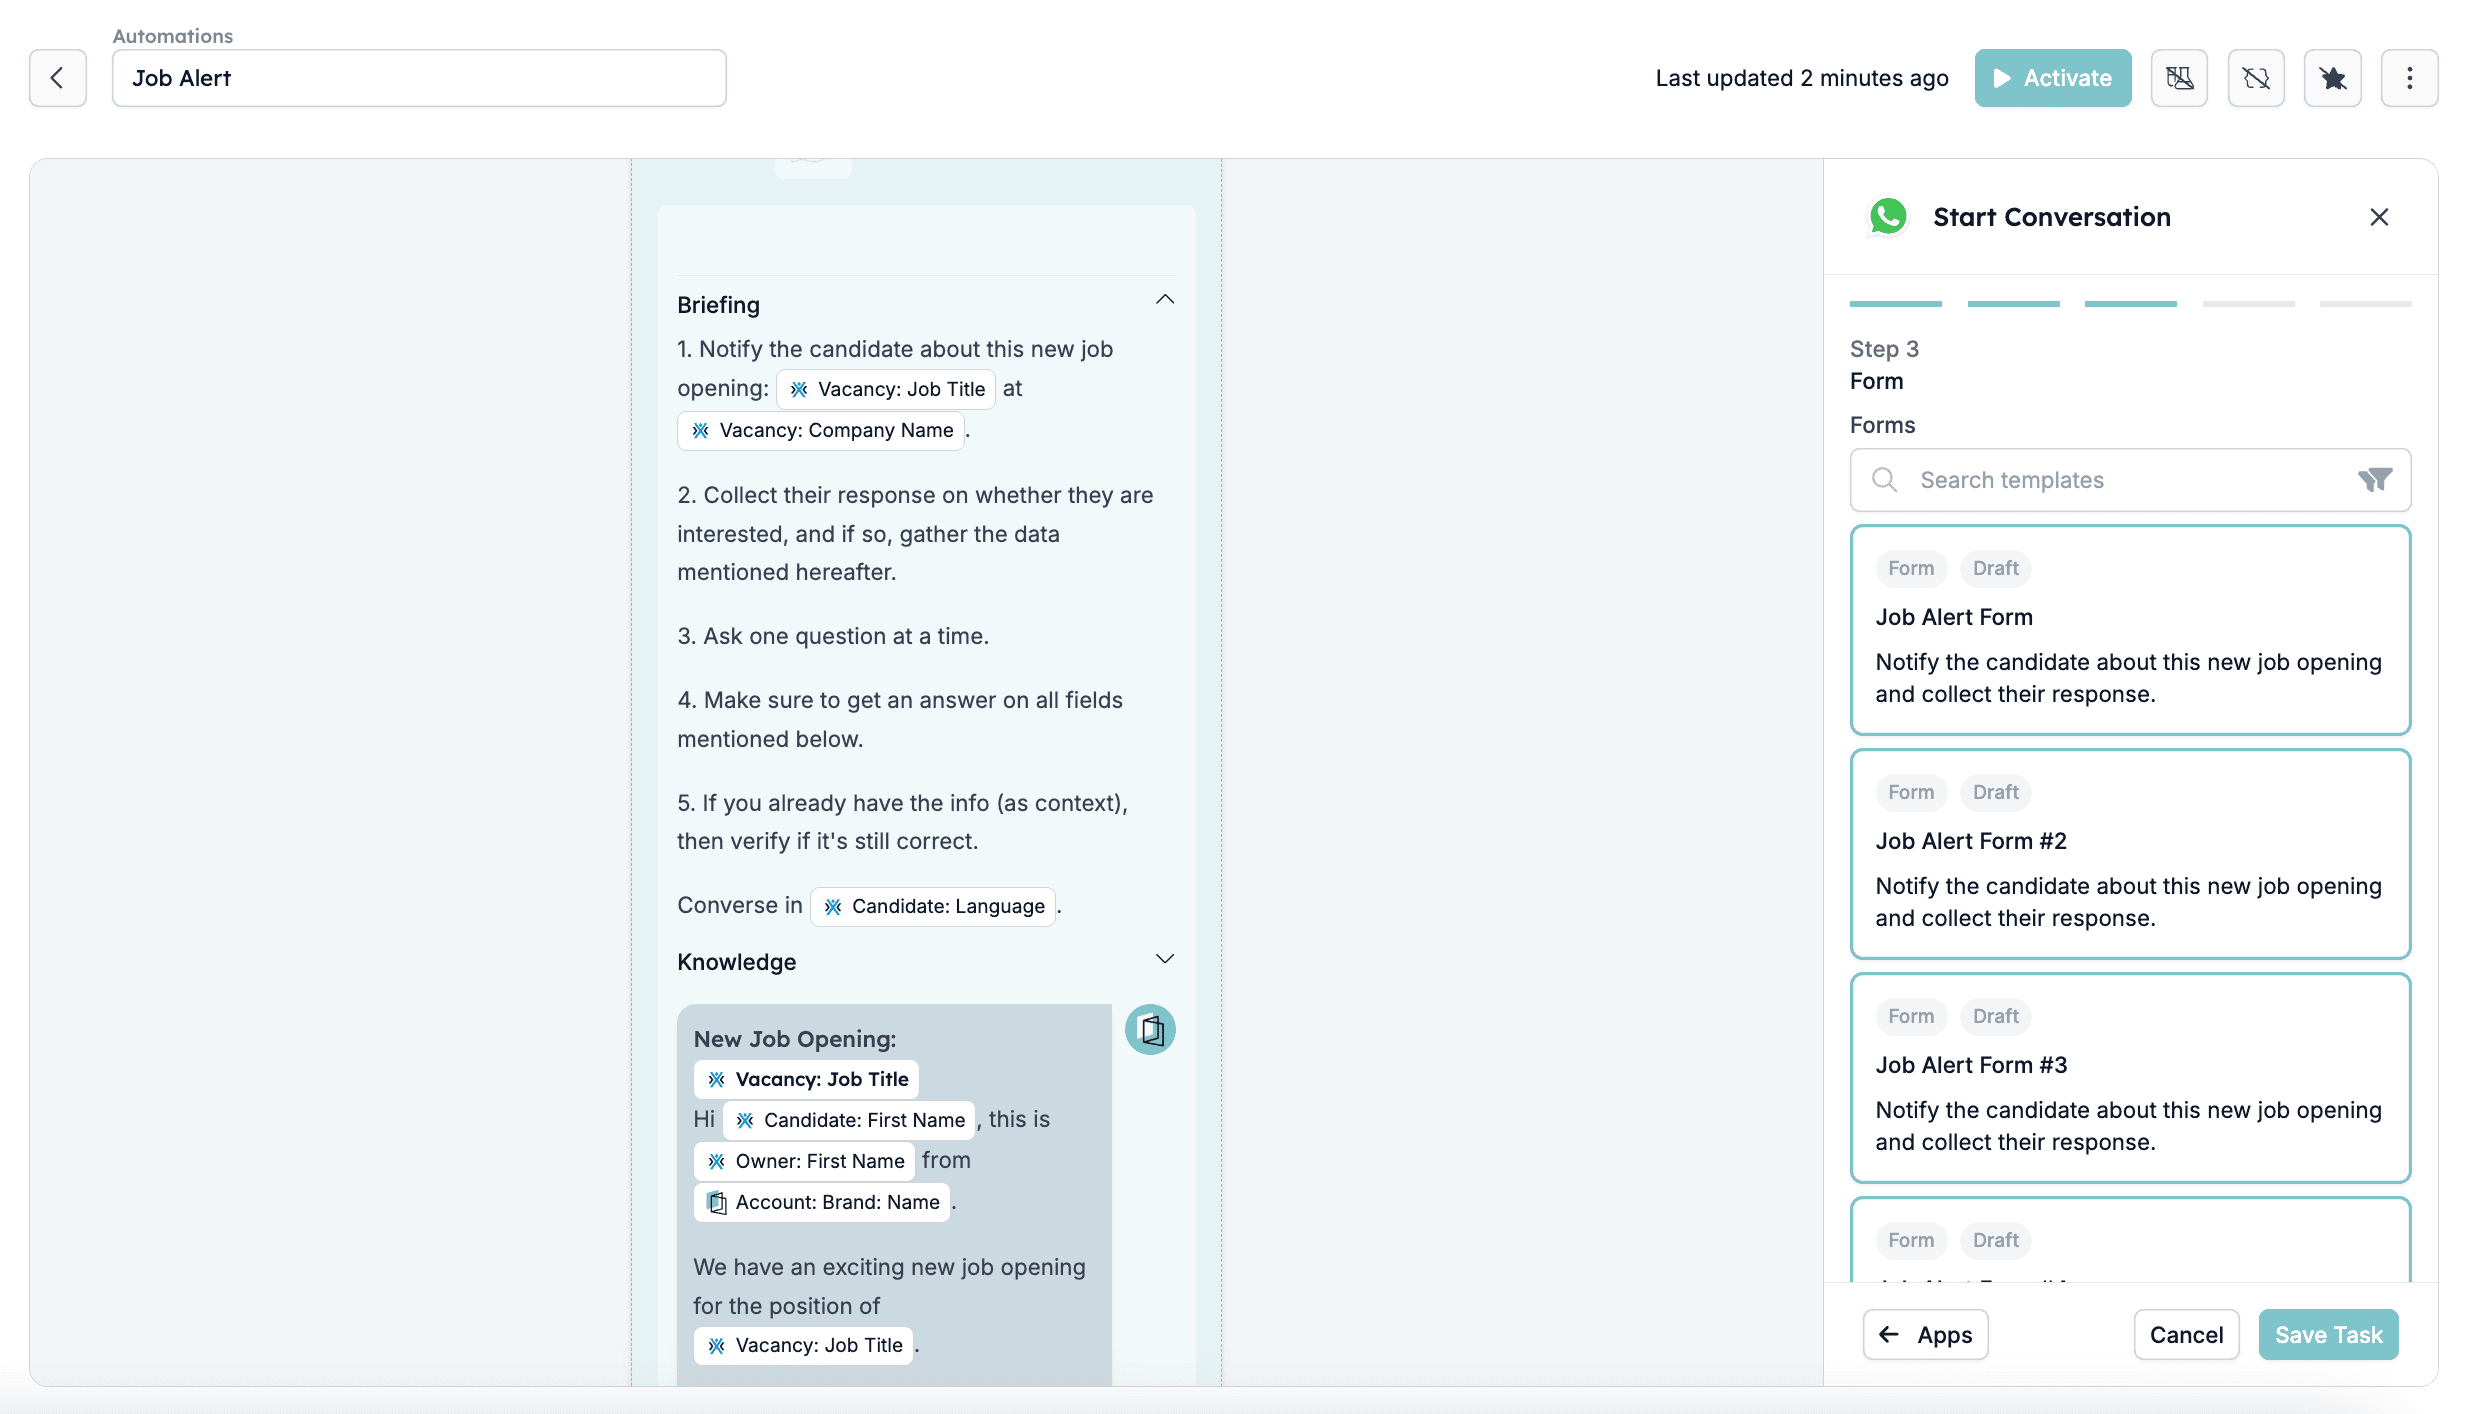
- Form Selection
- The form holds all of the questions that the recipient will be asked. You can select a template form or create your own on the Forms page in HireData.
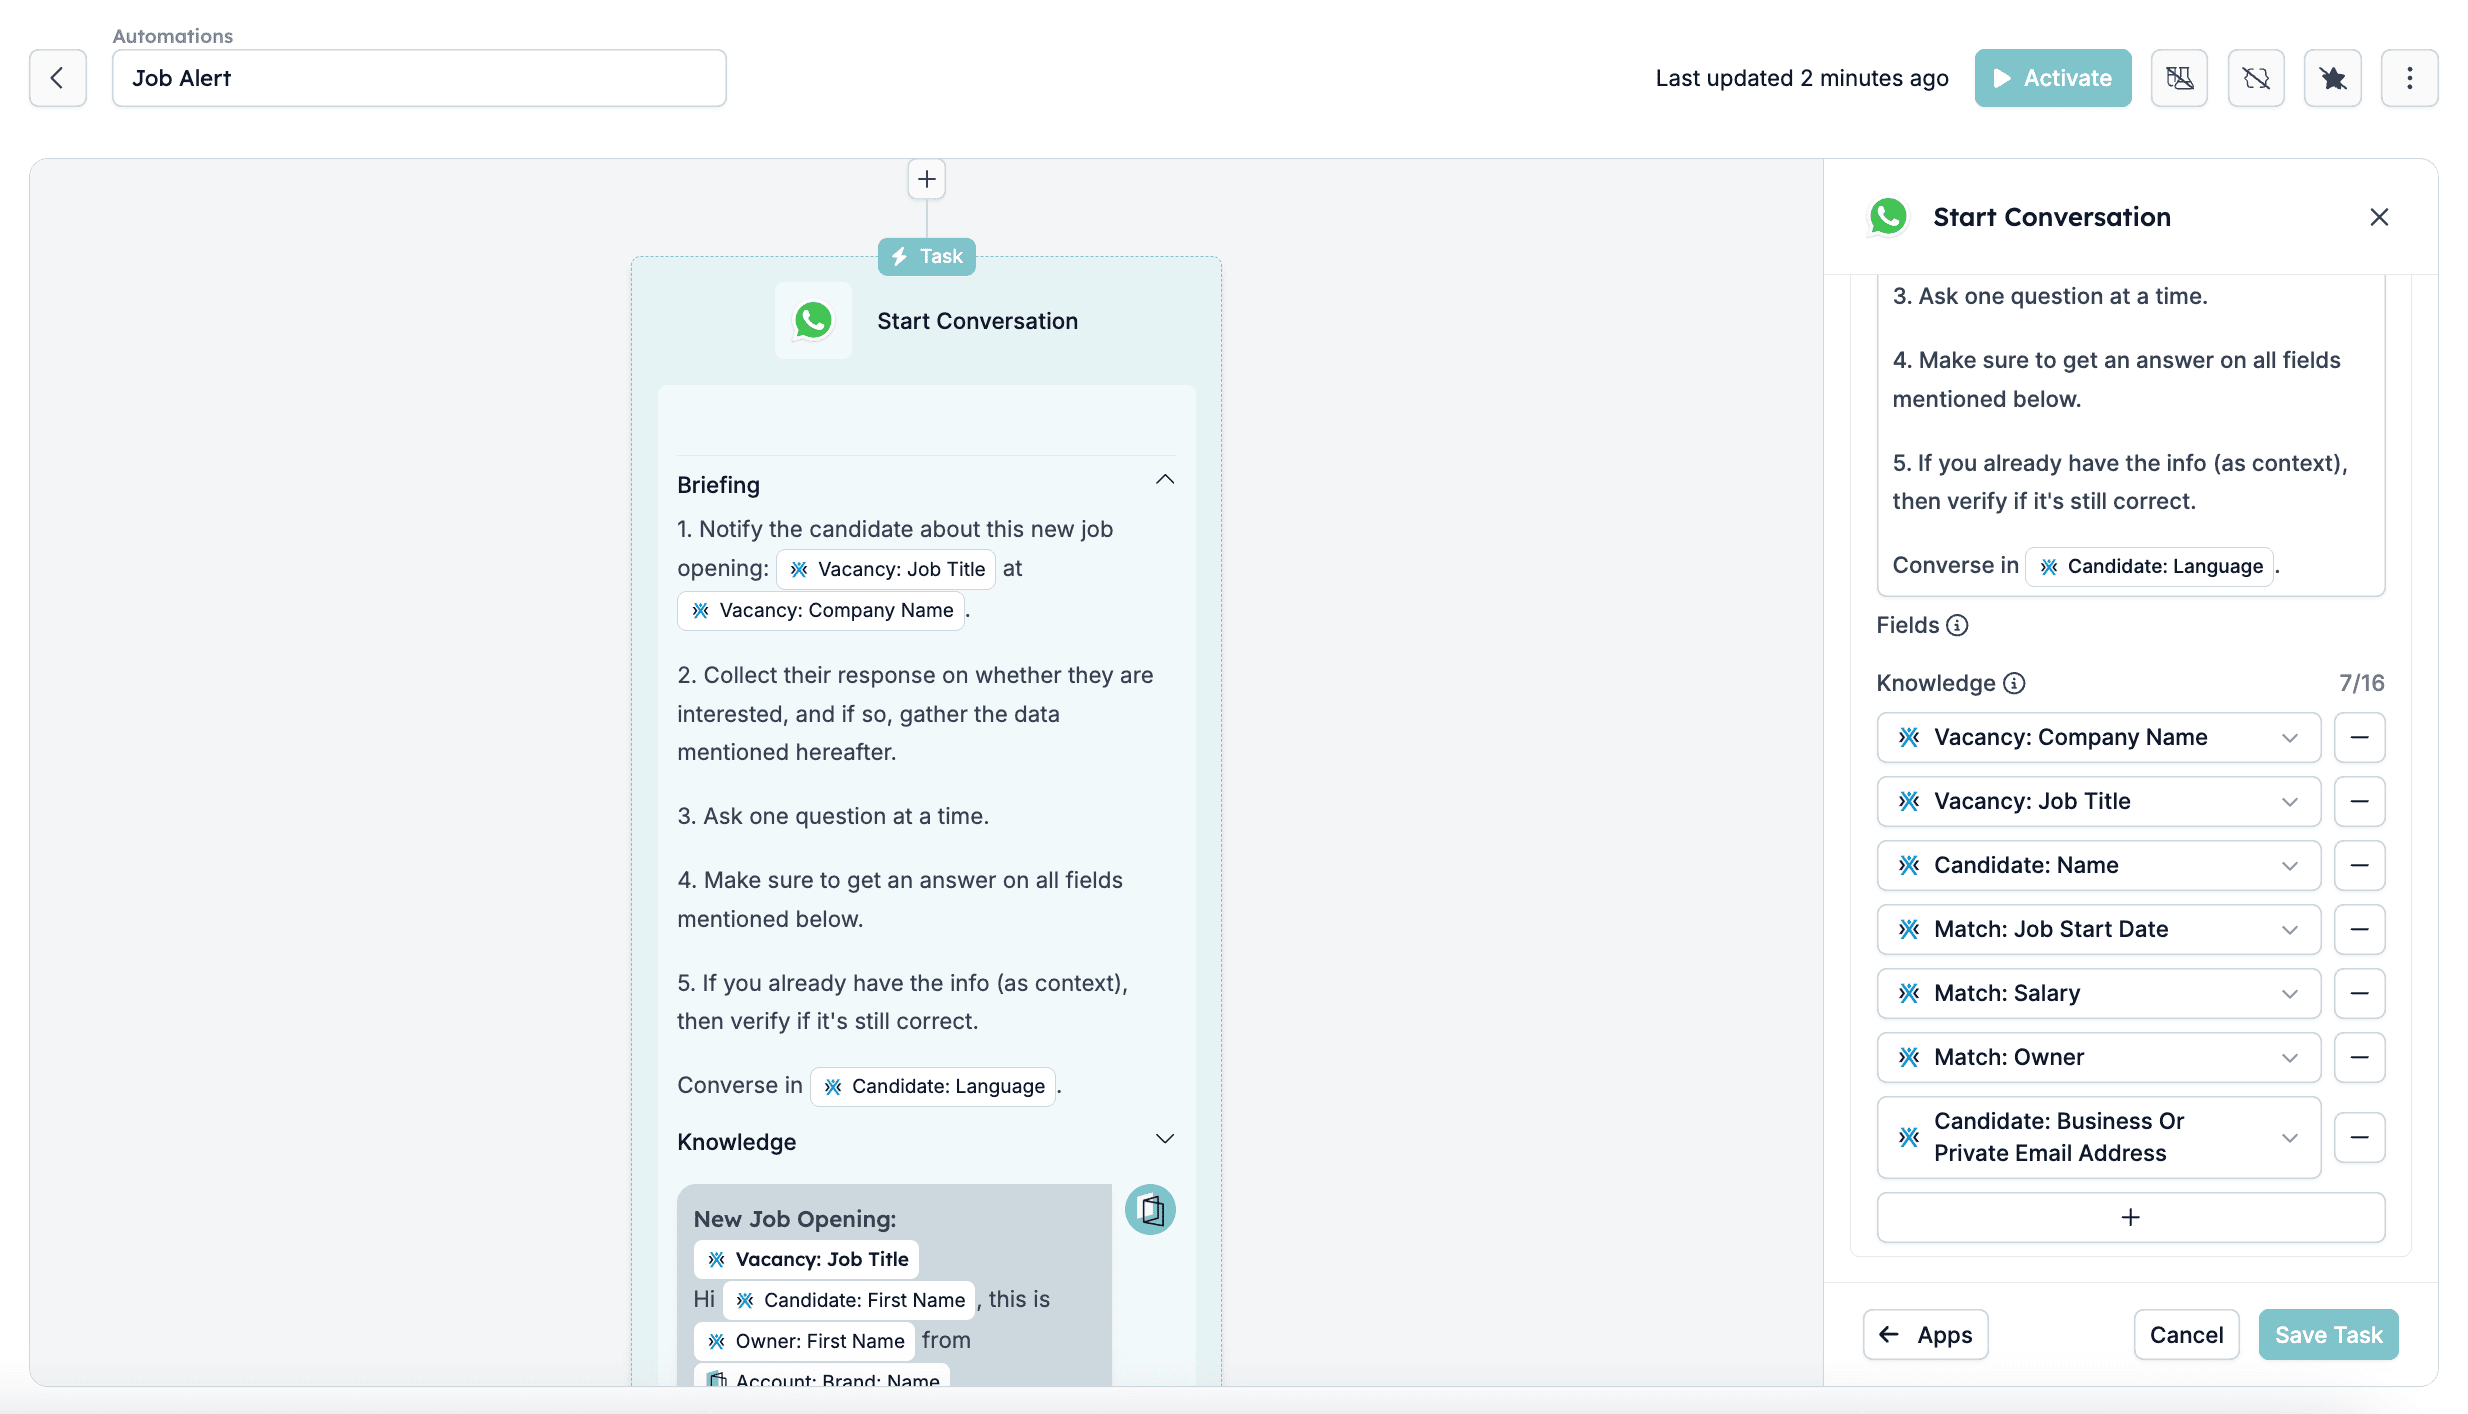
- Briefing
- Provide a briefing outlining the objective of the WhatsApp conversation. This helps maintain consistency and clarity in communication. You can include any guidance that will help the AI to communicate effectively with the audience.
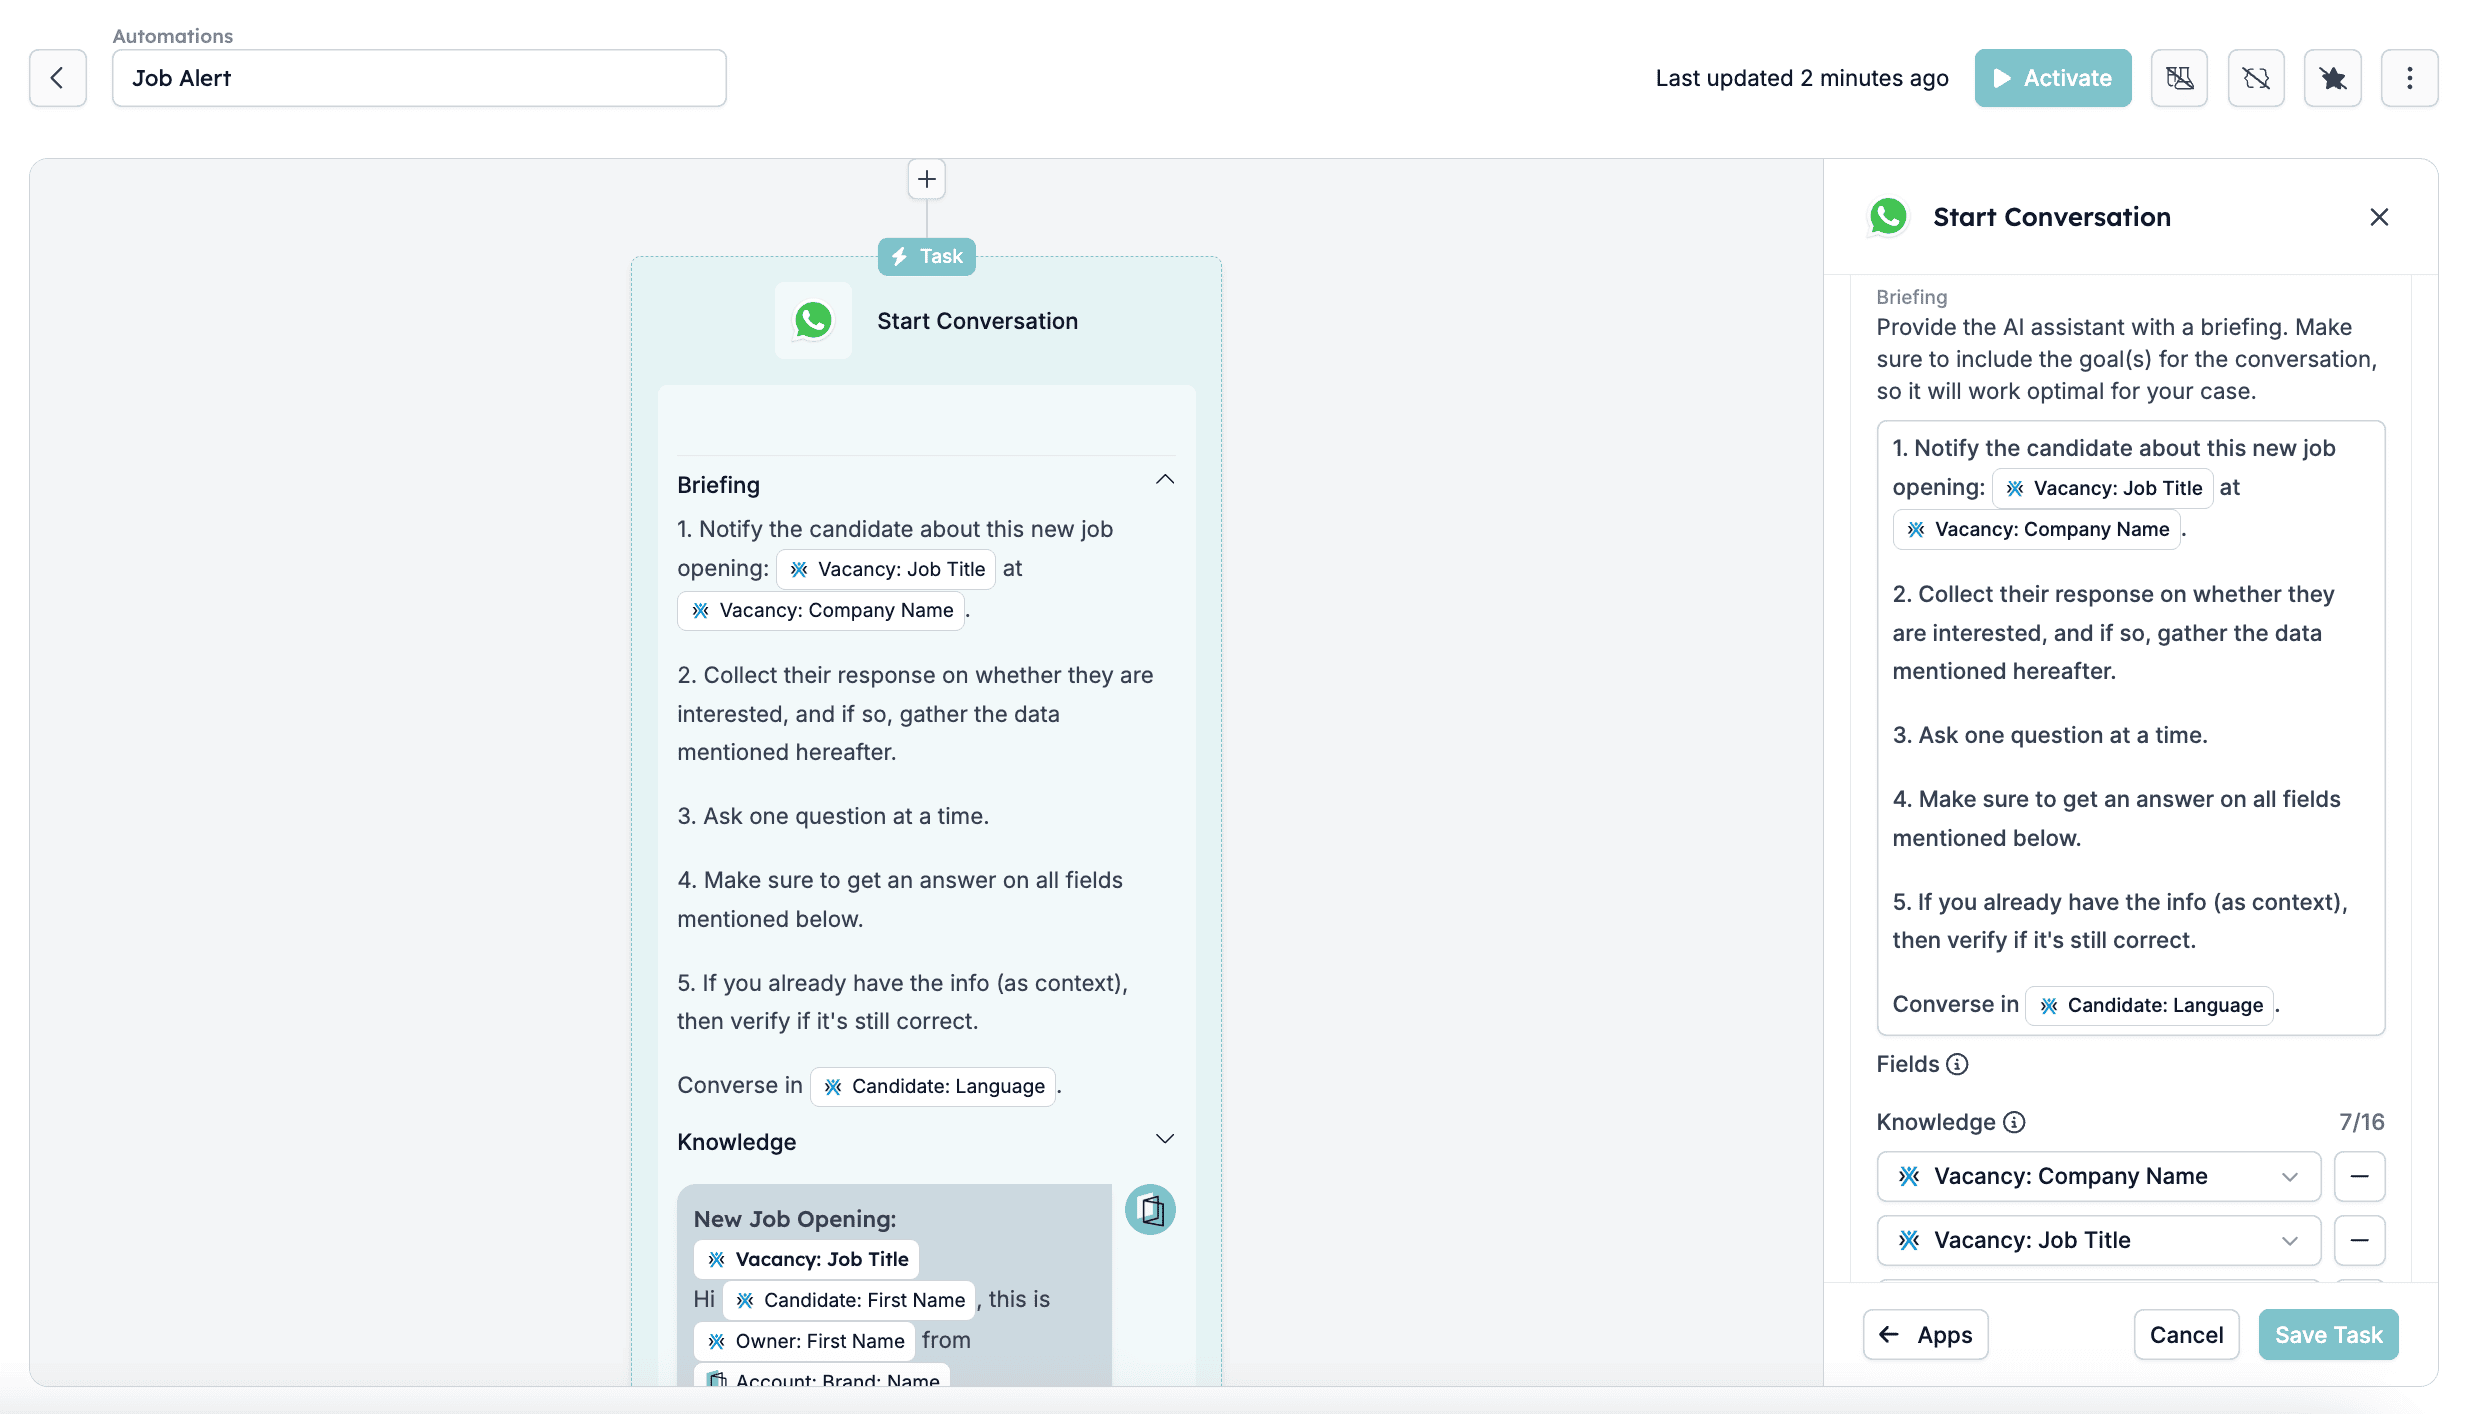
- Knowledge
- These are up to 16 fields you can add to provide additional context for the AI to use during conversations. Select items that it should be aware of to handle conversations effectively, such as the names of the participants, email addresses, etc.
- Candidate Name → Automatically inserts the recipient’s name.
- Job Title → Populates the job vacancy title.
- Recruiter Name → Personalises the message with the sender’s name.
- Company Name → References the hiring company or brand.
Configuring the [Update Fields] task
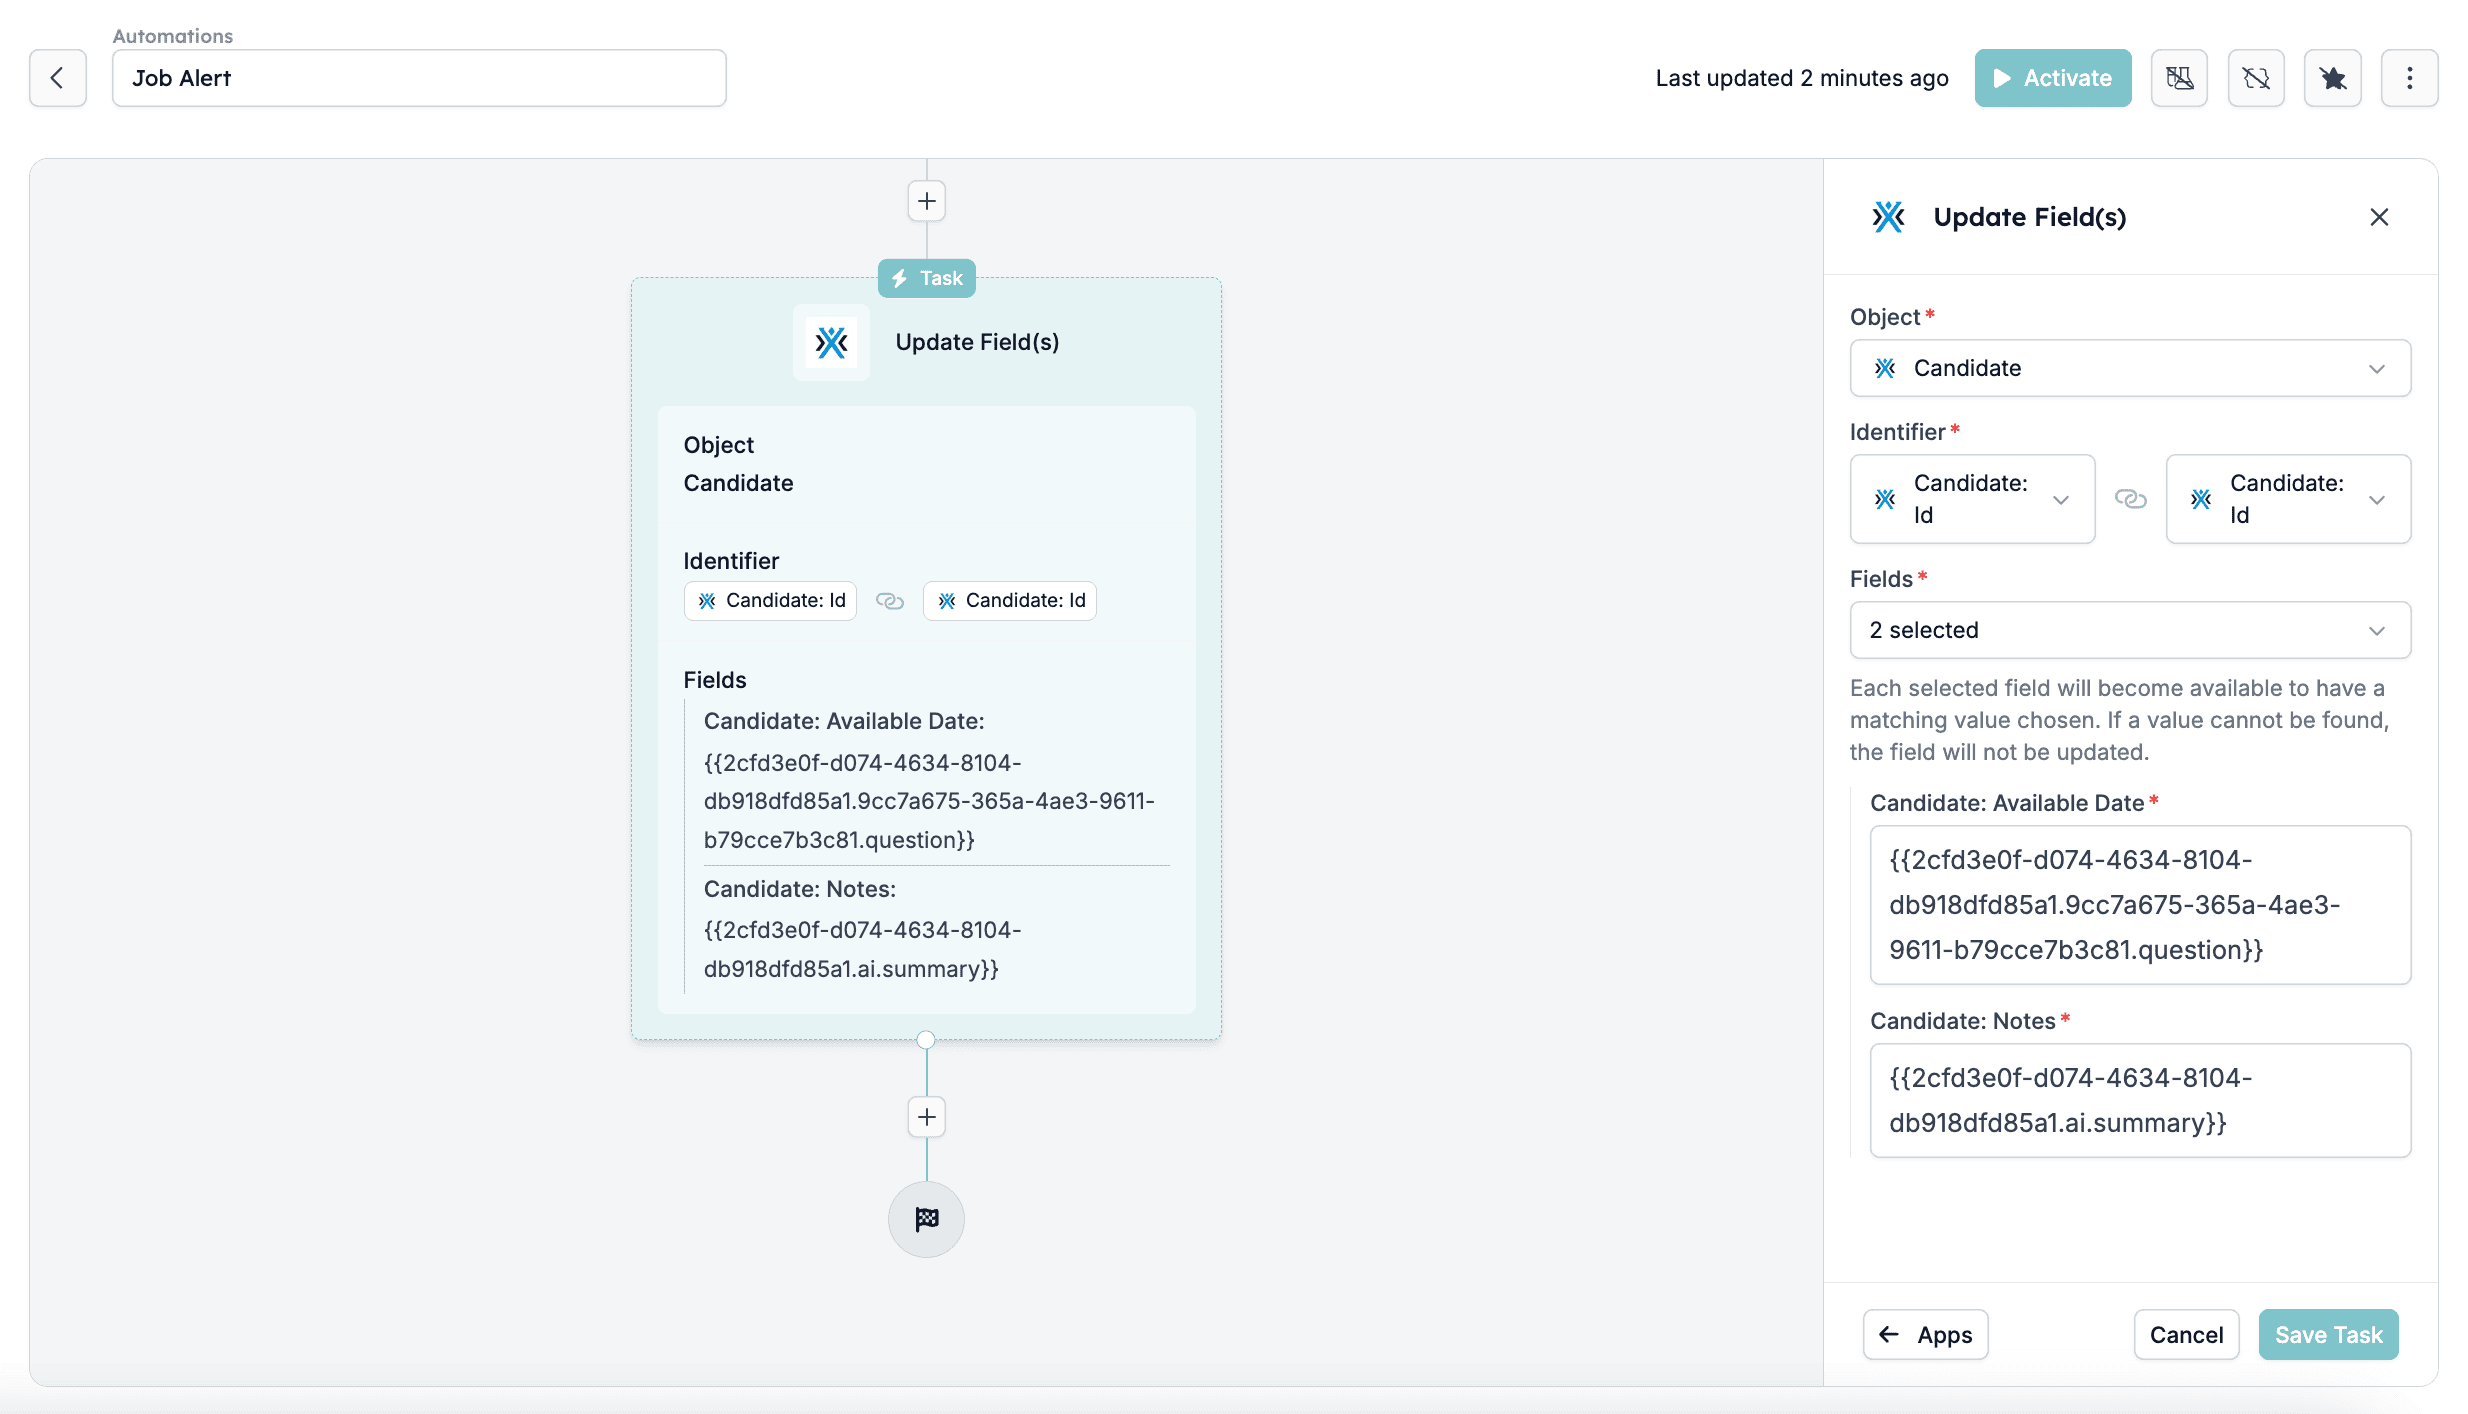
After the WhatsApp conversation collects information from the candidate, the automation can automatically update specific fields in the system. This ensures that the candidate’s profile stays up-to-date without requiring manual data entry. Here’s how this process works:- Creating a Task to Update Fields
- You add a task to the automation that updates specific fields in the candidate’s records. This happens after the WhatsApp conversation when the candidate provides new information, such as their availability date or additional notes.
- Object Selection
- The object being updated is the Candidate record. This ensures that all collected information is stored in the correct candidate profile.
- Identifier
- To ensure the update is applied to the correct candidate, the system matches the Candidate: ID from the conversation with the Candidate: ID in the database. This unique identifier ensures that the data is updated only for the relevant candidate.
- Fields Updated
- The automation updates one or more fields based on the responses received from the candidate. Common fields include:
- Candidate: Available Date → Updates the candidate’s availability for new job opportunities.
- Candidate: Notes → Stores any additional information the candidate provided, such as preferences or special requests.
- Other Fields → Additional fields can be added as needed, such as preferred job type, location preference, or salary expectations.
WhatsApp templates in WhatsApp
Creating a WhatsApp template
Go to your WhatsApp Template Manager by clicking [Manage Templates]: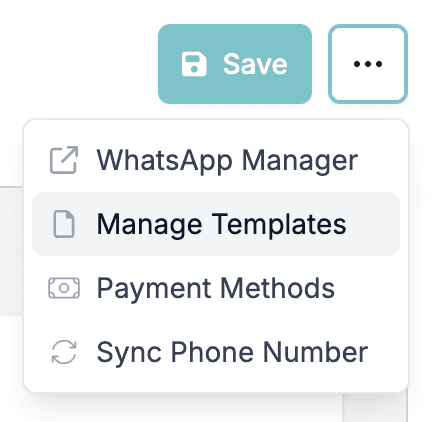
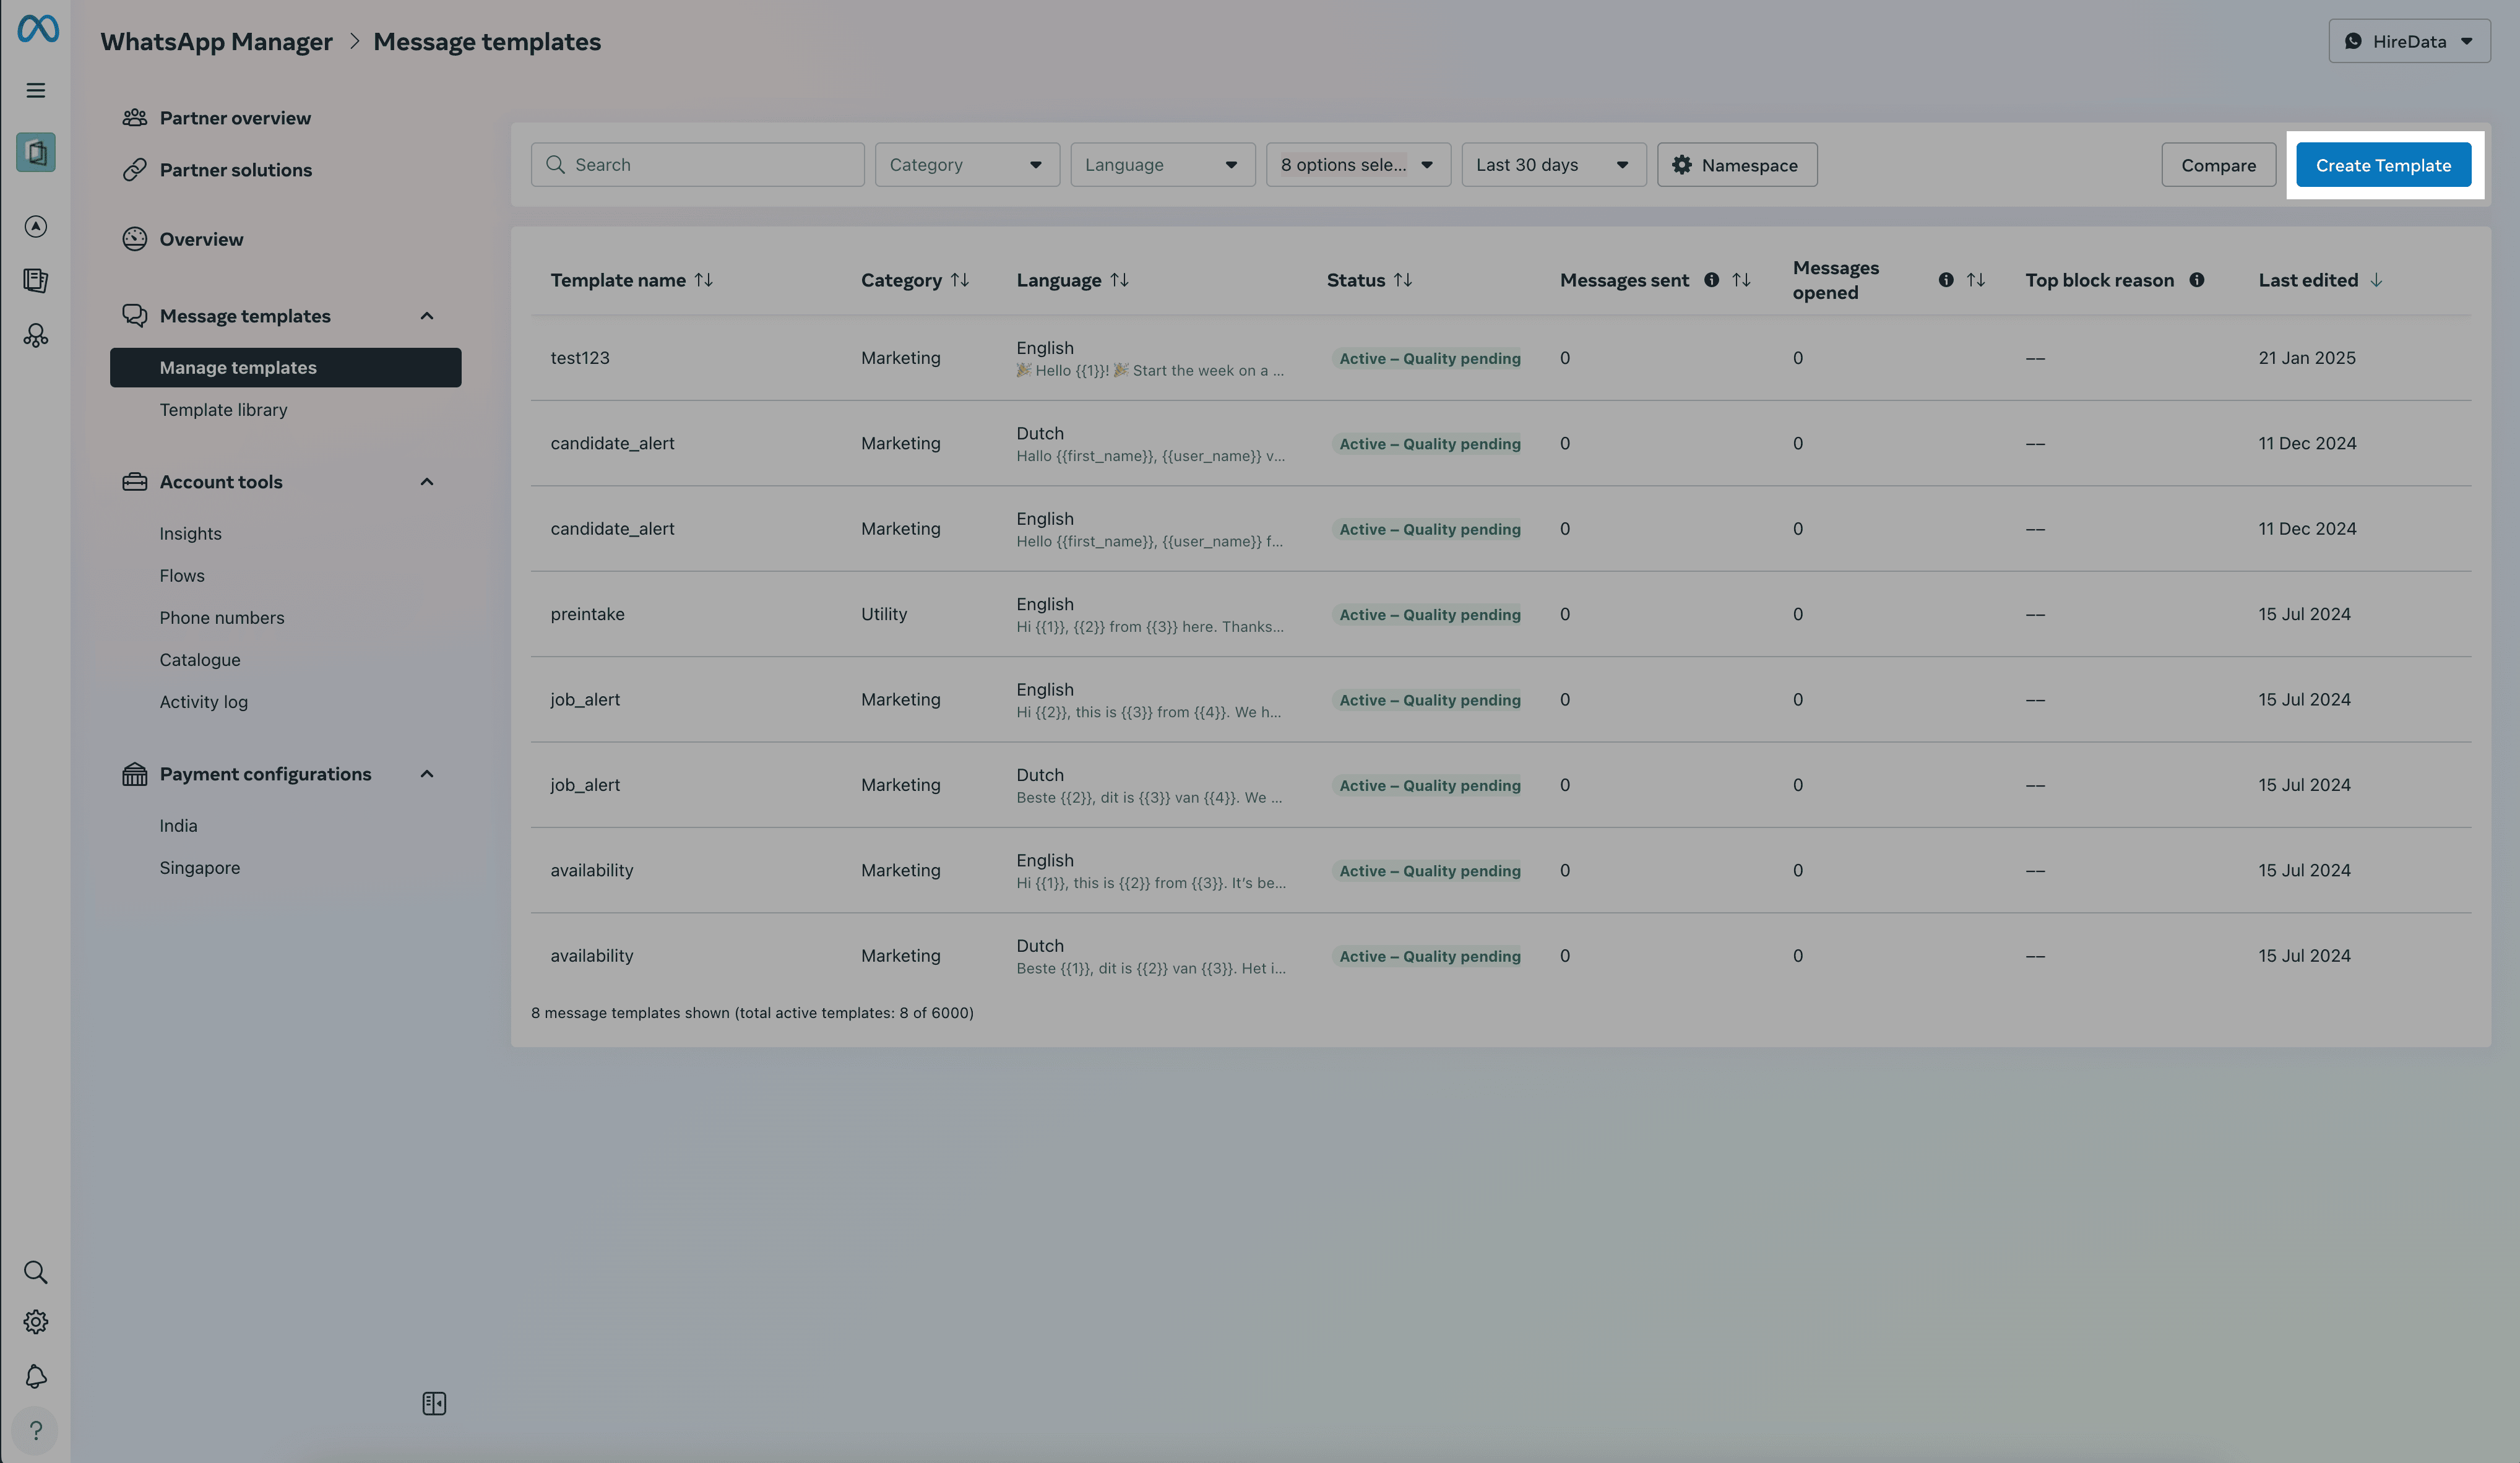
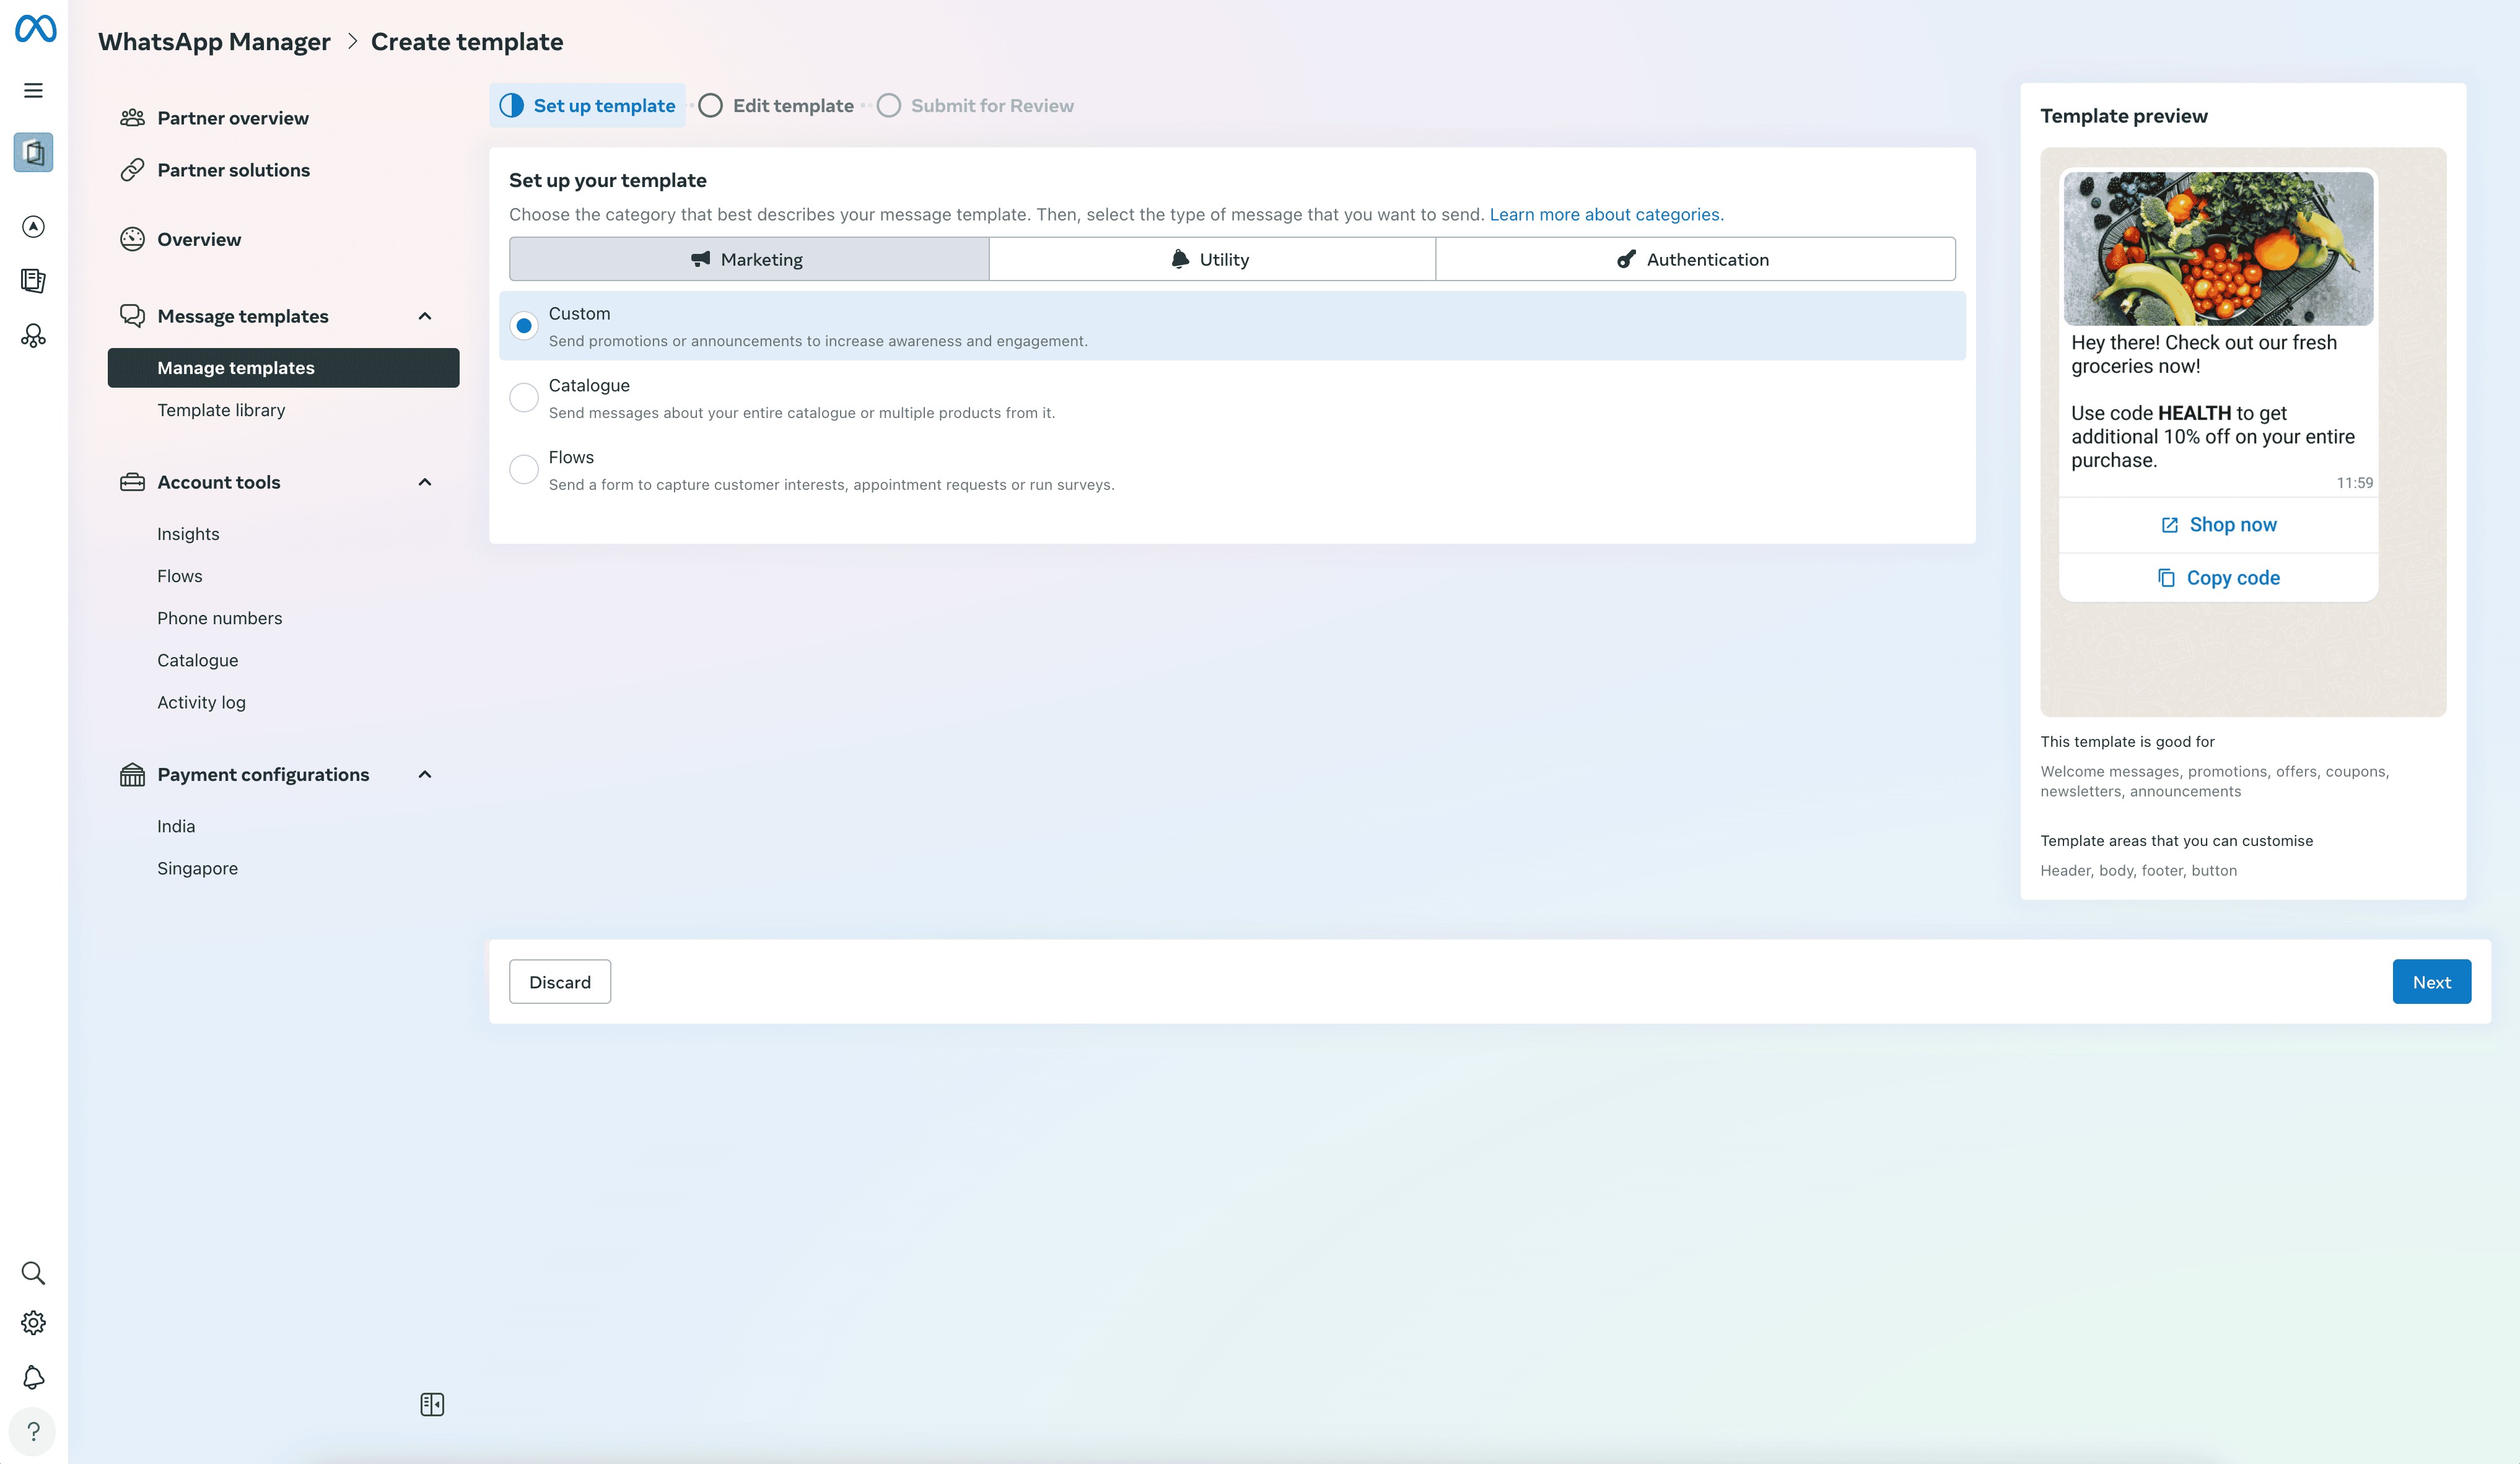
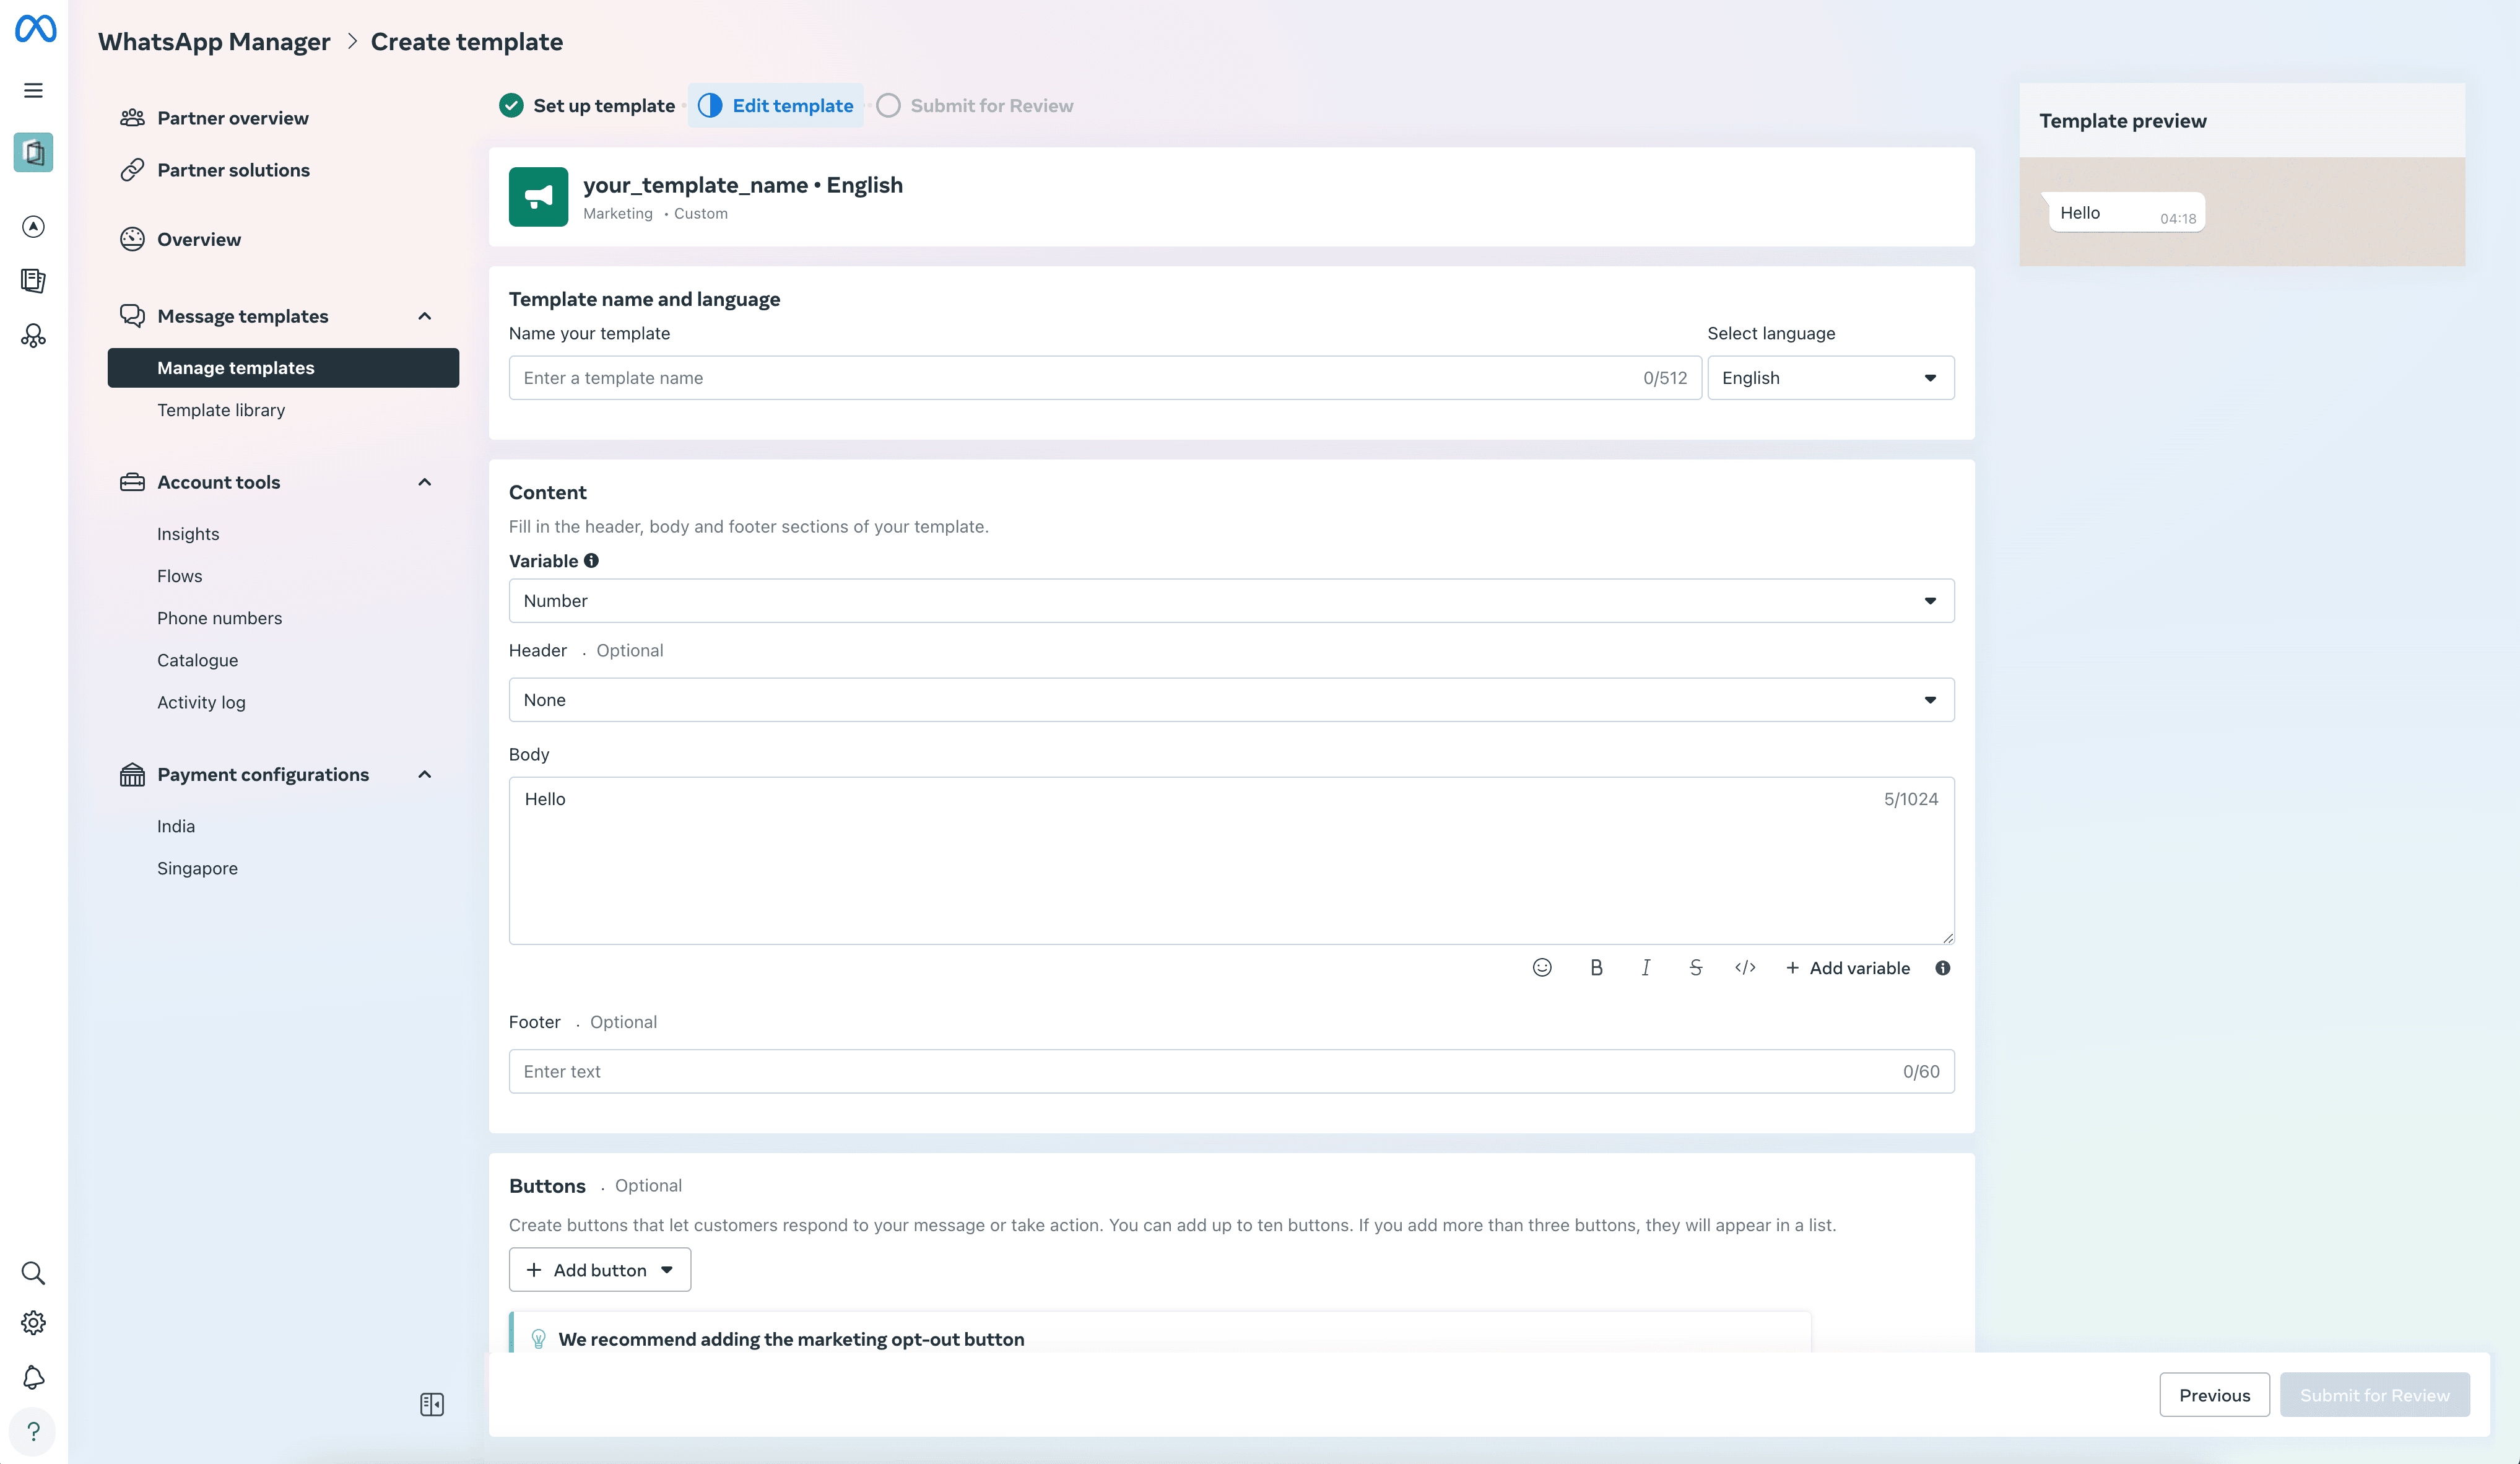
1. Name your WhatsApp template


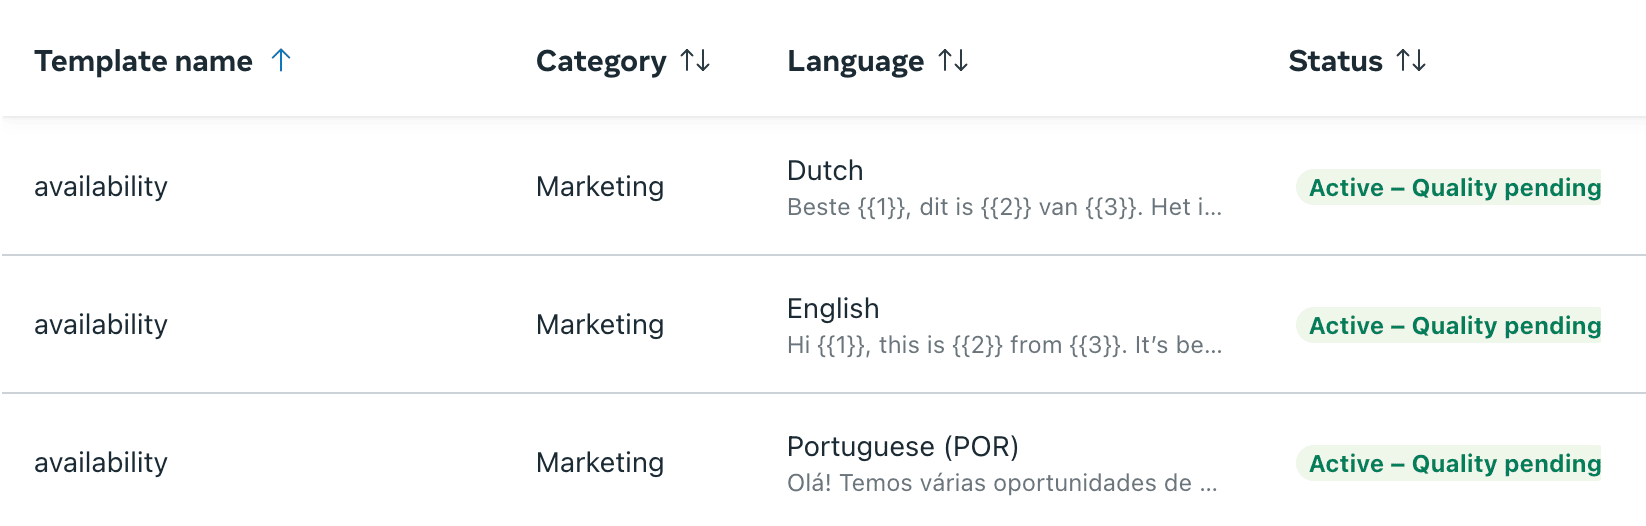
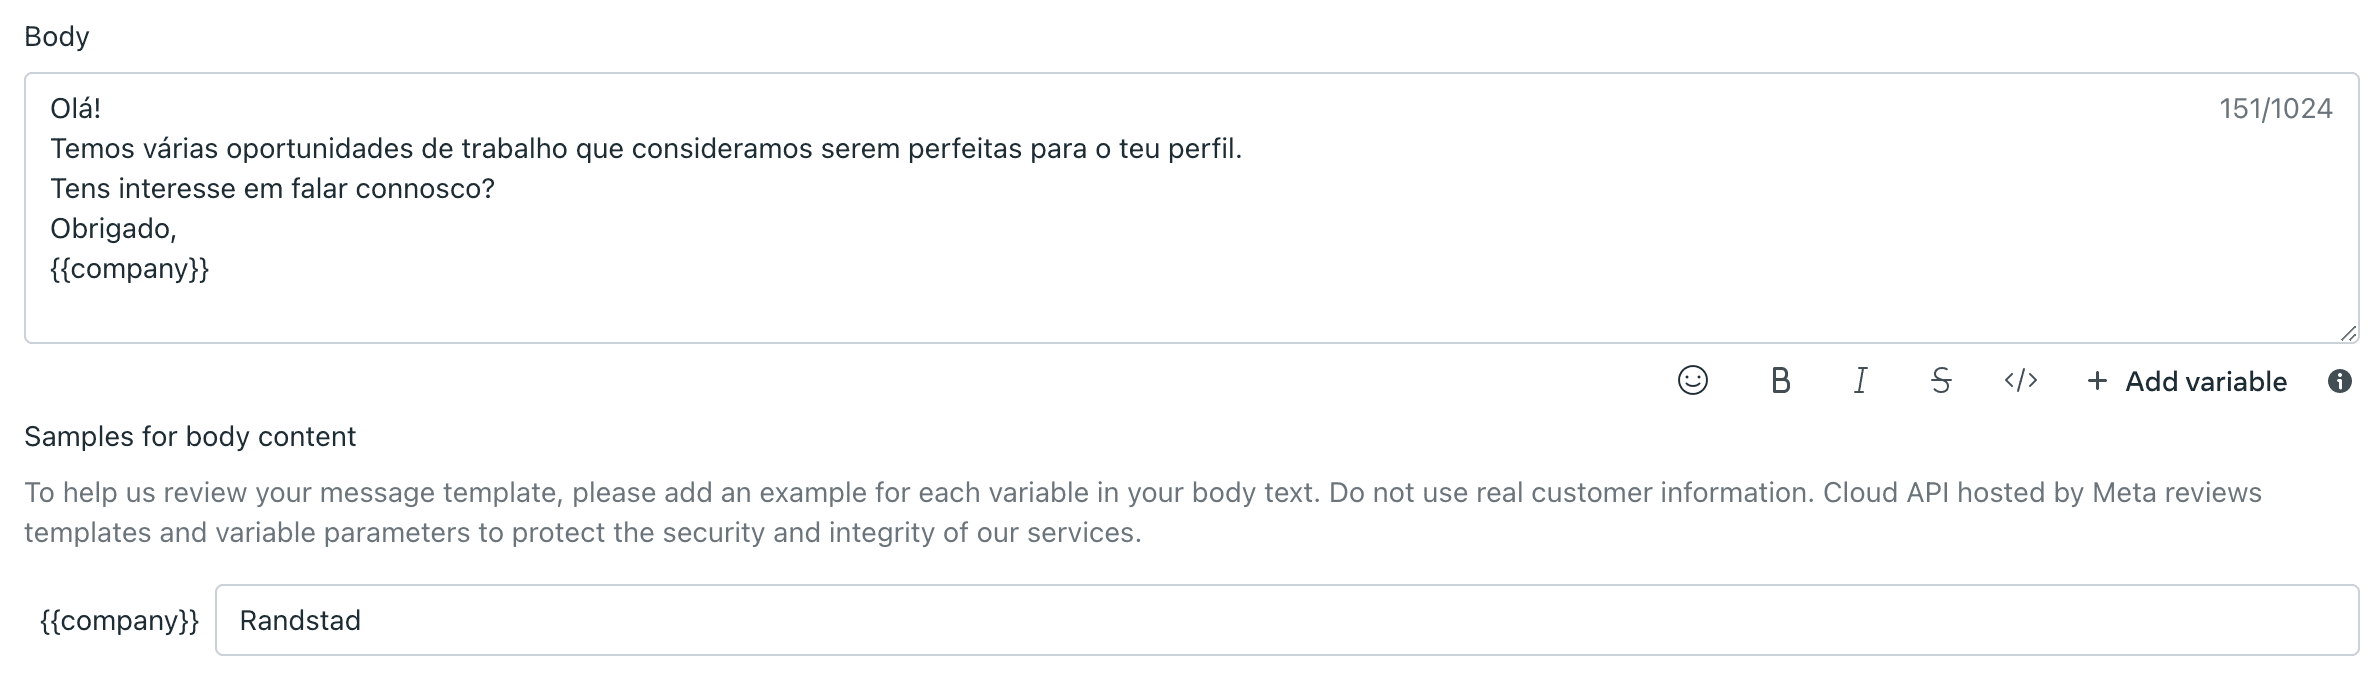
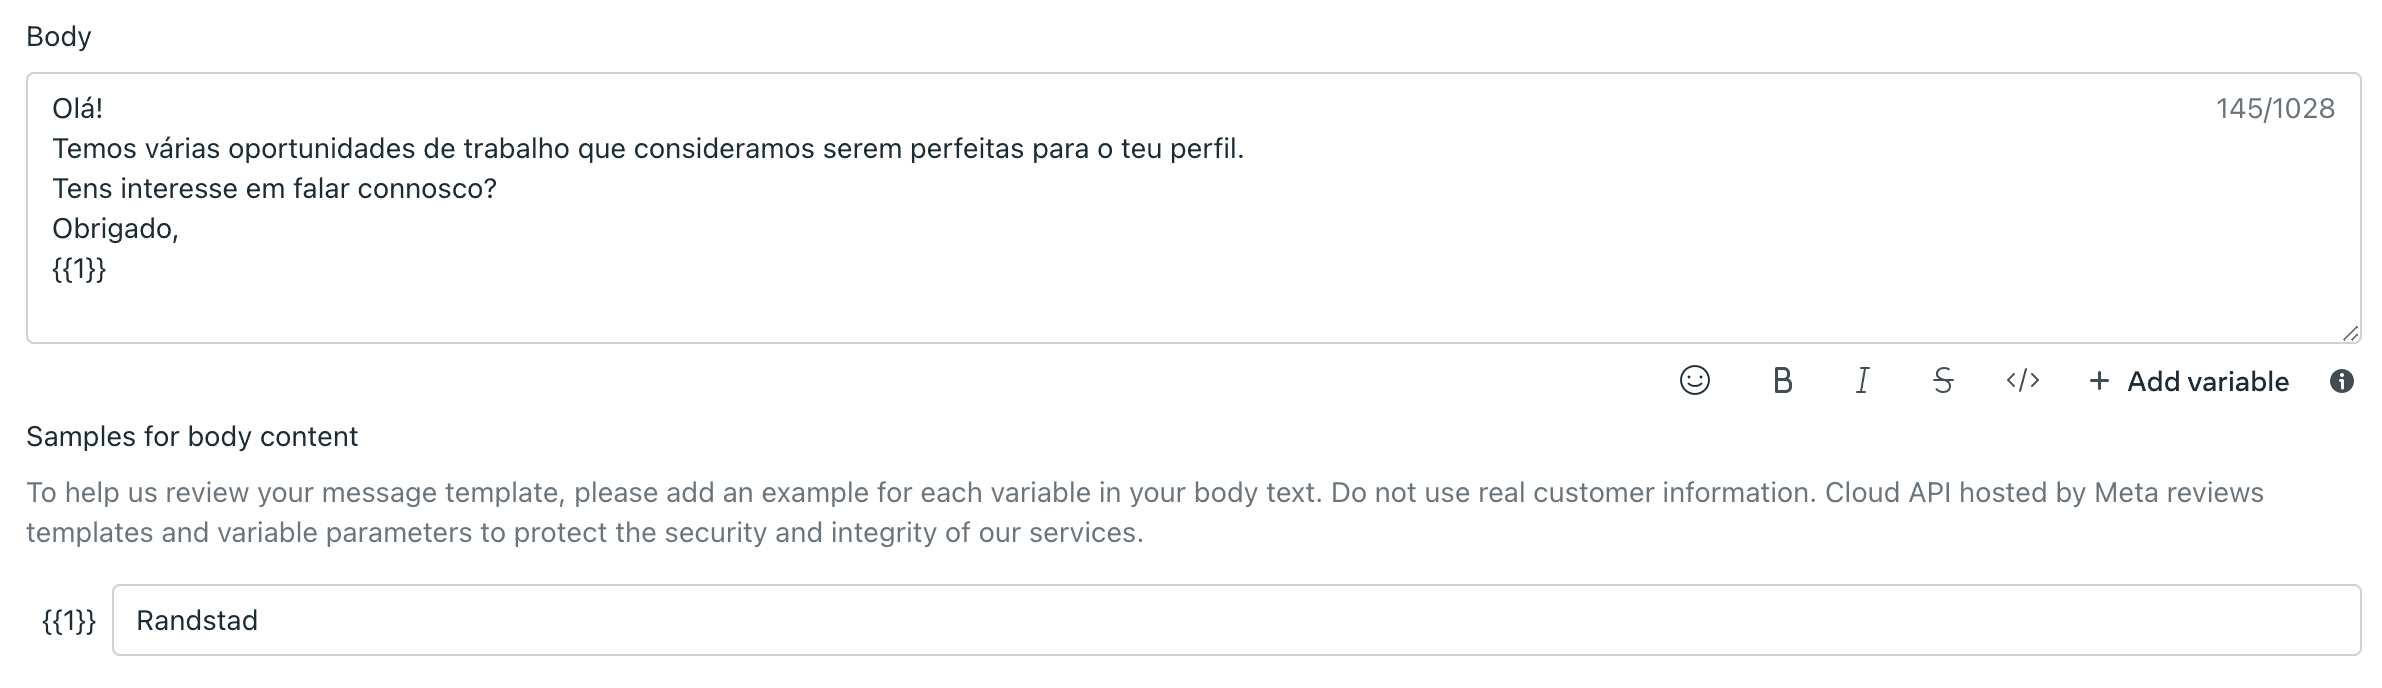
2. Add variables to your WhatsApp template
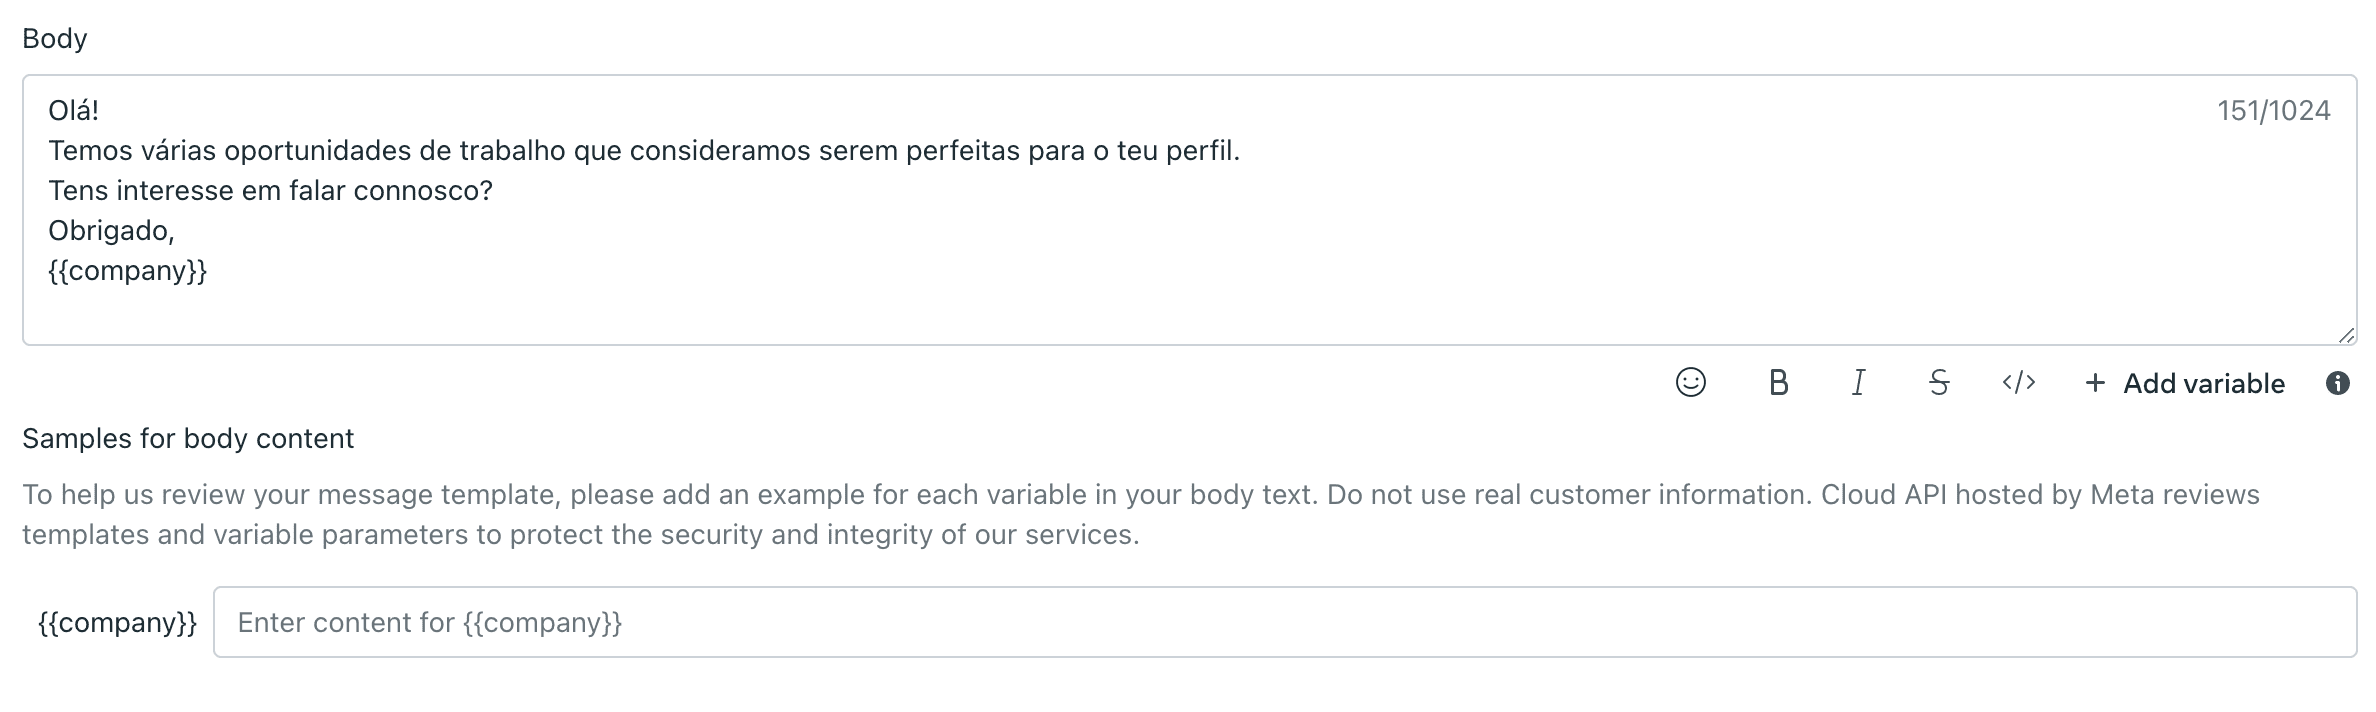
You can insert dynamic fields by clicking [+ Add variable] in the editor:

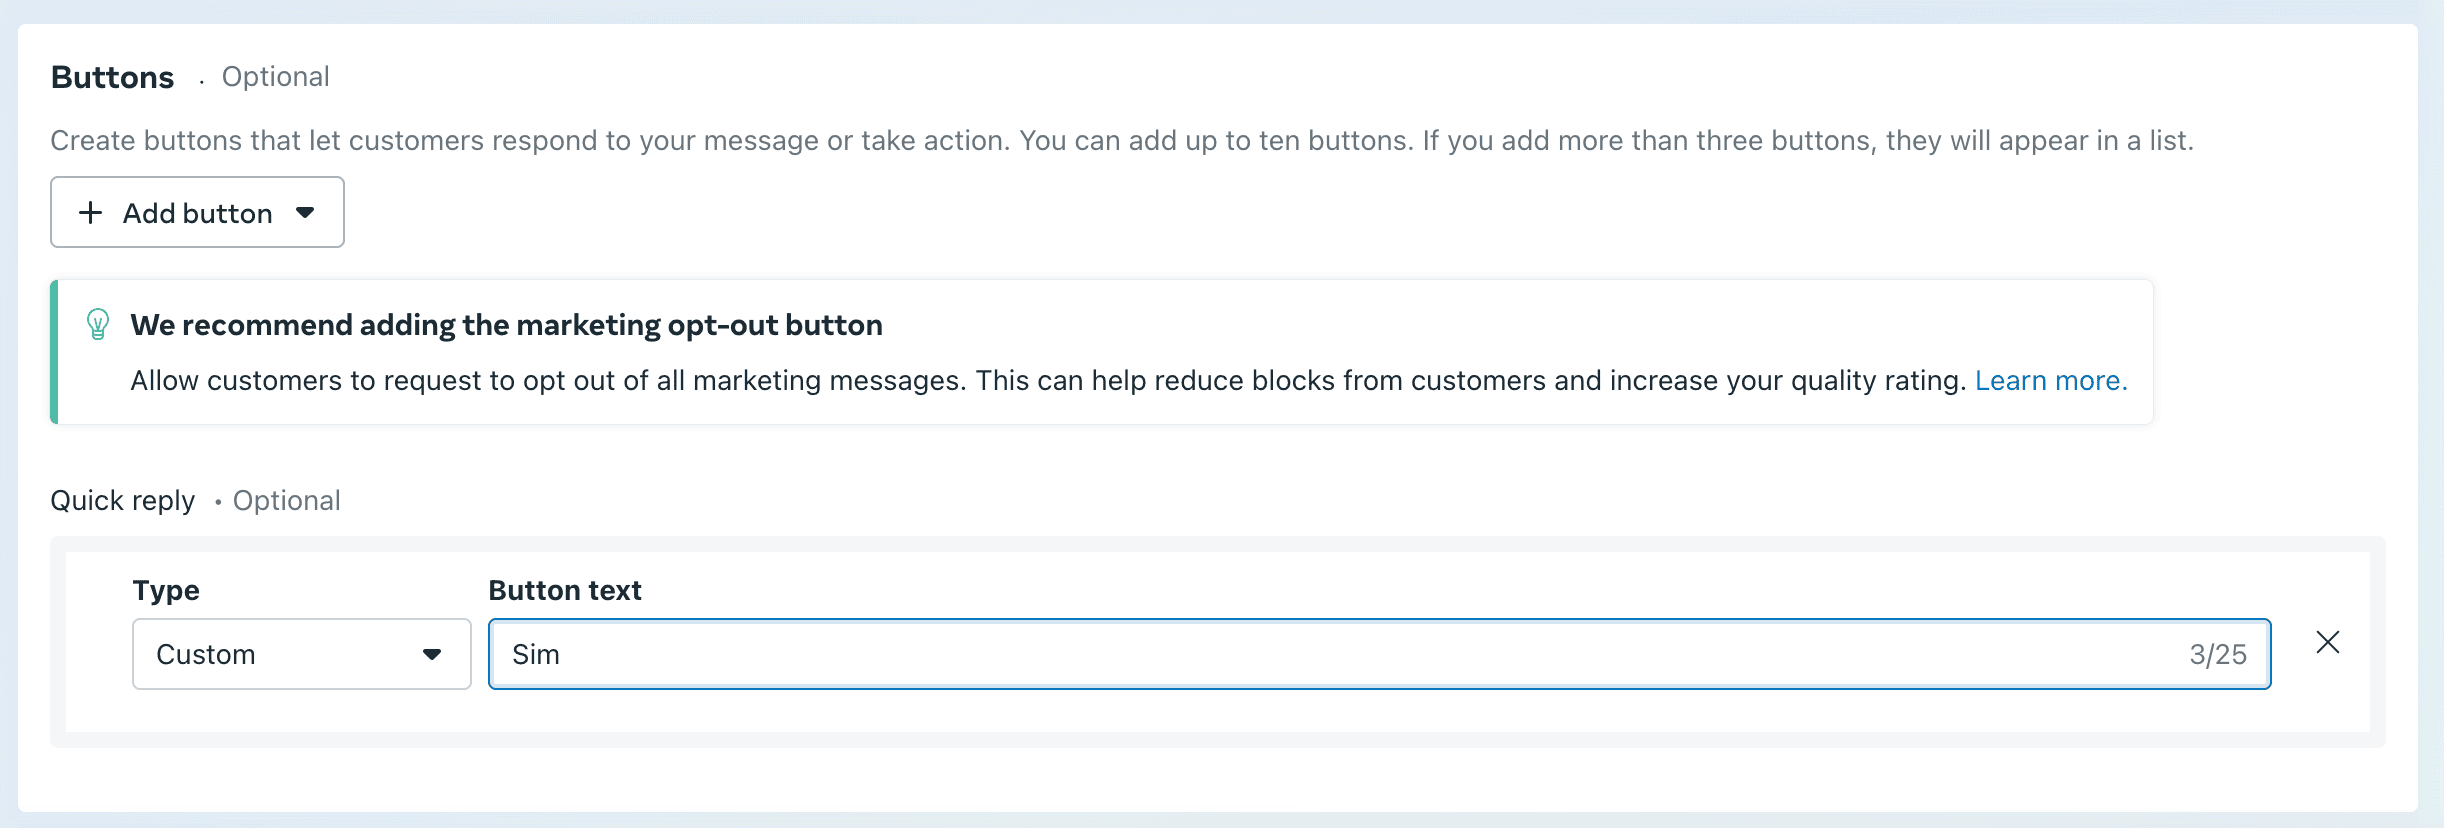
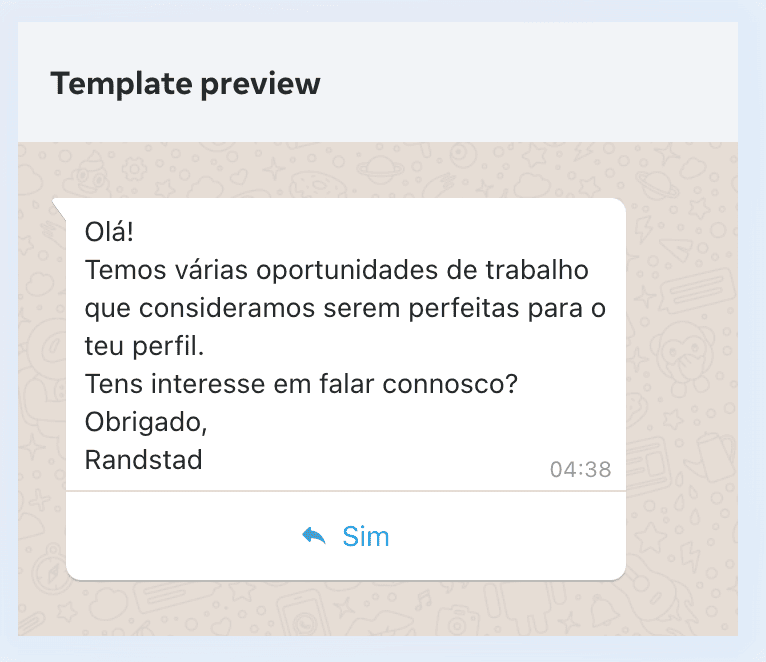
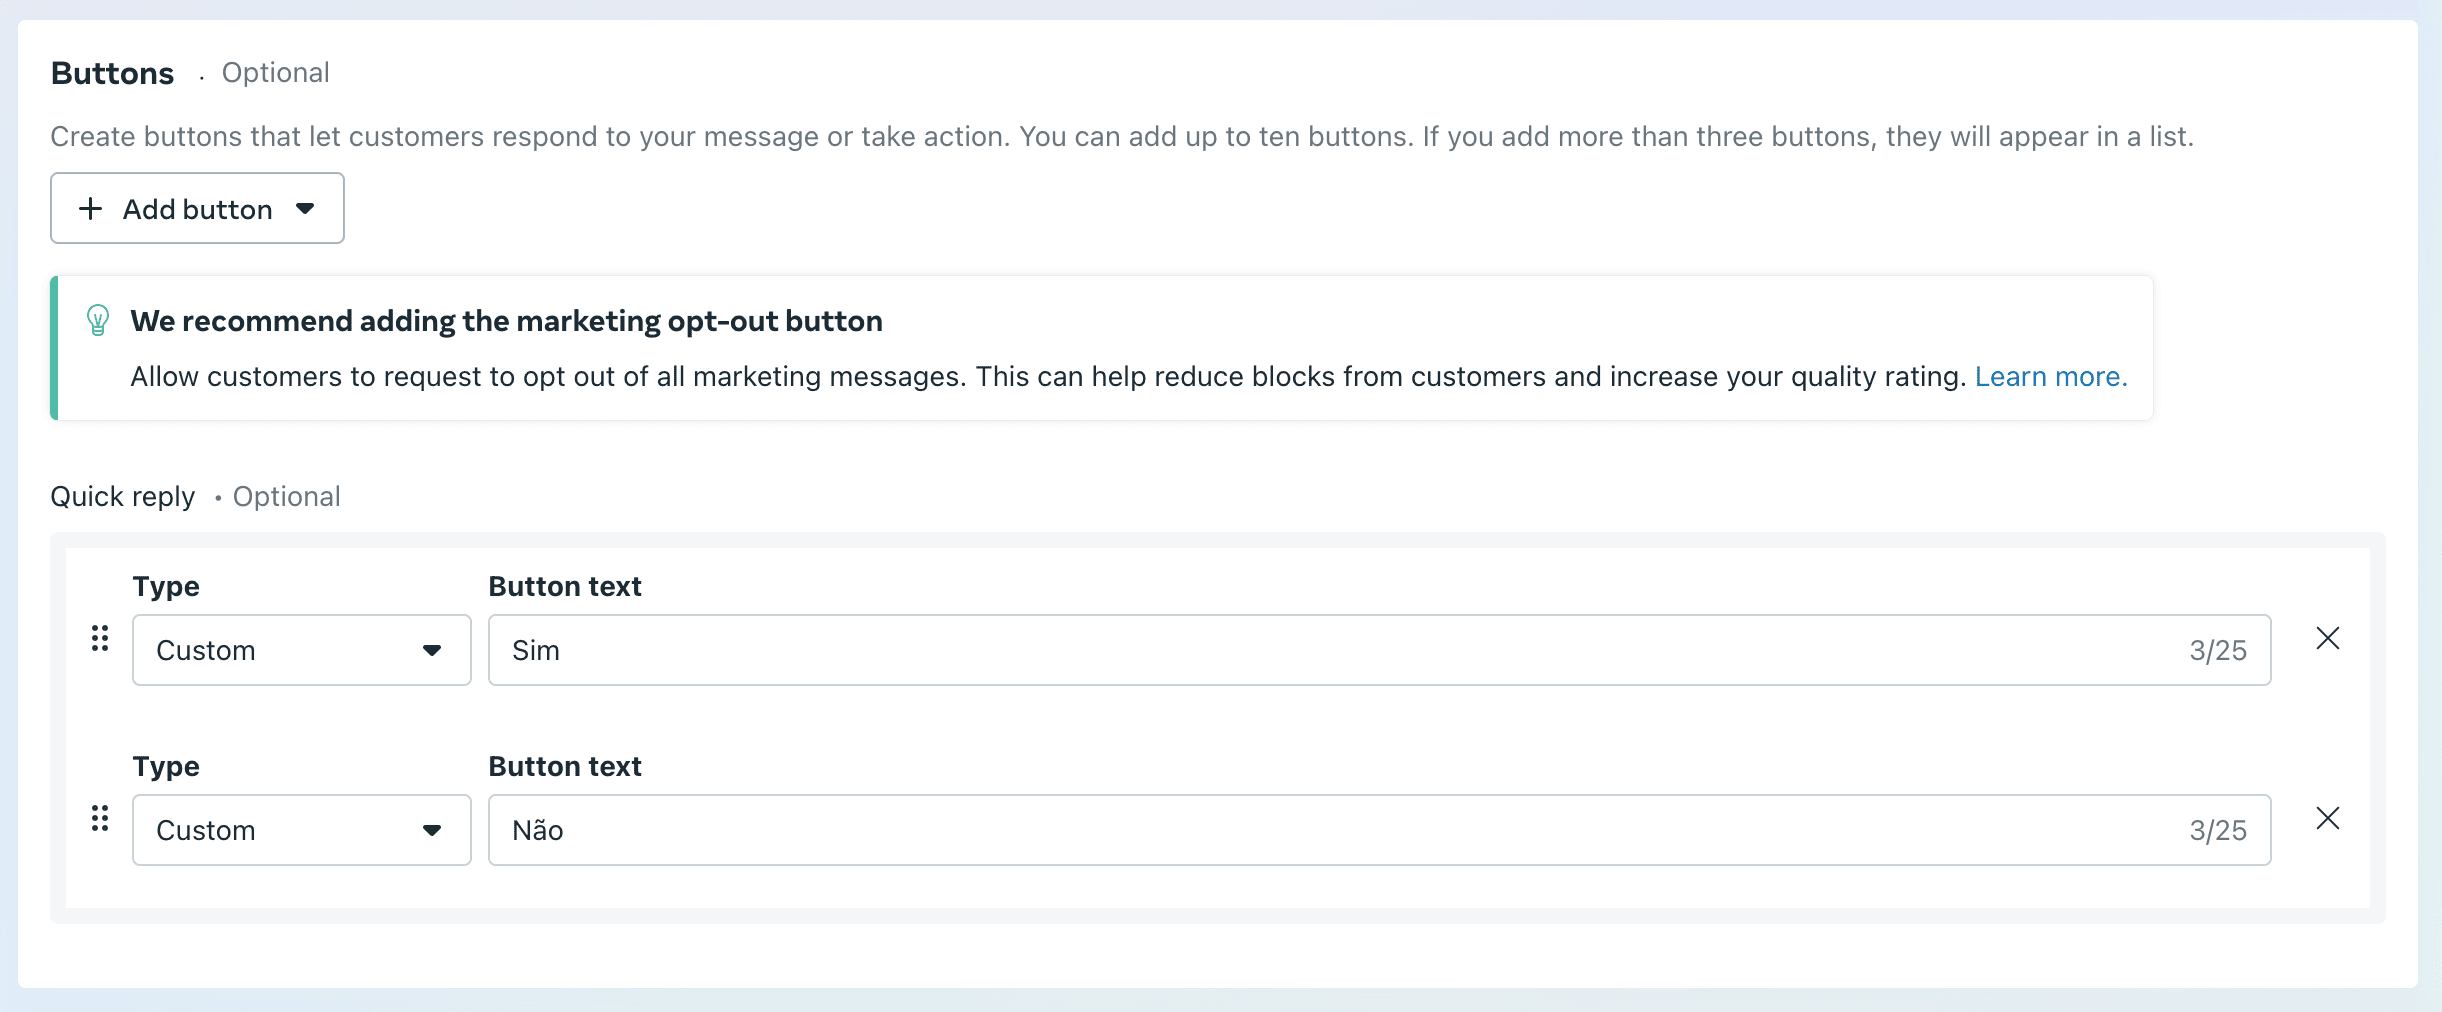
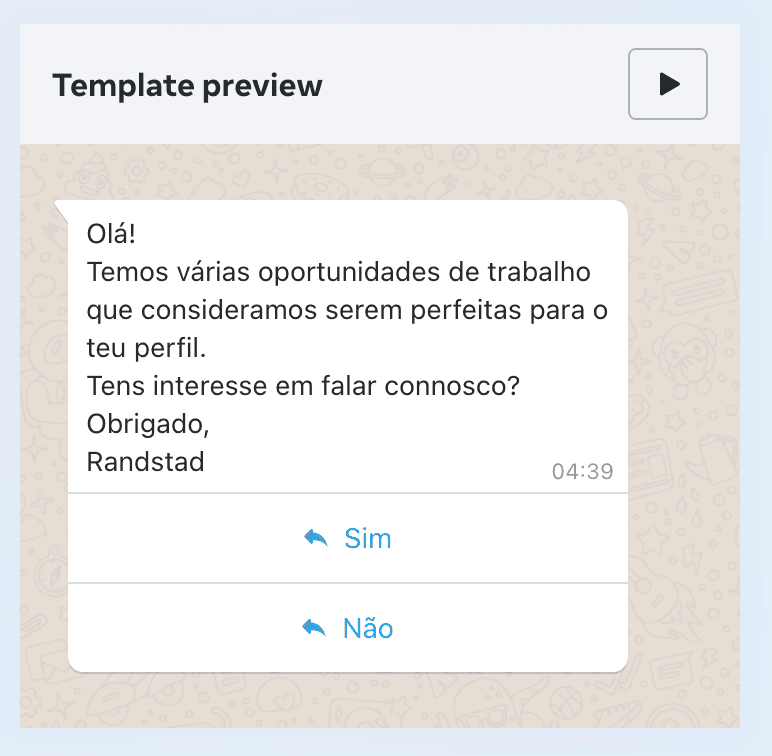
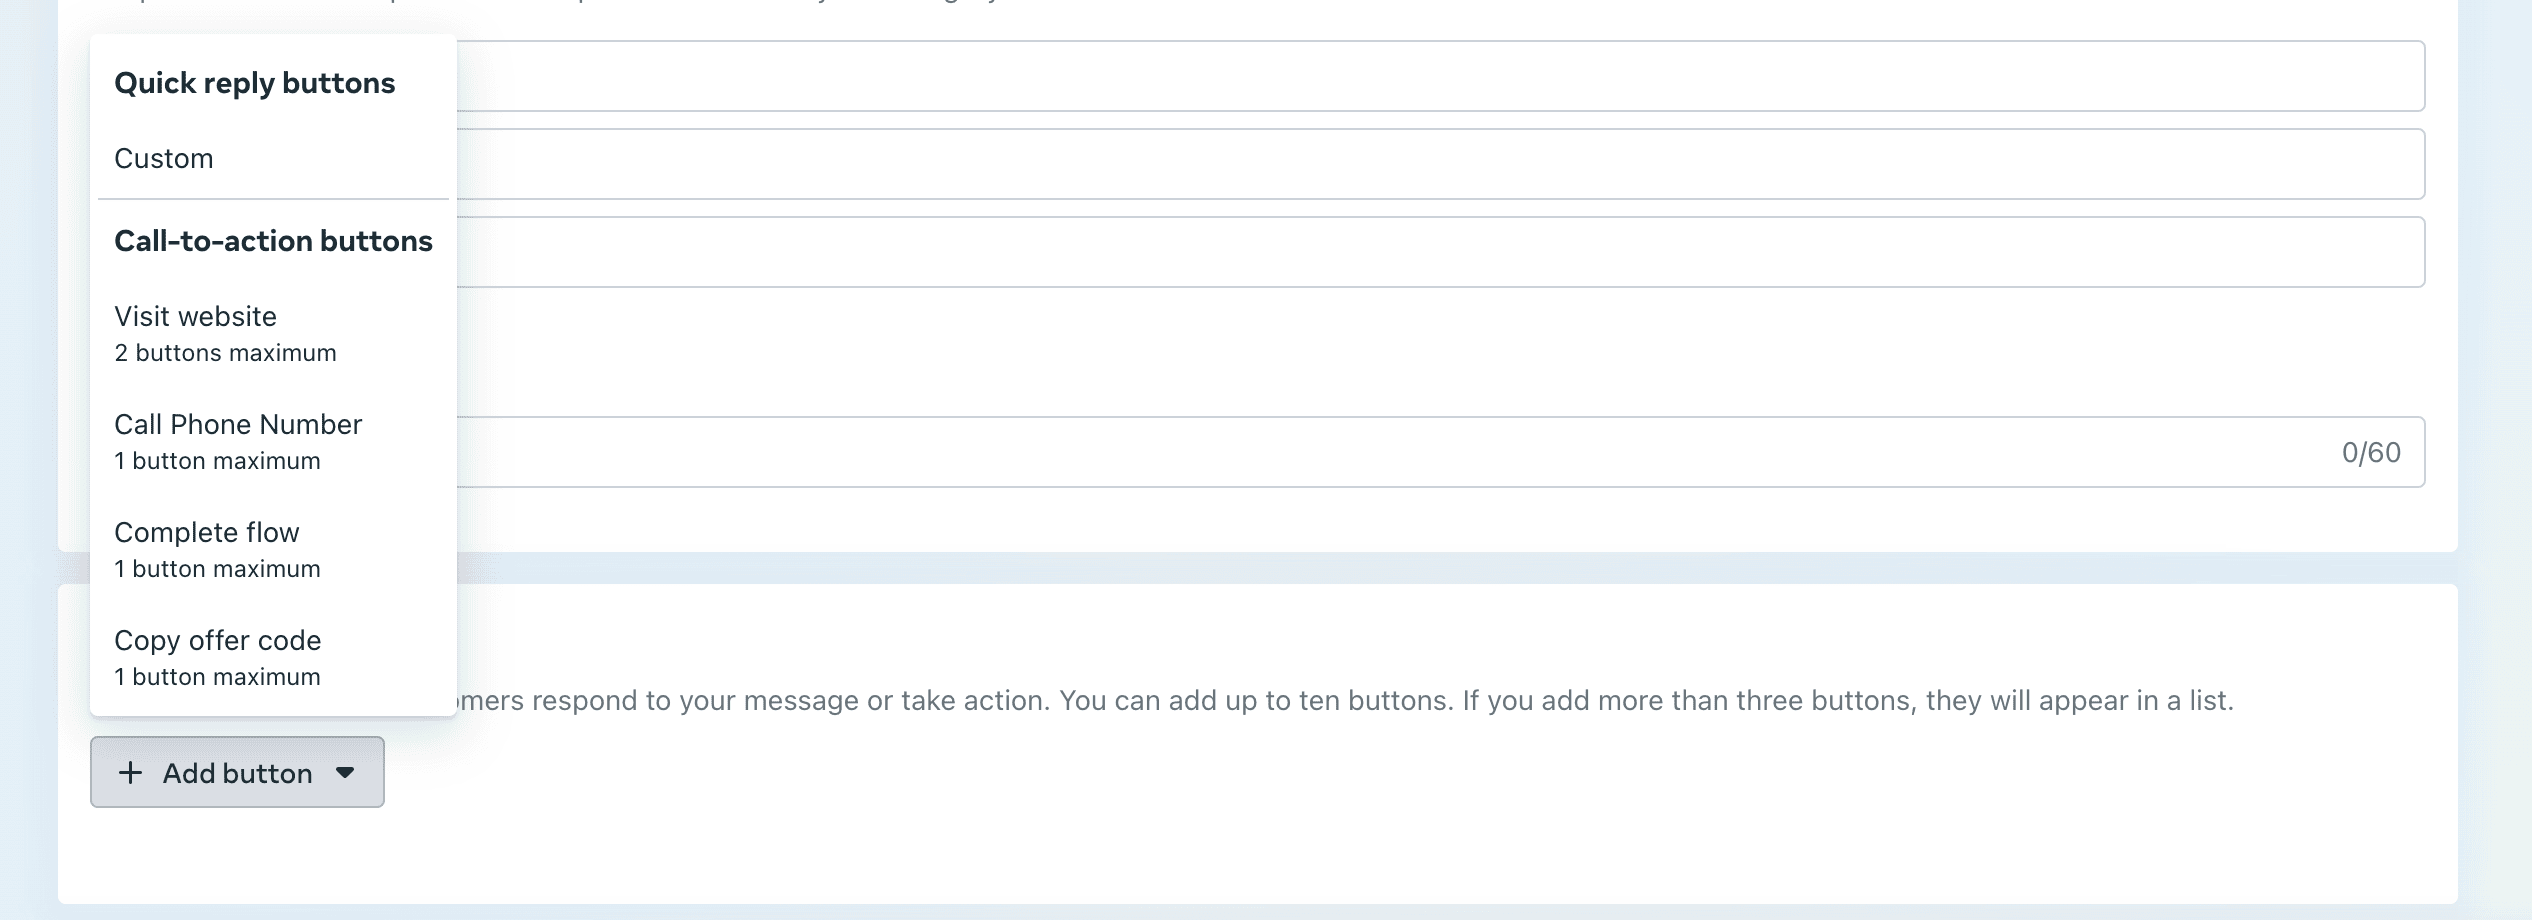
3. Add buttons to your WhatsApp template
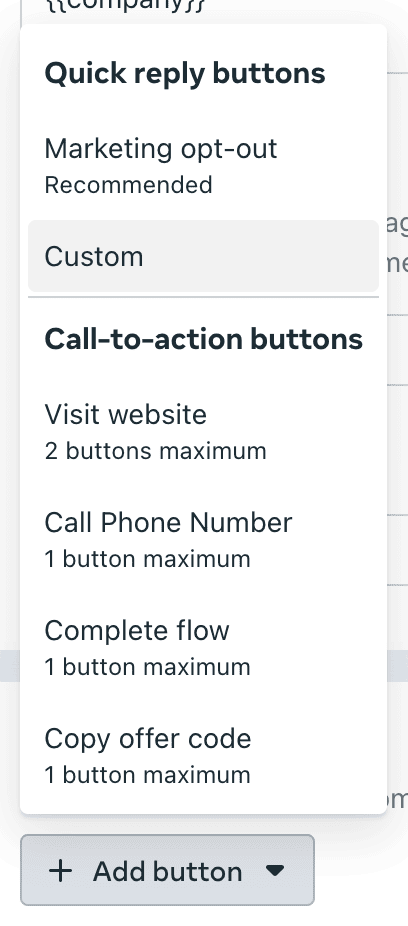
Buttons help recipients interact with your message directly.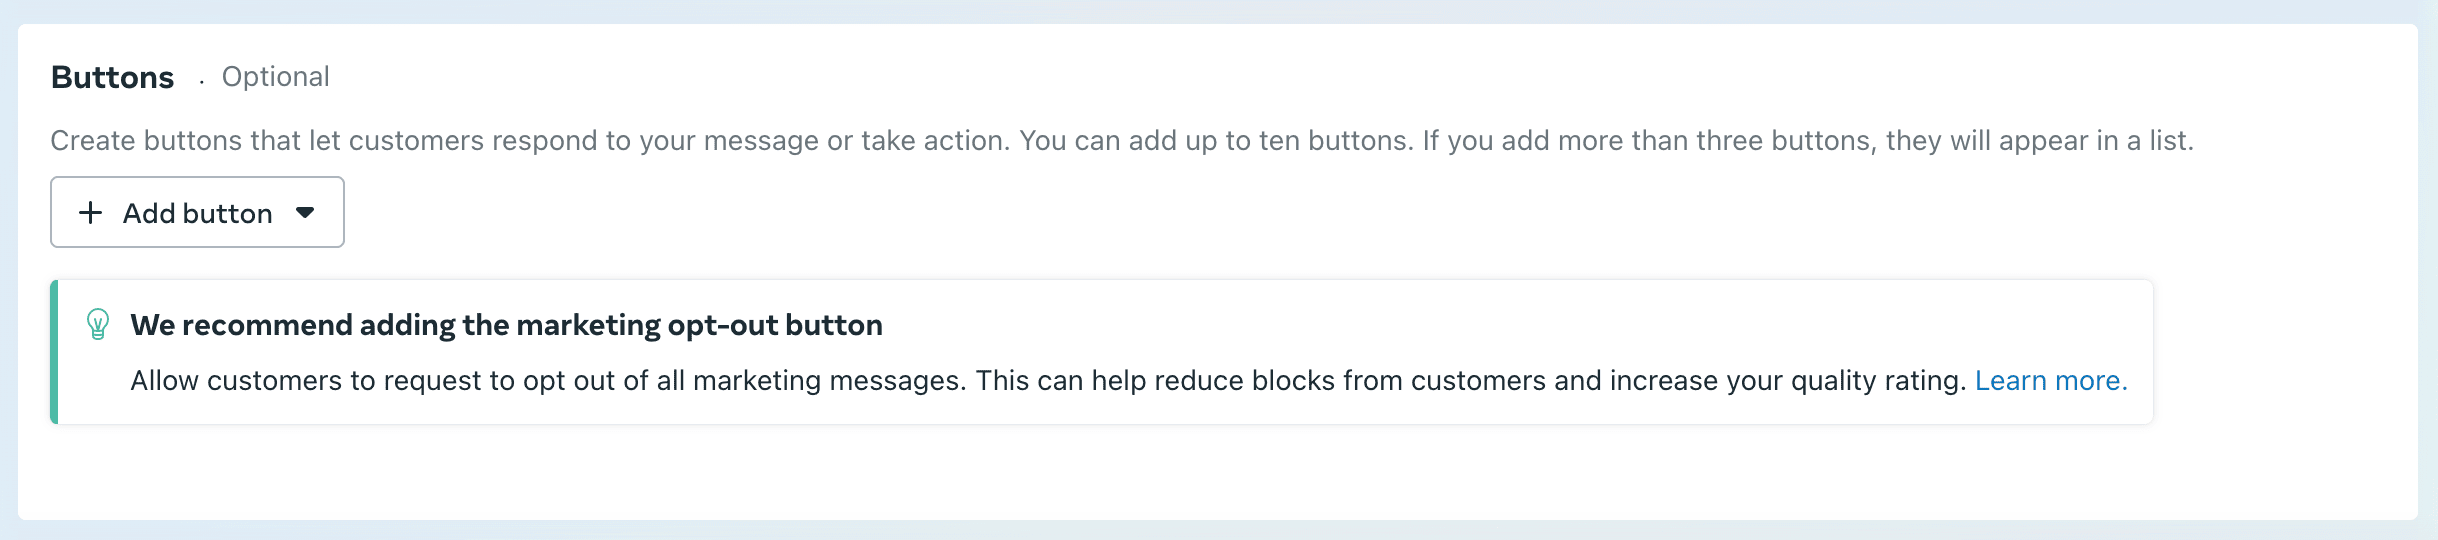
4. Submit your WhatsApp template
Once everything is ready, click [Submit] to send the template for approval and wait for the template’s review: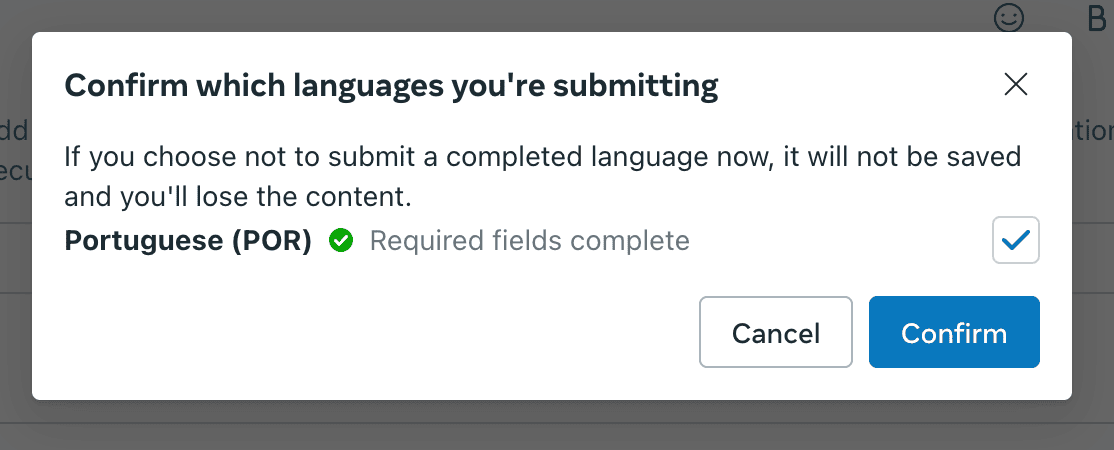


How long does template approval take?
Submitting a template starts two steps, in this order:- Category validation — happens immediately. Meta checks the category you chose (Marketing, Utility or Authentication) against the template’s content. If Meta disagrees, the template is rejected right away for incorrect category, before any content review happens. See WhatsApp Template Categories in HireData.
- Template review — this is the In review (Pending) state. Meta checks the content against its guidelines and then approves or rejects it.
Meta tells you the outcome by email and with an alert in WhatsApp Manager, so you don’t need to keep refreshing the template list.
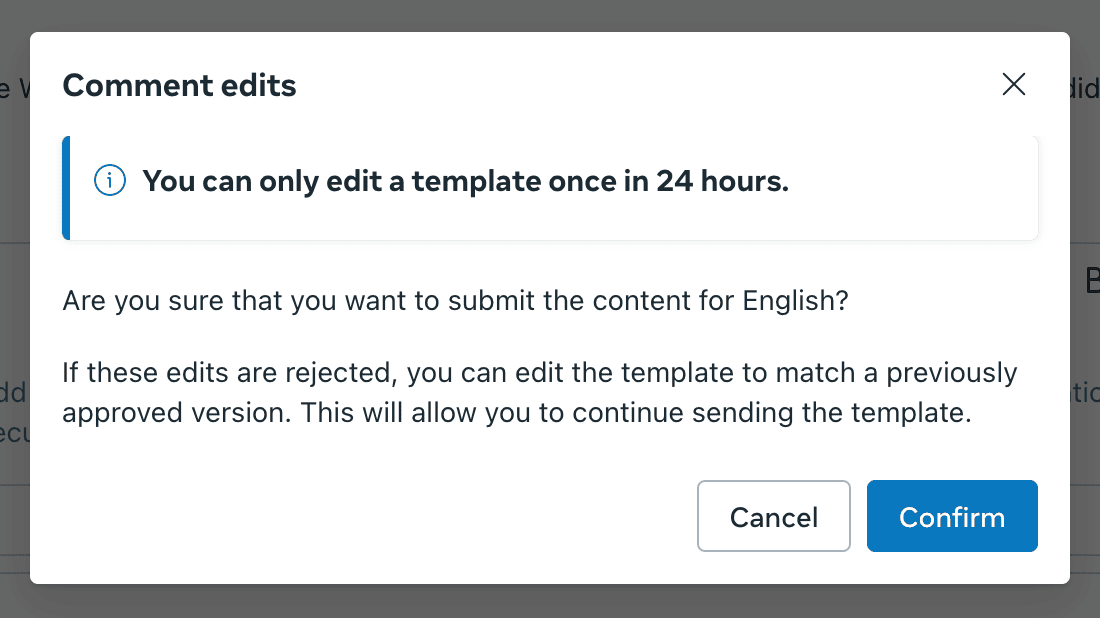
Editing a template that is already Approved or Paused sends it back through review, but those edits are usually accepted almost instantly unless the change fails review. See How to Edit WhatsApp Message Templates in HireData.
- Check your email and the WhatsApp Manager alerts. The outcome may already have been sent.
- Open the template in Manage Templates and confirm its current status there rather than in HireData, which only sees the template after a sync.
- If it’s been rejected, fix the content against Meta’s guidelines and resubmit, or create a new template.
- If it remains in review, contact Meta Business Support.
Syncing WhatsApp templates with HireData
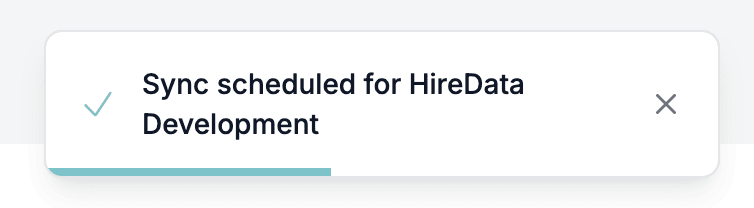
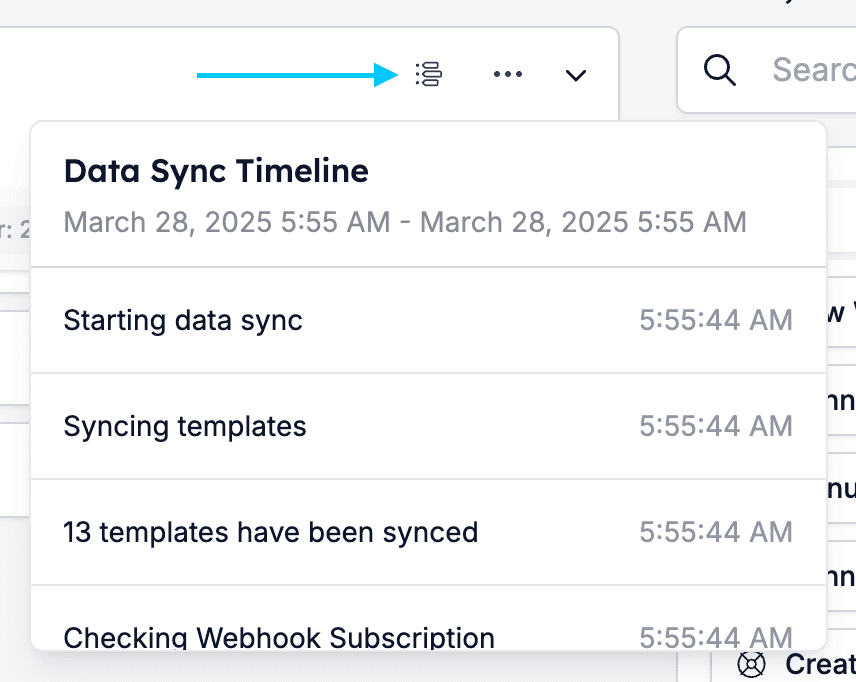
To make your newly created template available in HireData, click [Sync Account] in the dropdown menu of your WhatsApp account in HireData: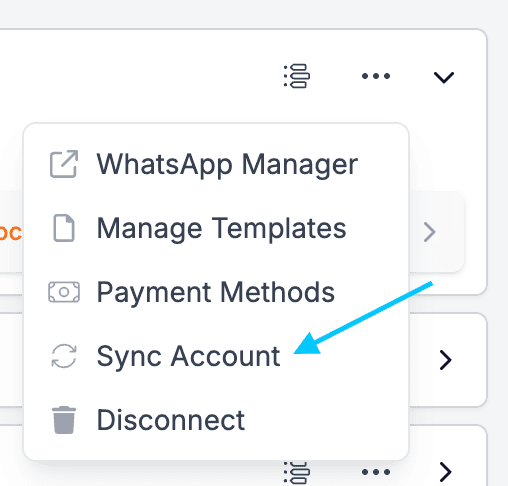

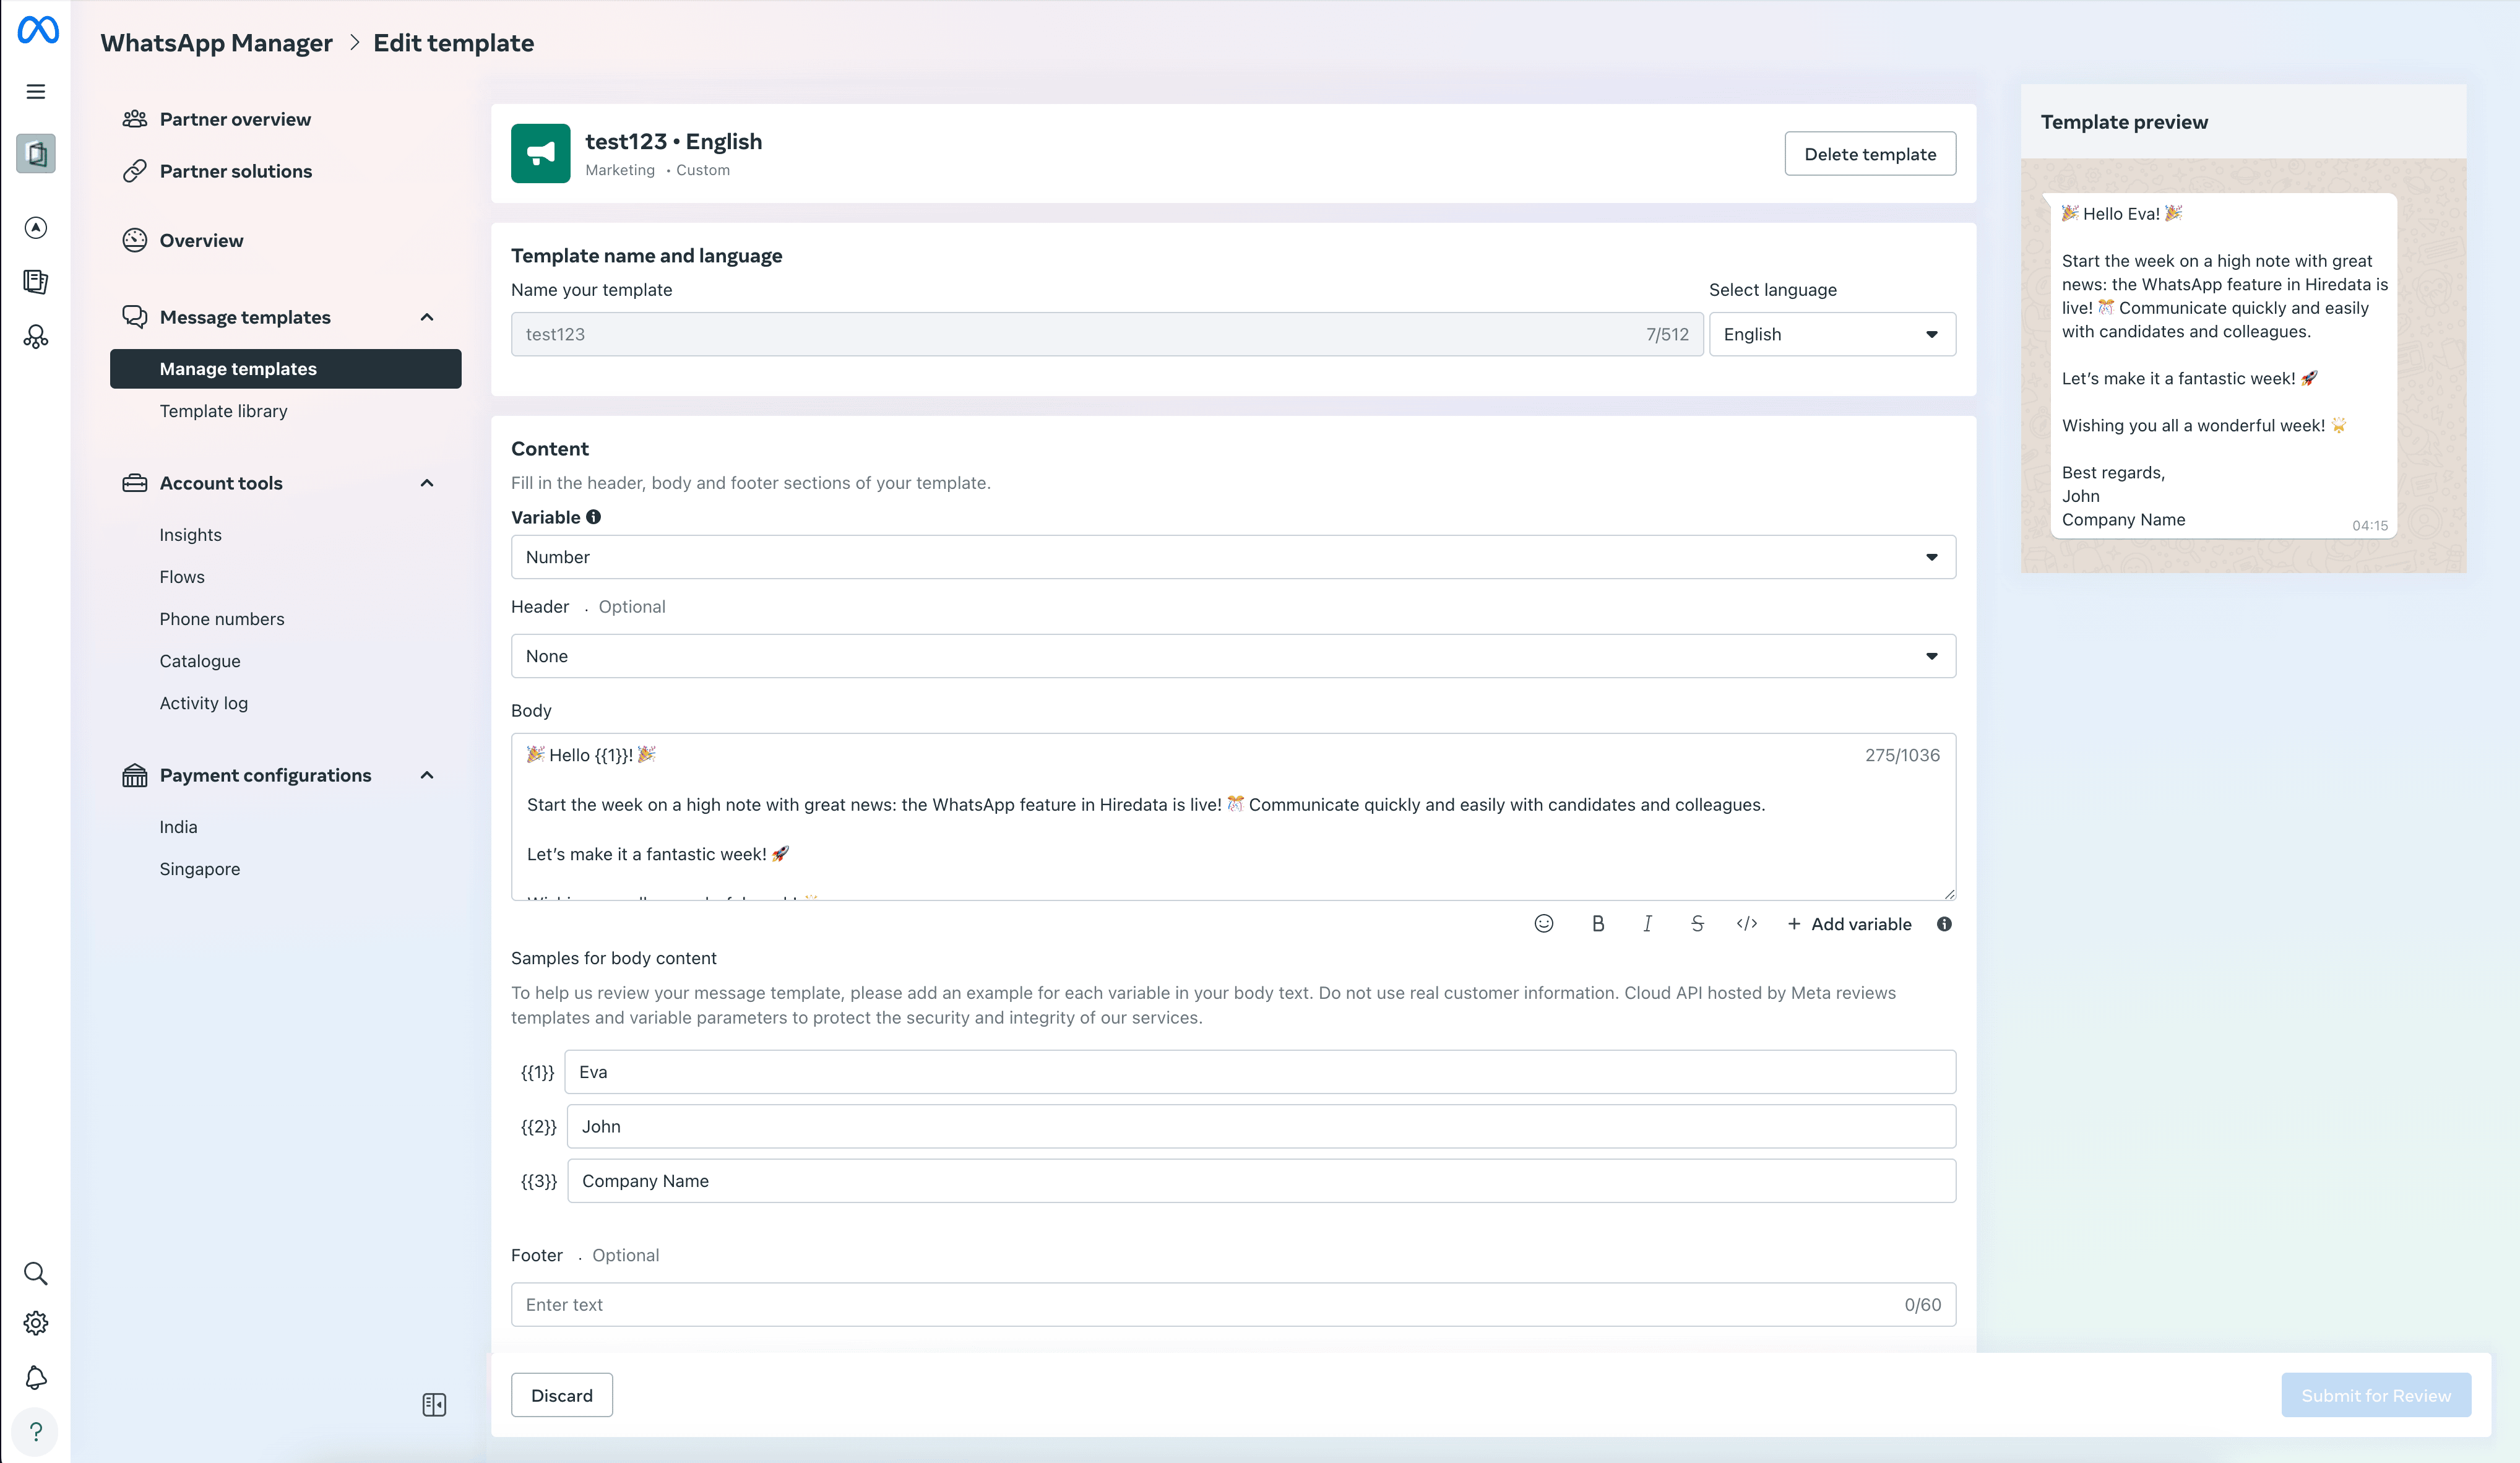
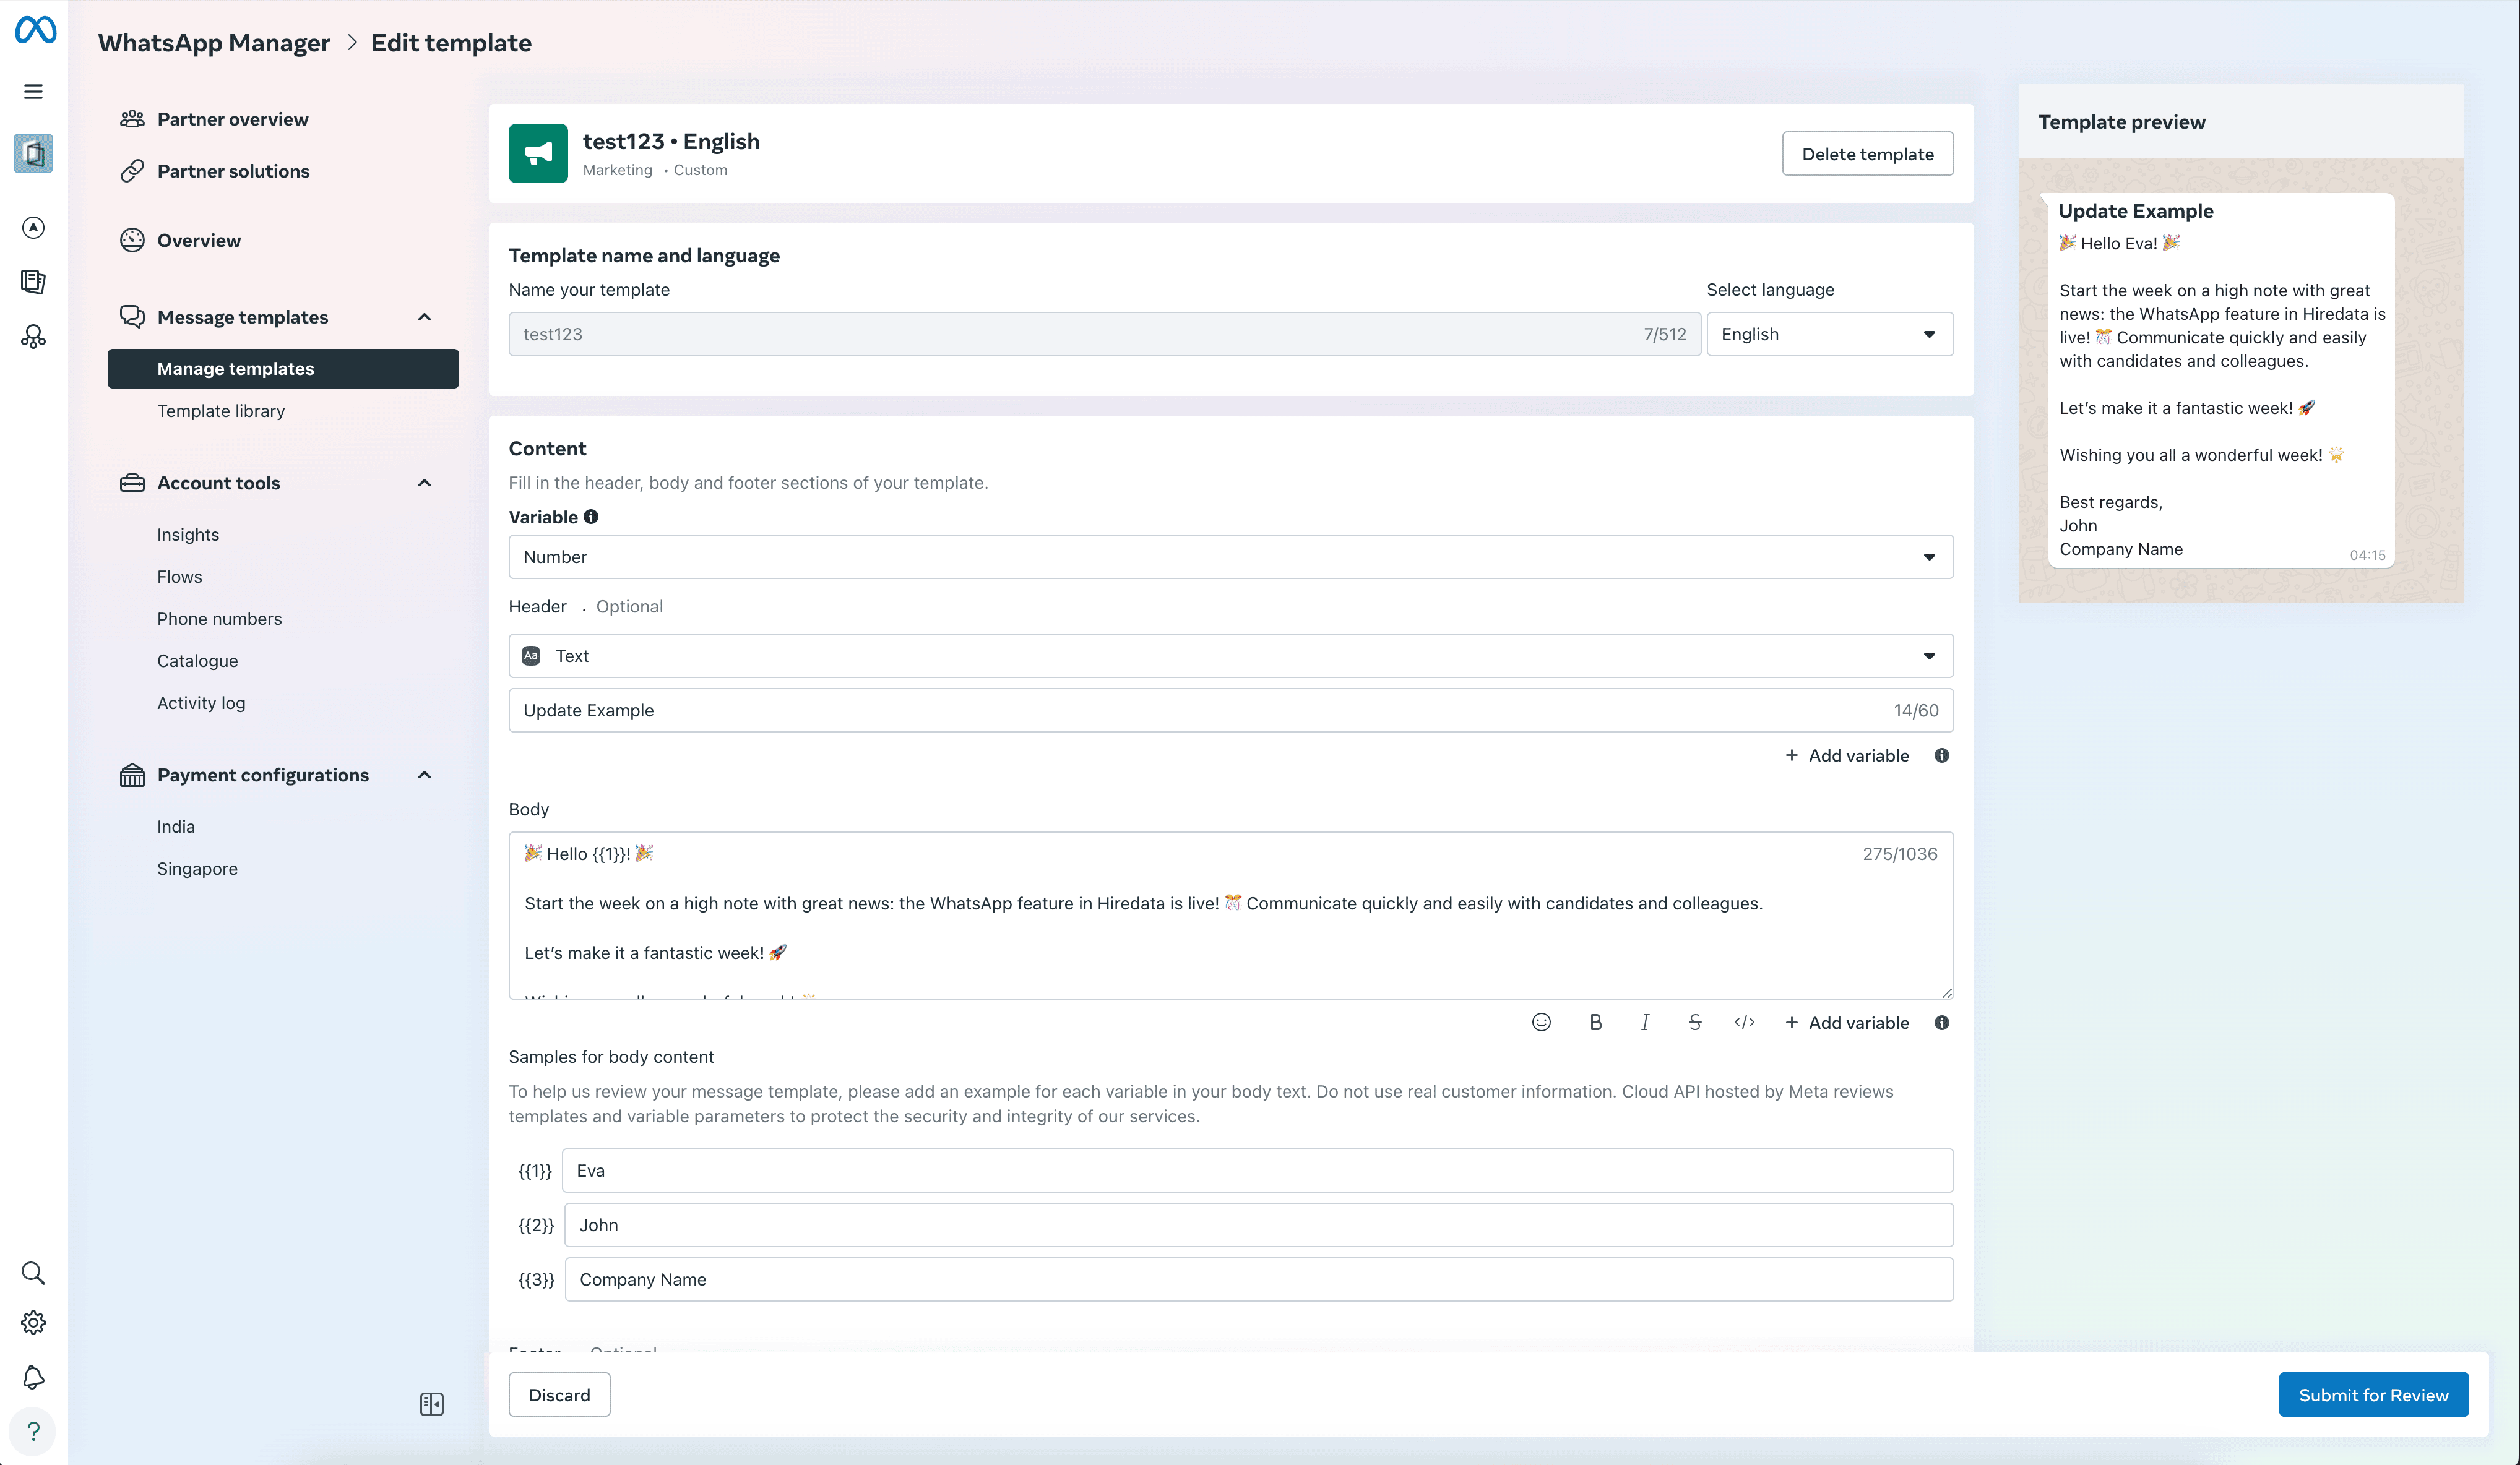
Editing a WhatsApp template
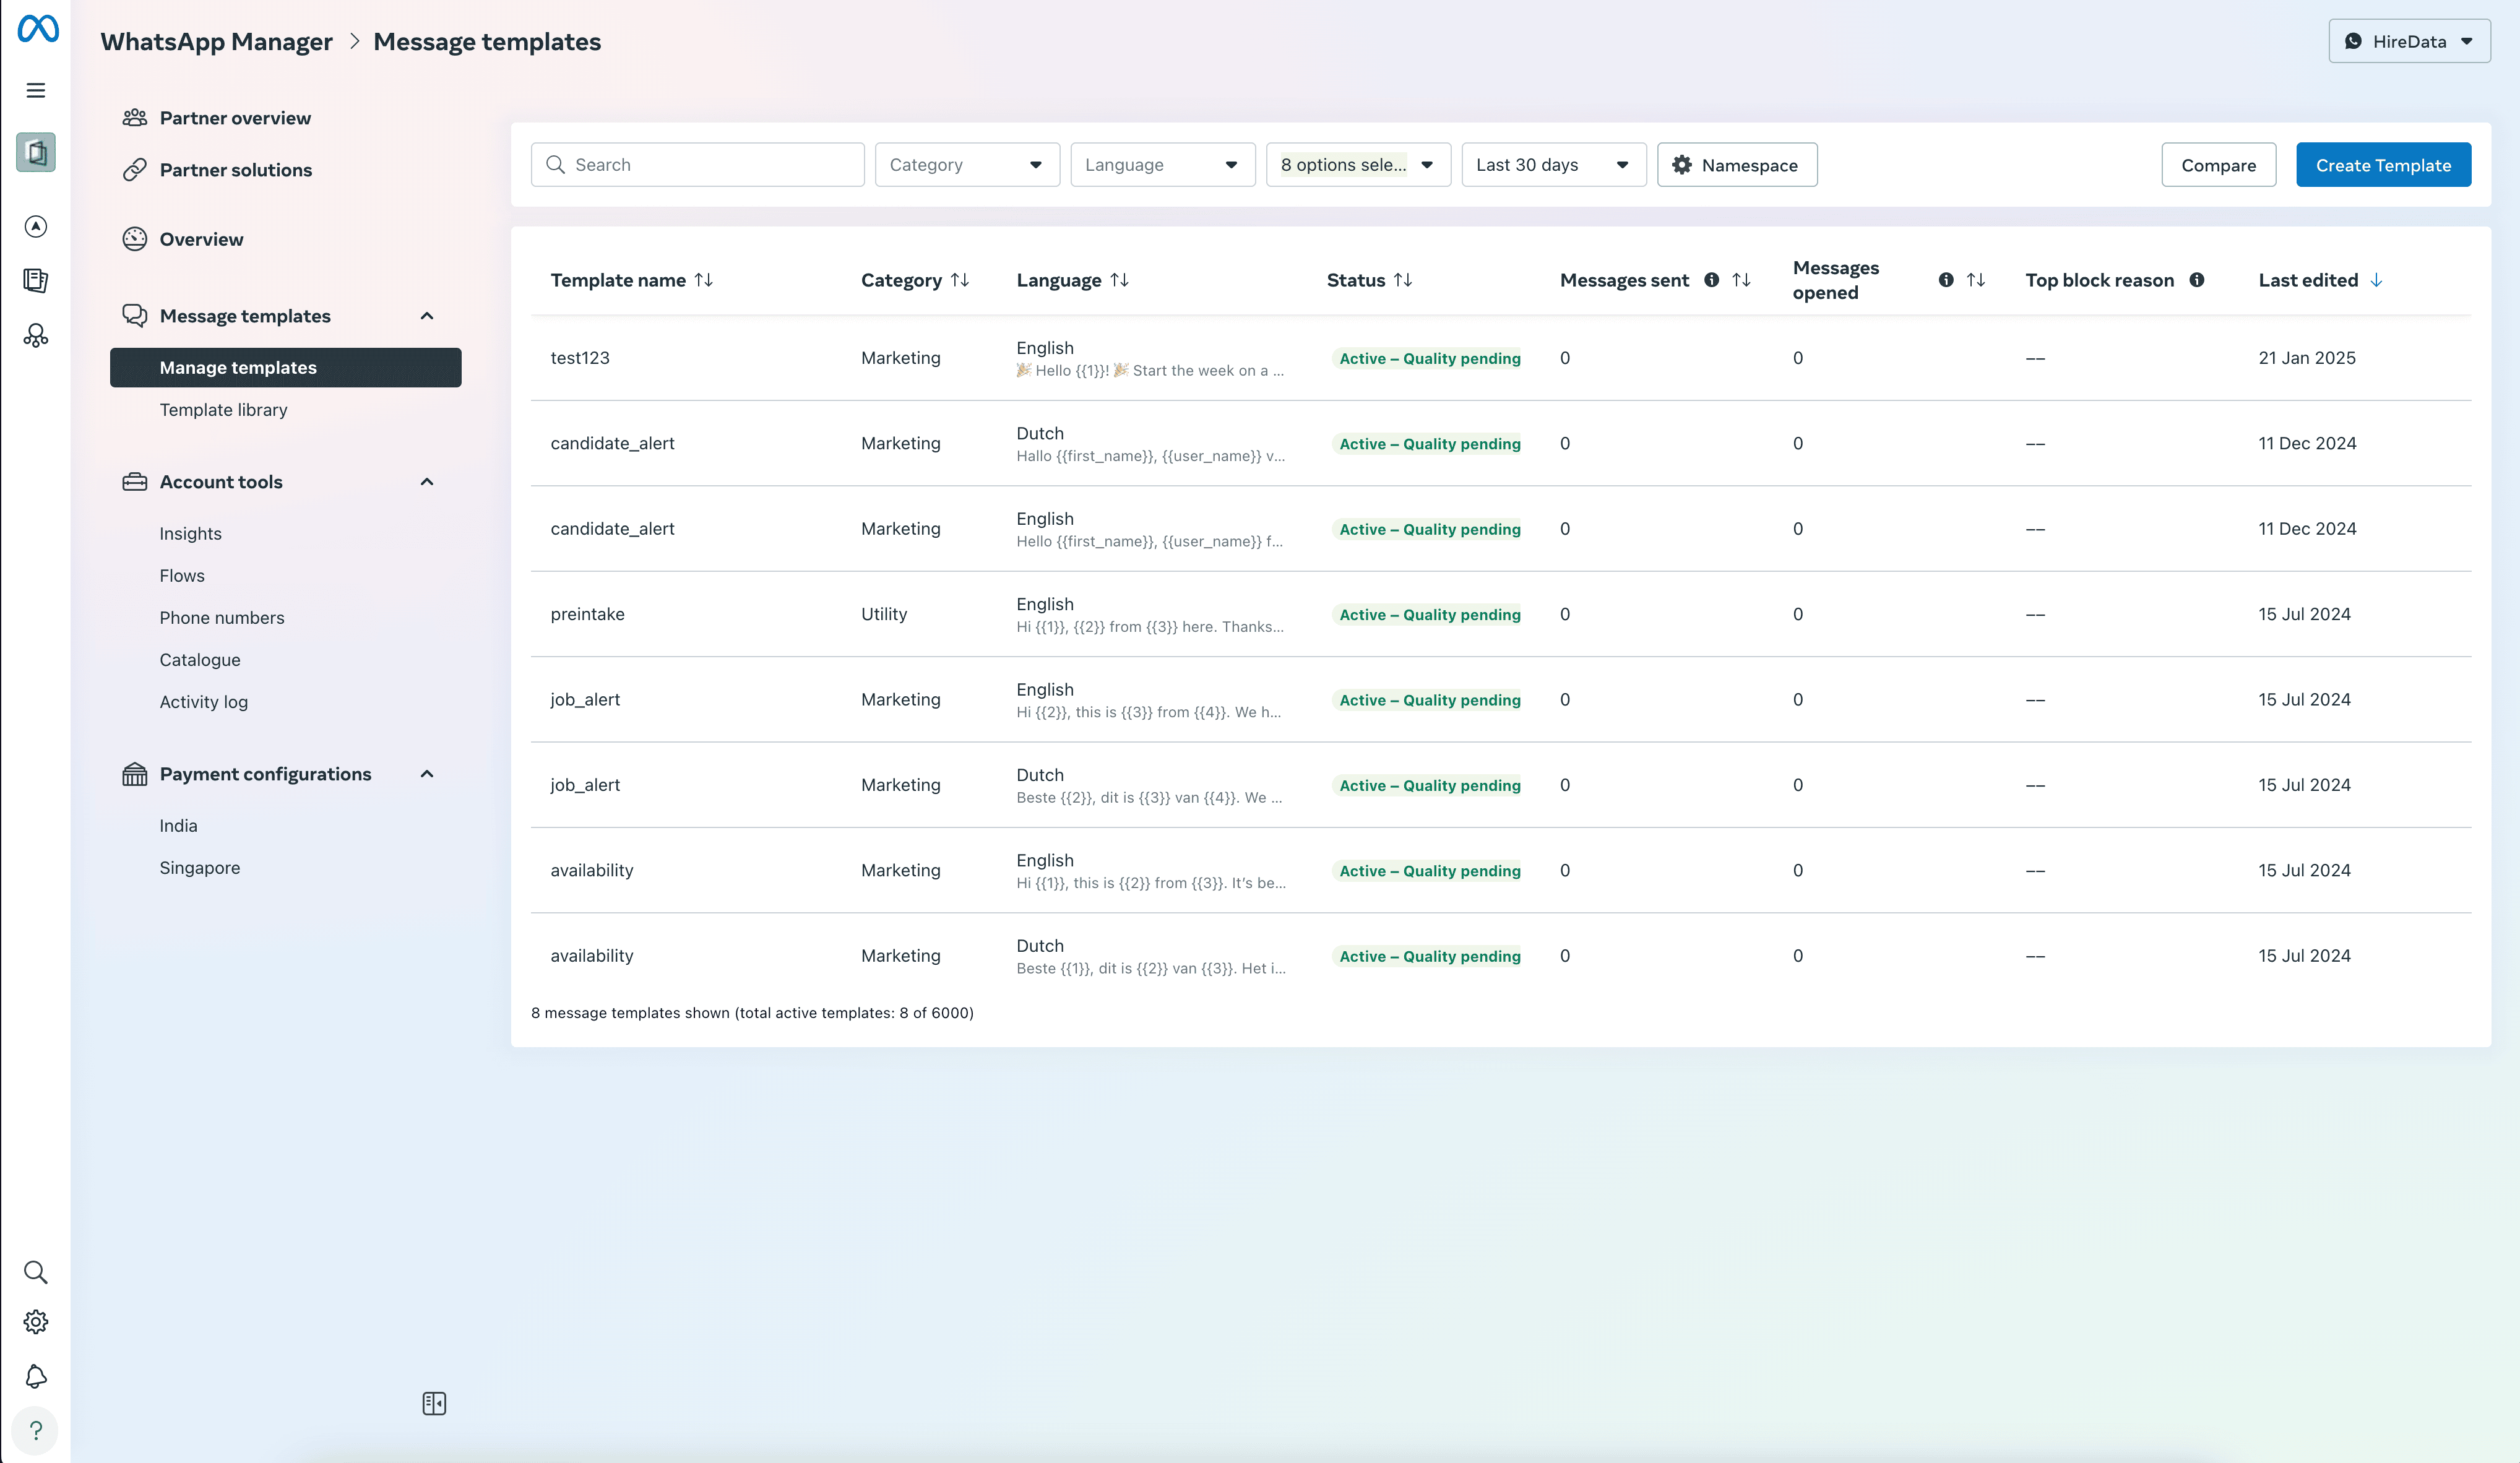
Go to your WhatsApp Template Manager by clicking [Manage Templates]: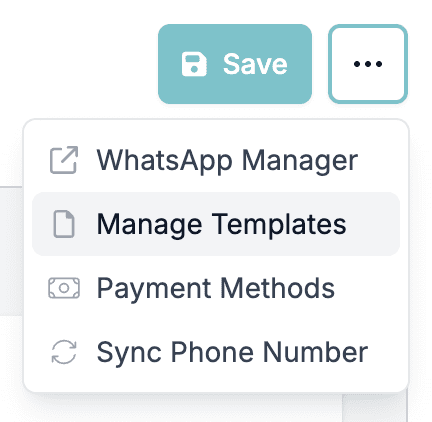
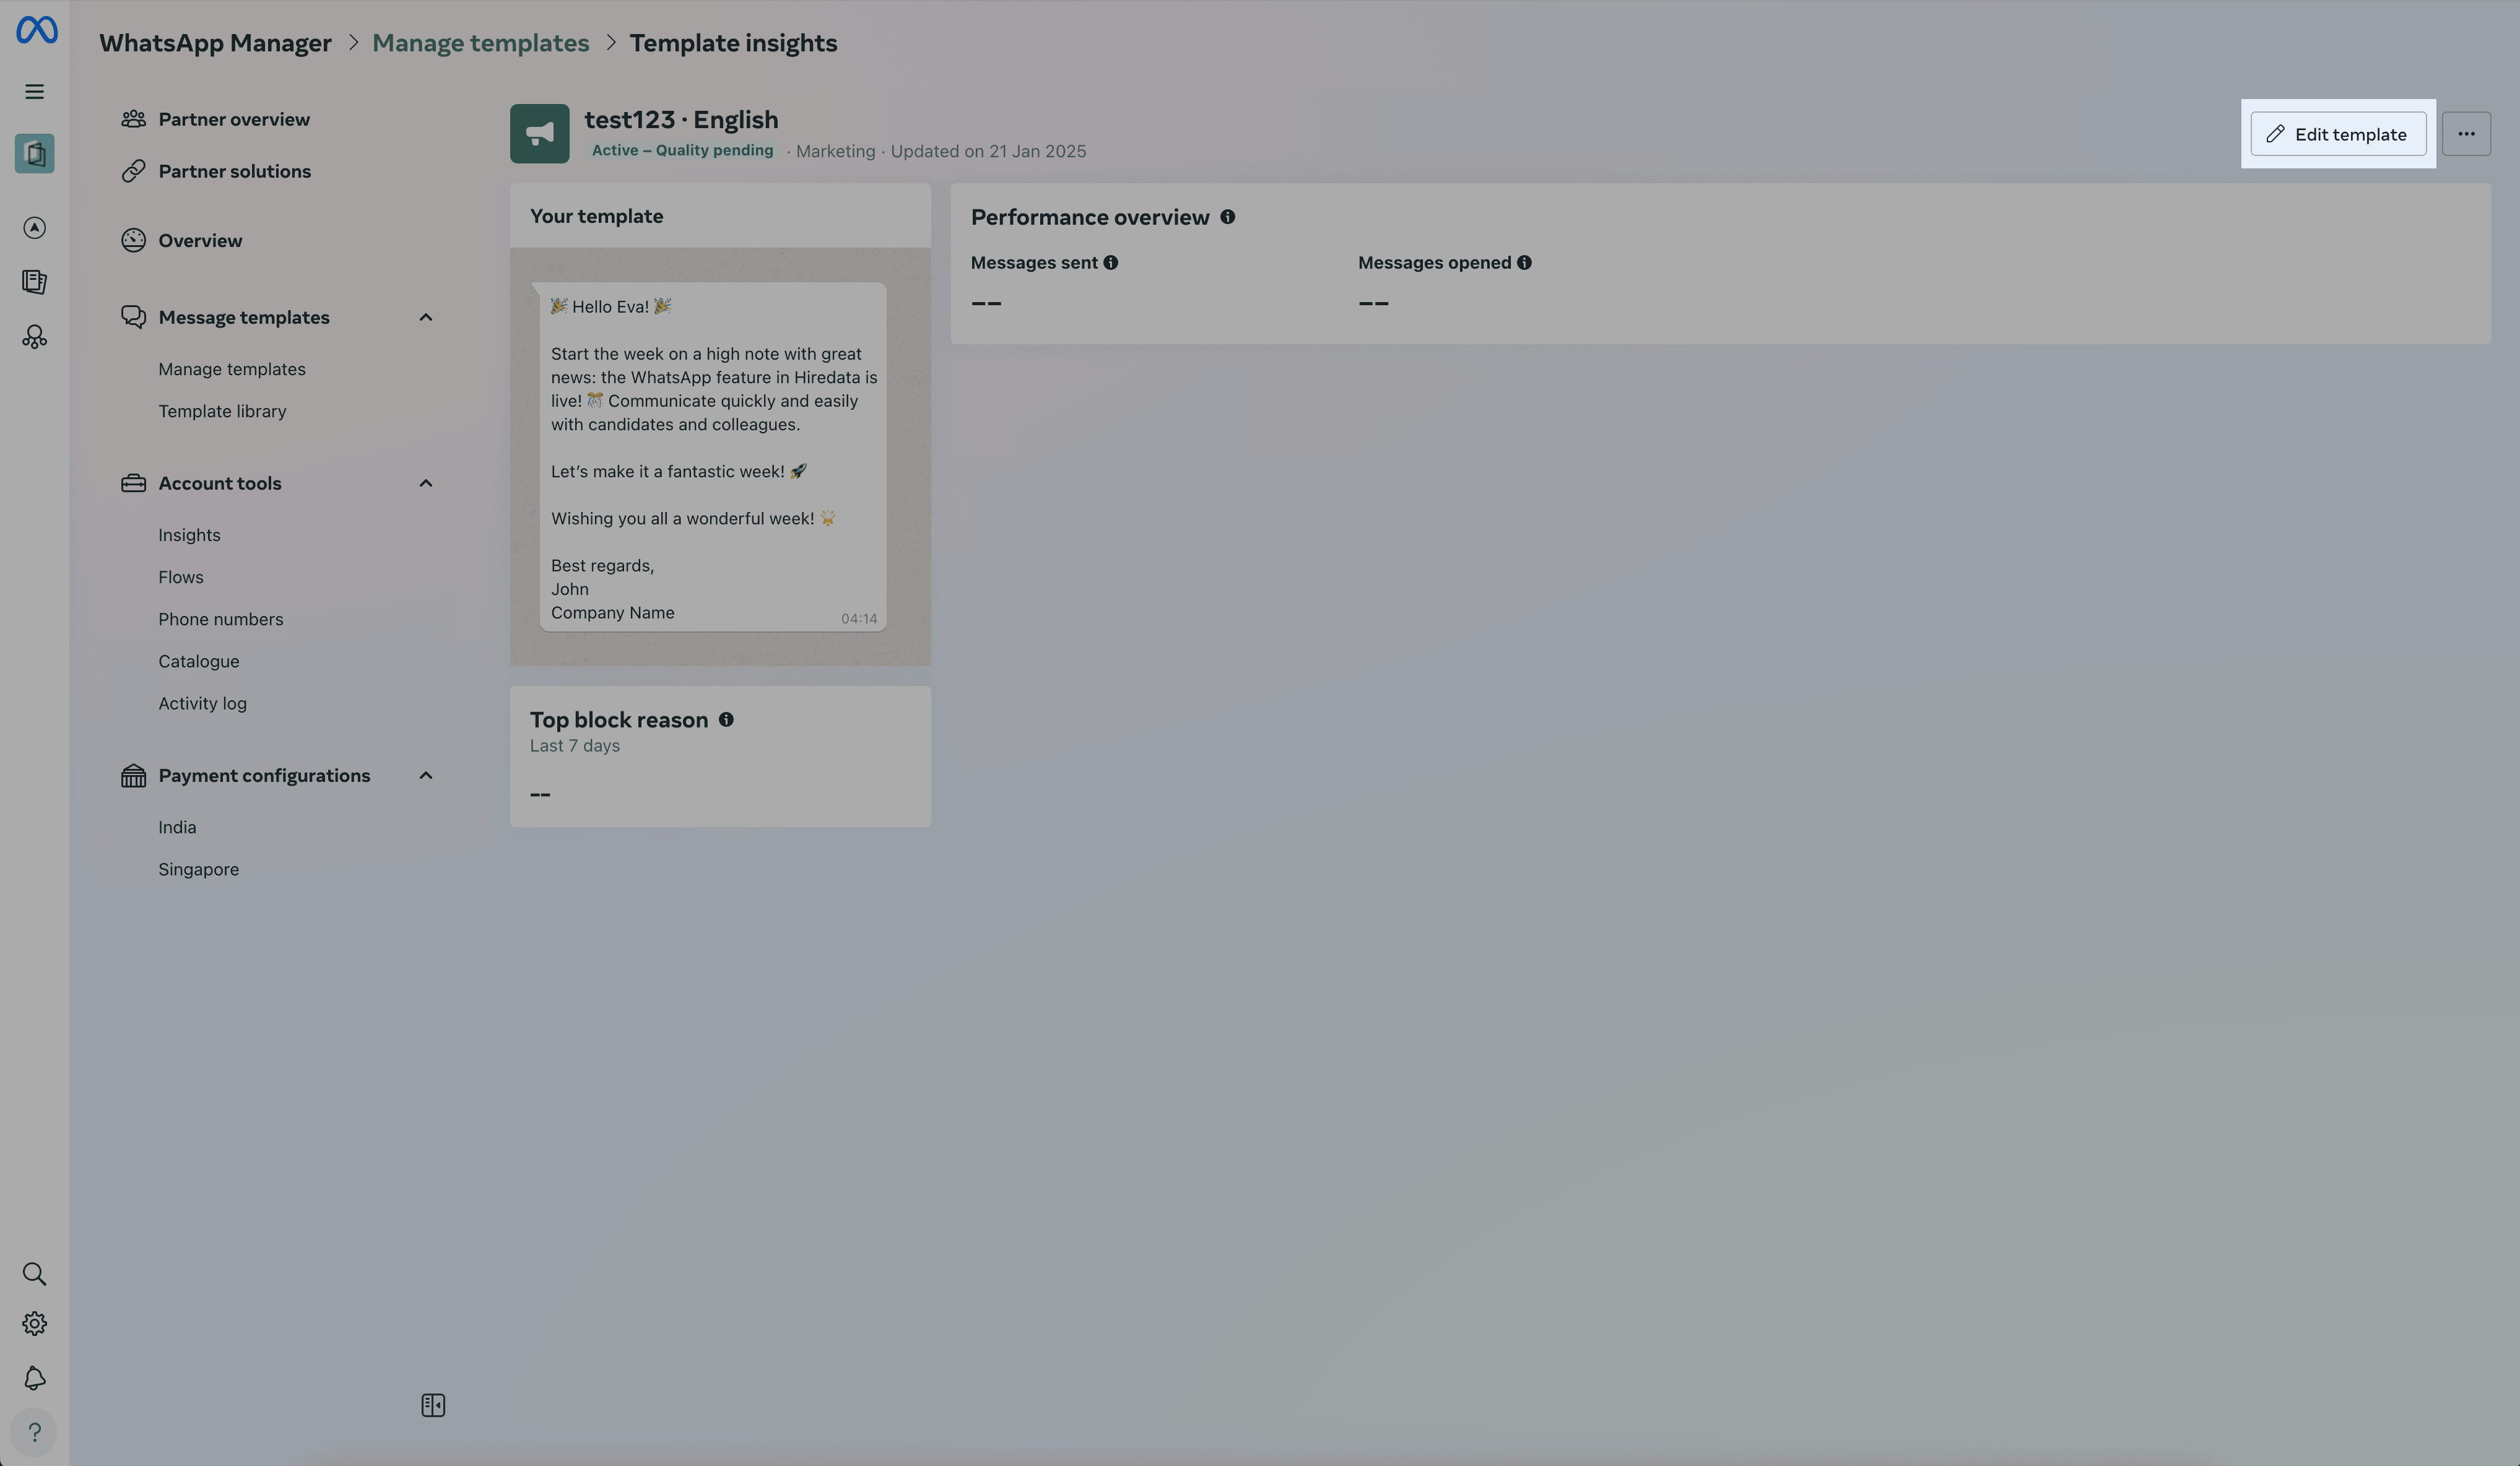
Deleting a WhatsApp template
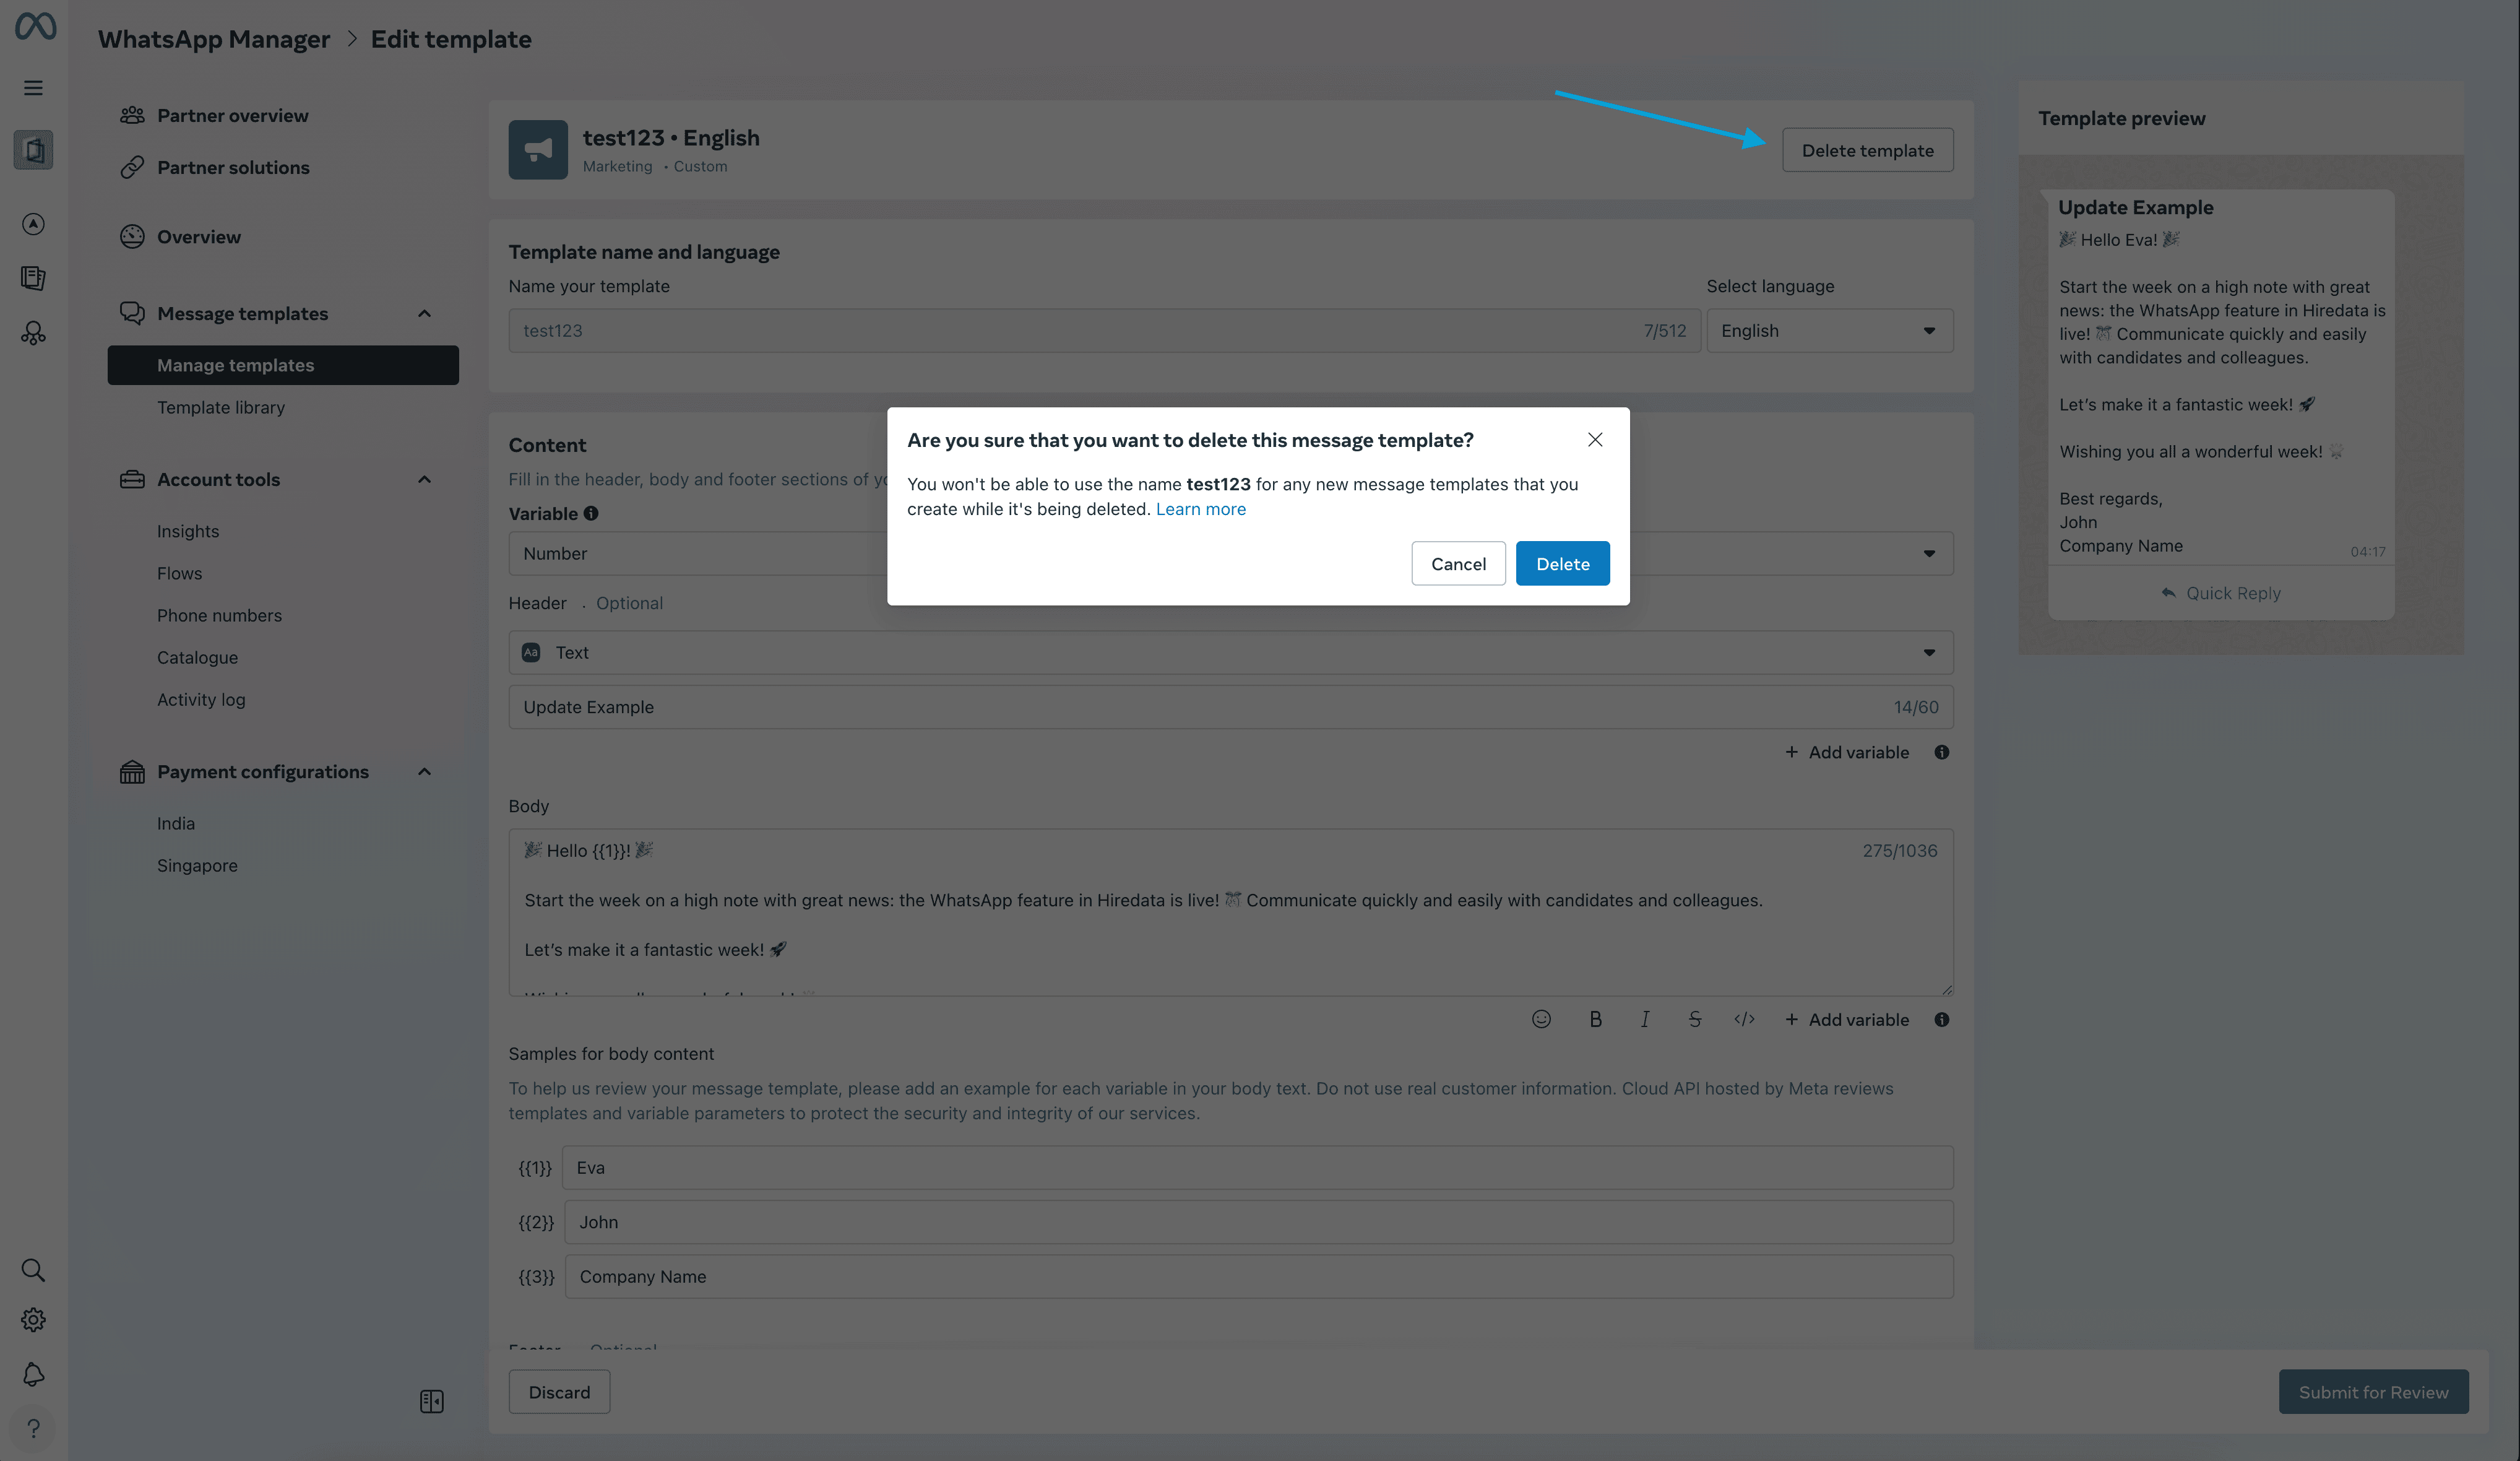
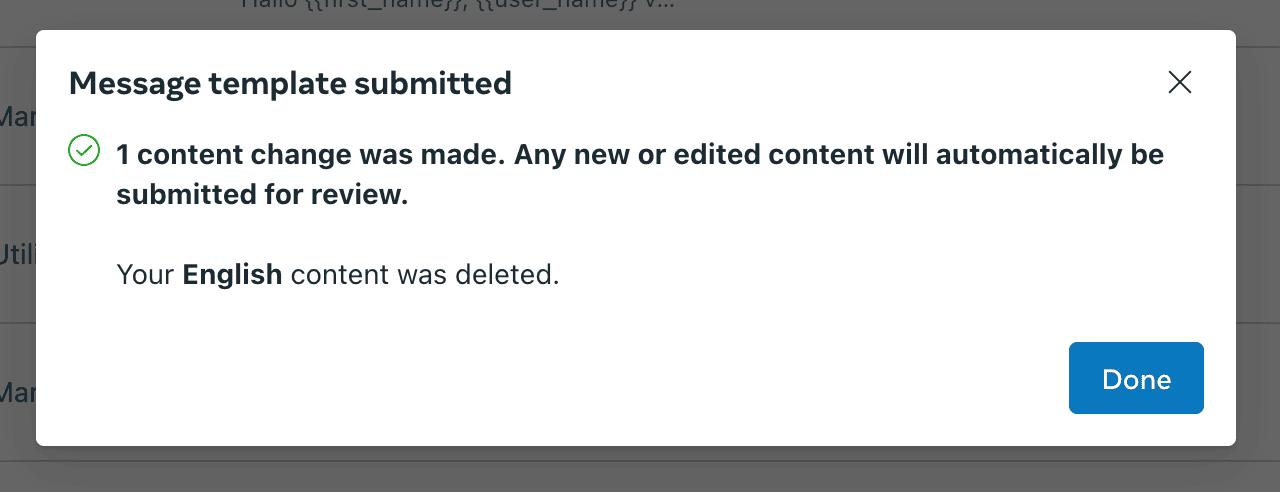
Click [Delete template] in the top right corner of the editor: