

Step 1: Open the Media Library
Open an email template in Settings > Emails, then click any image field in the editor. Select a section and its panel carries Background image with a Choose image button. An image block or a signature picture opens the same library.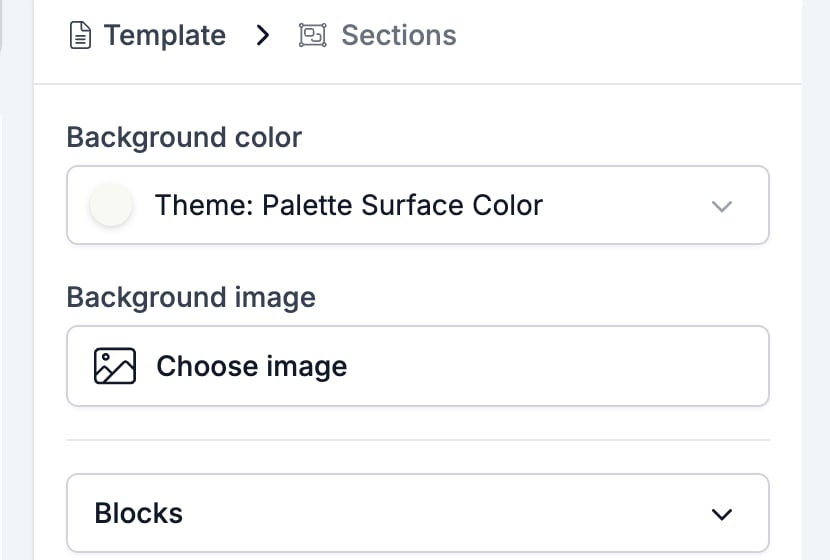
- Home is the media stored in your workspace, including everything you or a colleague uploads. It shows the item count, with Show and the page numbers at the bottom to work through a long library.
- Fields is the images that come from a variable, such as your brand’s avatar, banner, and logo, and the sender’s photo. These stay dynamic: they follow whichever brand or sender the automation uses when the email is sent.

Step 2: Upload your image
Click Upload media in the top-right corner of the Media Library and select the file from your device. The image appears in the grid straight away and stays available for every other template in your workspace, so you only upload each logo or icon once.Step 3: Add a title and alt text
Click an image in the grid to open its details on the right.- Title: the name you and your colleagues use to find the image back. An upload arrives named after the file, so
image.pngis worth renaming. - Alt text: the text shown when the image cannot load, and the text a screen reader reads out. If you leave it empty, HireData falls back to the image title.

Many recipients block images by default, and some corporate mail clients never load them at all. Alt text is what they see instead, so write something meaningful. For example, “HireData logo” rather than “image1”.
Step 4: Use the image in your email
With the image selected, click Add media to field at the bottom of the details panel. The image is placed in the field you opened the Media Library from, and the pop-up closes. Save the template and use the preview or a test email to check how the image renders before you use the template in an automation.Step 5: Copy the image URL (for signature icons)
Some places ask for an image link instead of a file. Social icons in a signature are the usual example. Every image in the Media Library has its own public URL:- Open the image in the Media Library.
- Click the share icon in the top-right corner of the details panel.
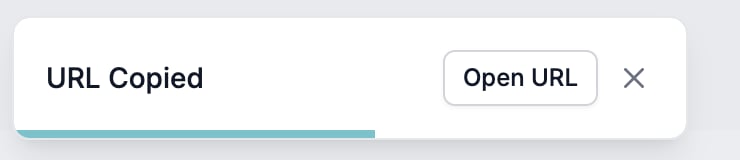
- A URL Copied confirmation appears. The link is now on your clipboard, and Open URL lets you check it in a new tab.
- Paste the link wherever the image URL is asked for.
Icons in your email signature
Your signature is part of the email template, so signature images work the same way as any other image:- Upload the icons you want to use (for example LinkedIn, Instagram, or a certification badge) via Upload media.
- Click the signature block in the email editor and select the image element you want to fill.
- Pick the icon from the Media Library and click Add media to field, or paste the image URL if the element asks for a link.
Your brand’s logo, banner, and avatar do not belong in the signature as uploaded images. Set them once in Settings > Brands, and every template that uses that brand picks them up automatically. See Brands.
Good to know
- The Media Library is shared across your workspace: an image one colleague uploads is available to everyone building templates.
- Images you add through the Fields tab (brand avatar, banner, logo, sender photo) stay dynamic. Change the logo in Settings > Brands and every email using that brand updates automatically, with no need to touch the templates.
- Always send yourself a test email before putting a template live. Image rendering differs between Outlook, Gmail, and Apple Mail.