

Step 1: Create a new email
Open the Emails page from Settings, then click New Email. You can use any of the available email templates that HireData has created for you, or create a Blank Email.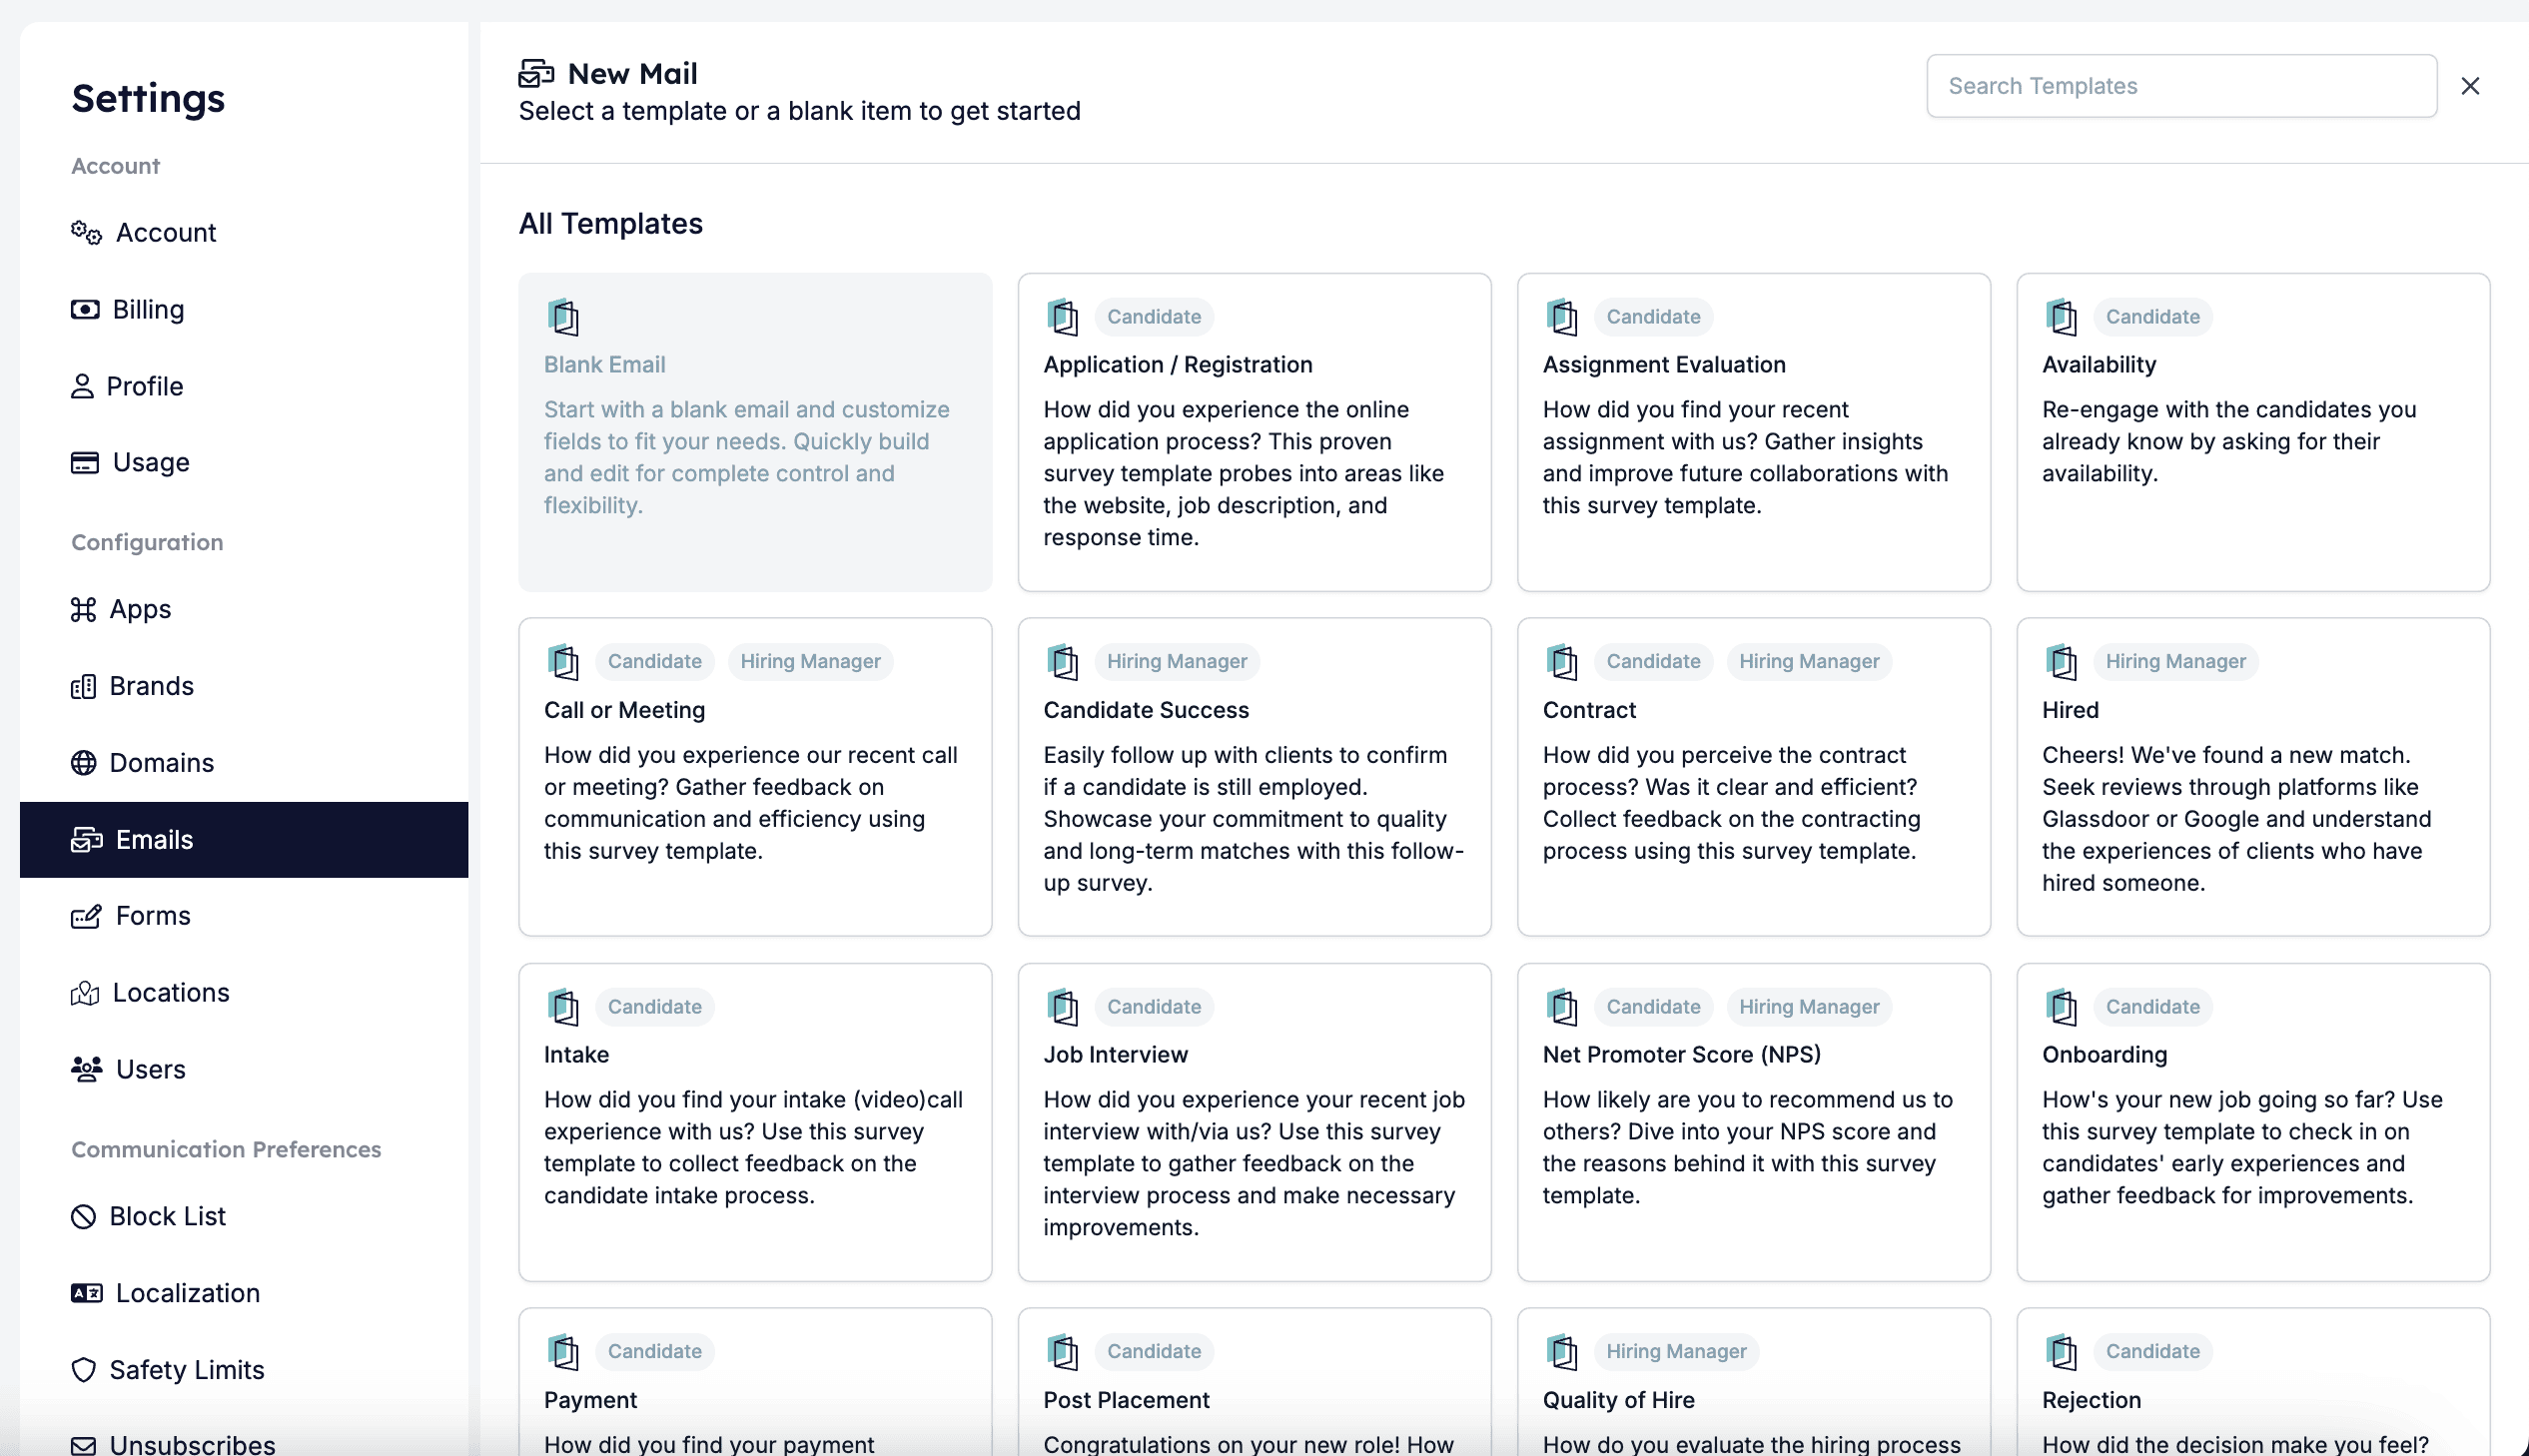
Step 2: Set up the email content
2.1. Select branding
Each email template in HireData can inherit styling, colours, logos, and footer content from your Brand settings. In the top-right corner of the editor, you’ll see a dropdown labelled Brand, where you can select a branding you’ve already added to HireData for your email (e.g., “HireData”).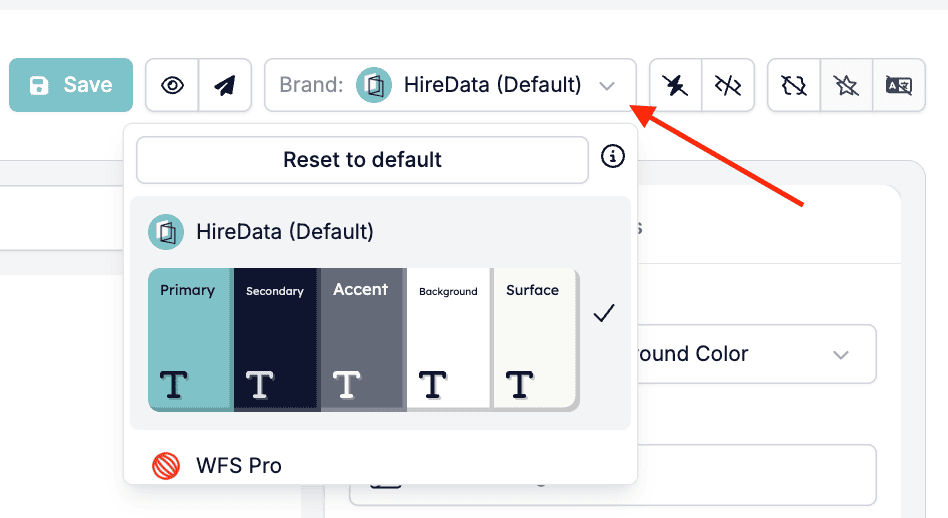
2.2. Add email subject
At the top of the template editor, you’ll find the Subject field. This is the subject line that will appear in the recipient’s inbox. You can include static text or dynamic fields for personalisation.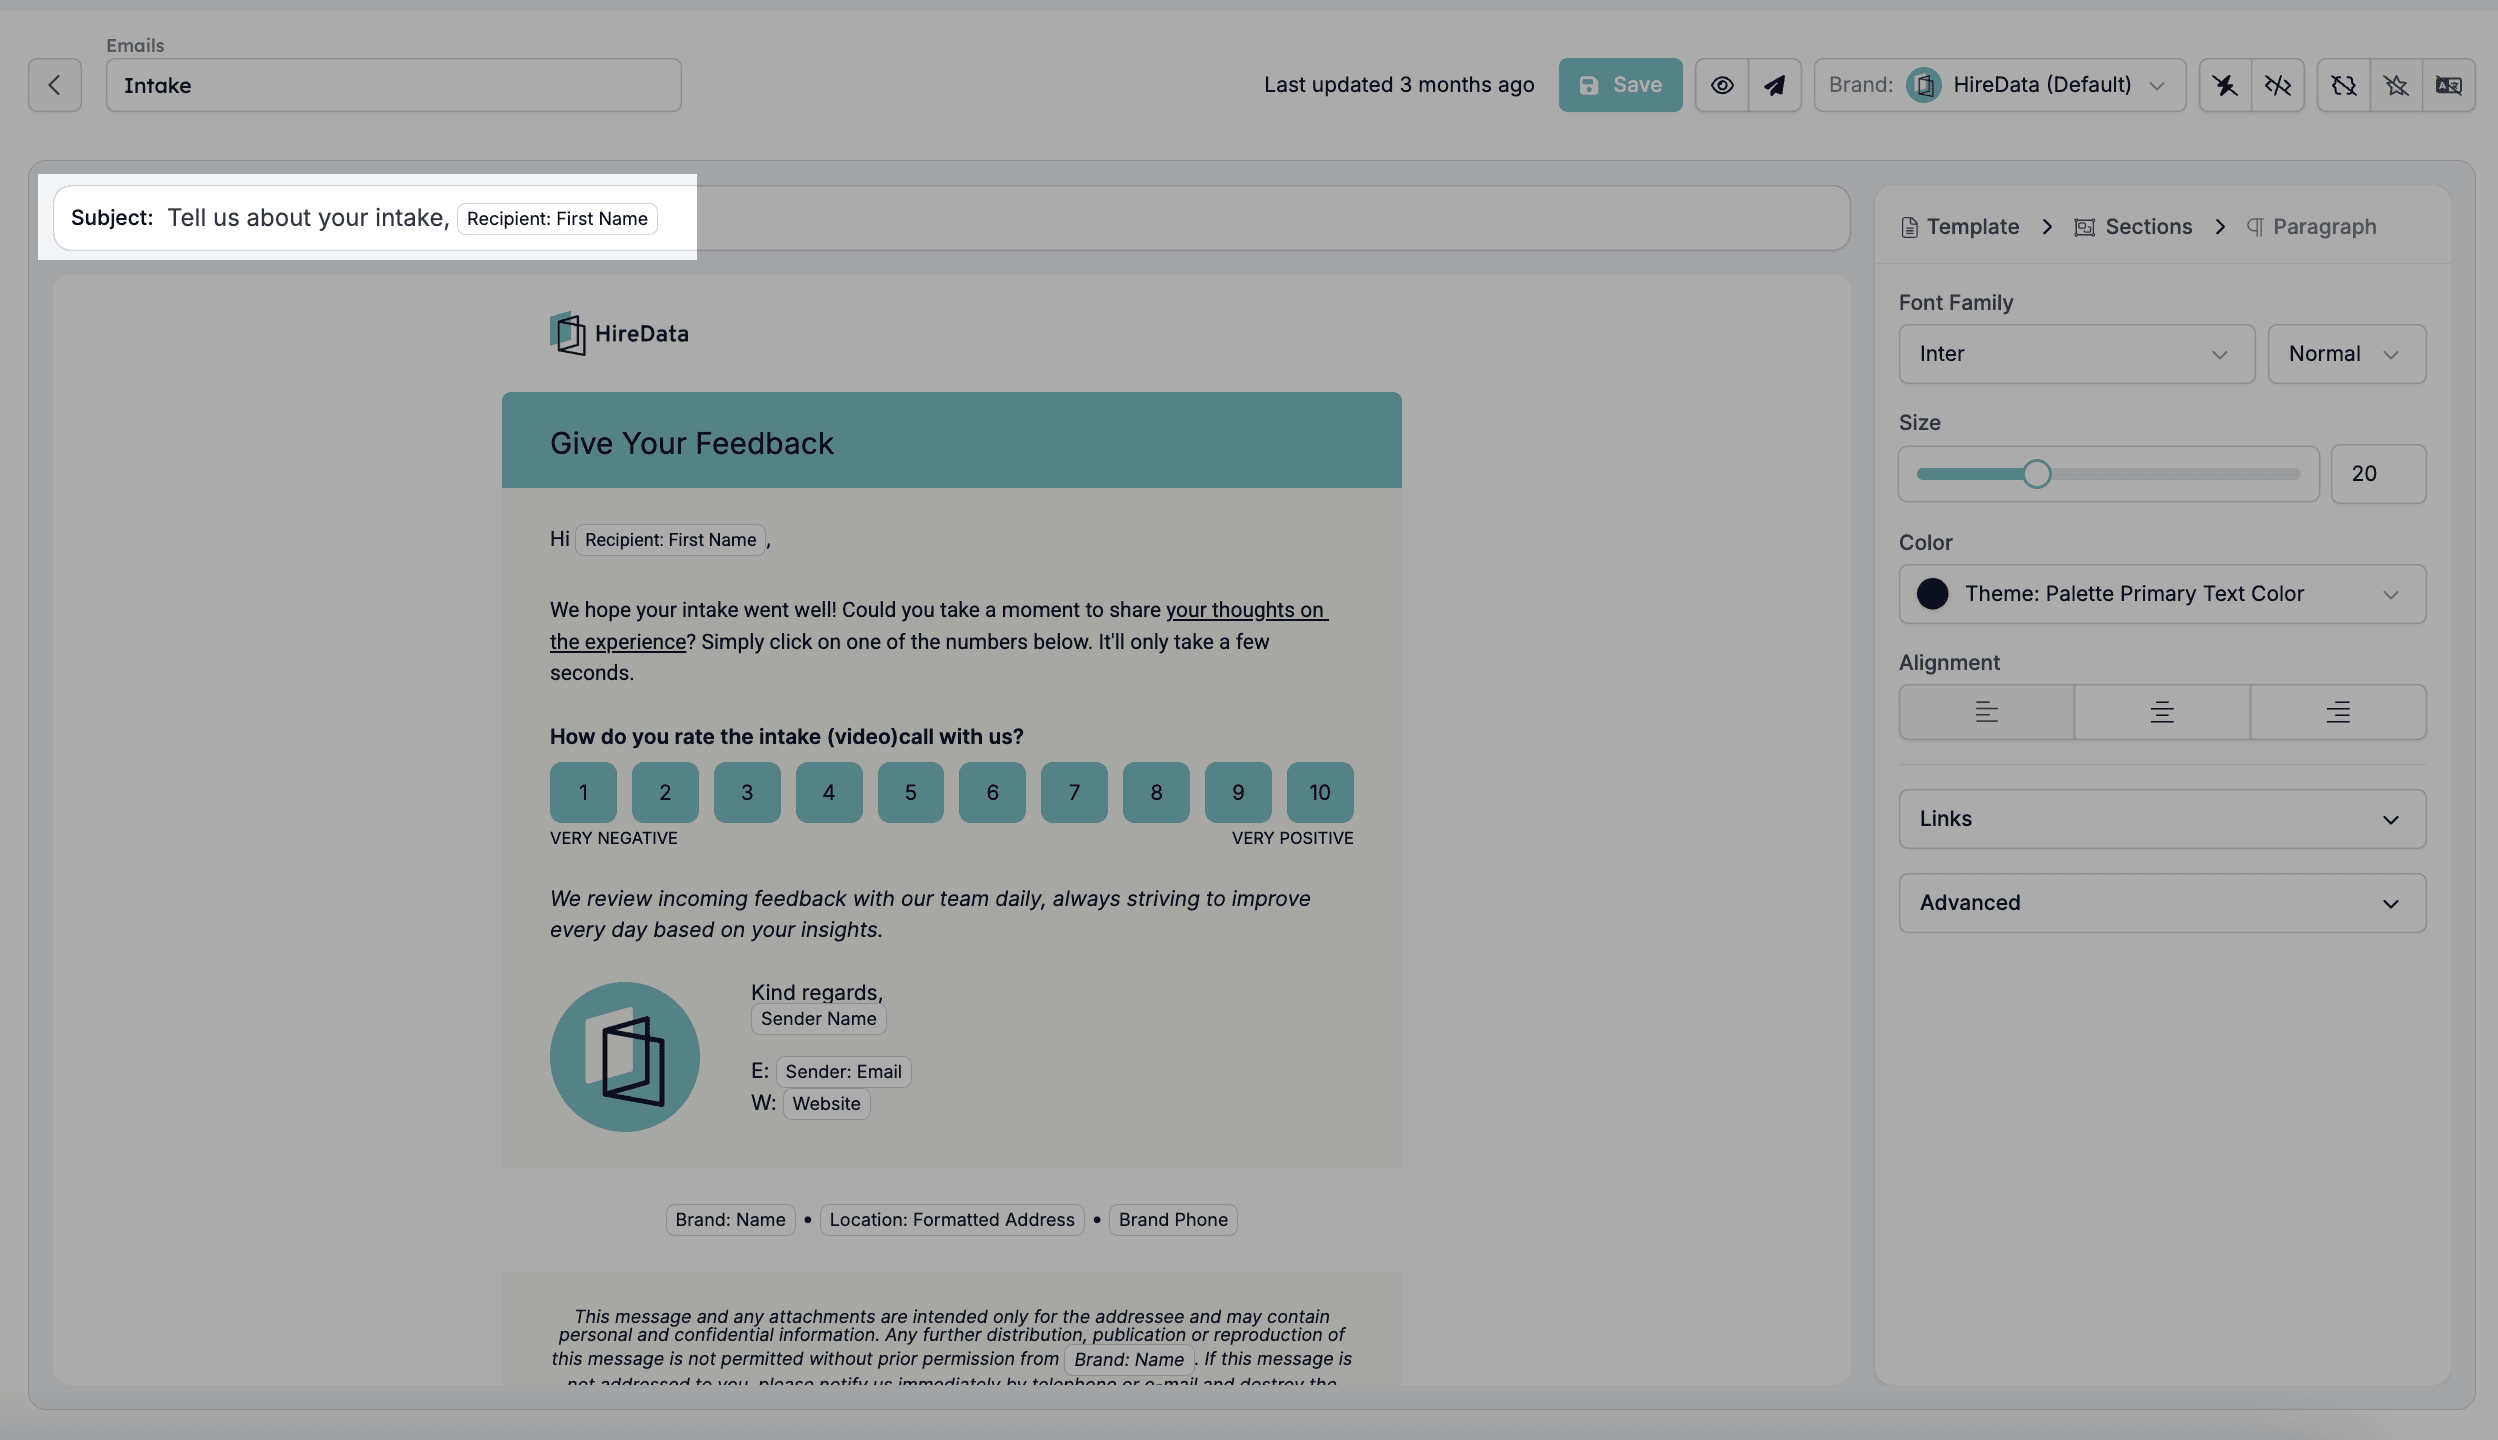
- Make your subject clear and relevant to encourage recipients to open the email.
- Keep it under 50 characters if possible.
- Use dynamic fields to personalise content (such as first name or job title).
- Avoid spammy words.
2.3. Email body
This is the main content area where you write the message the recipient will see.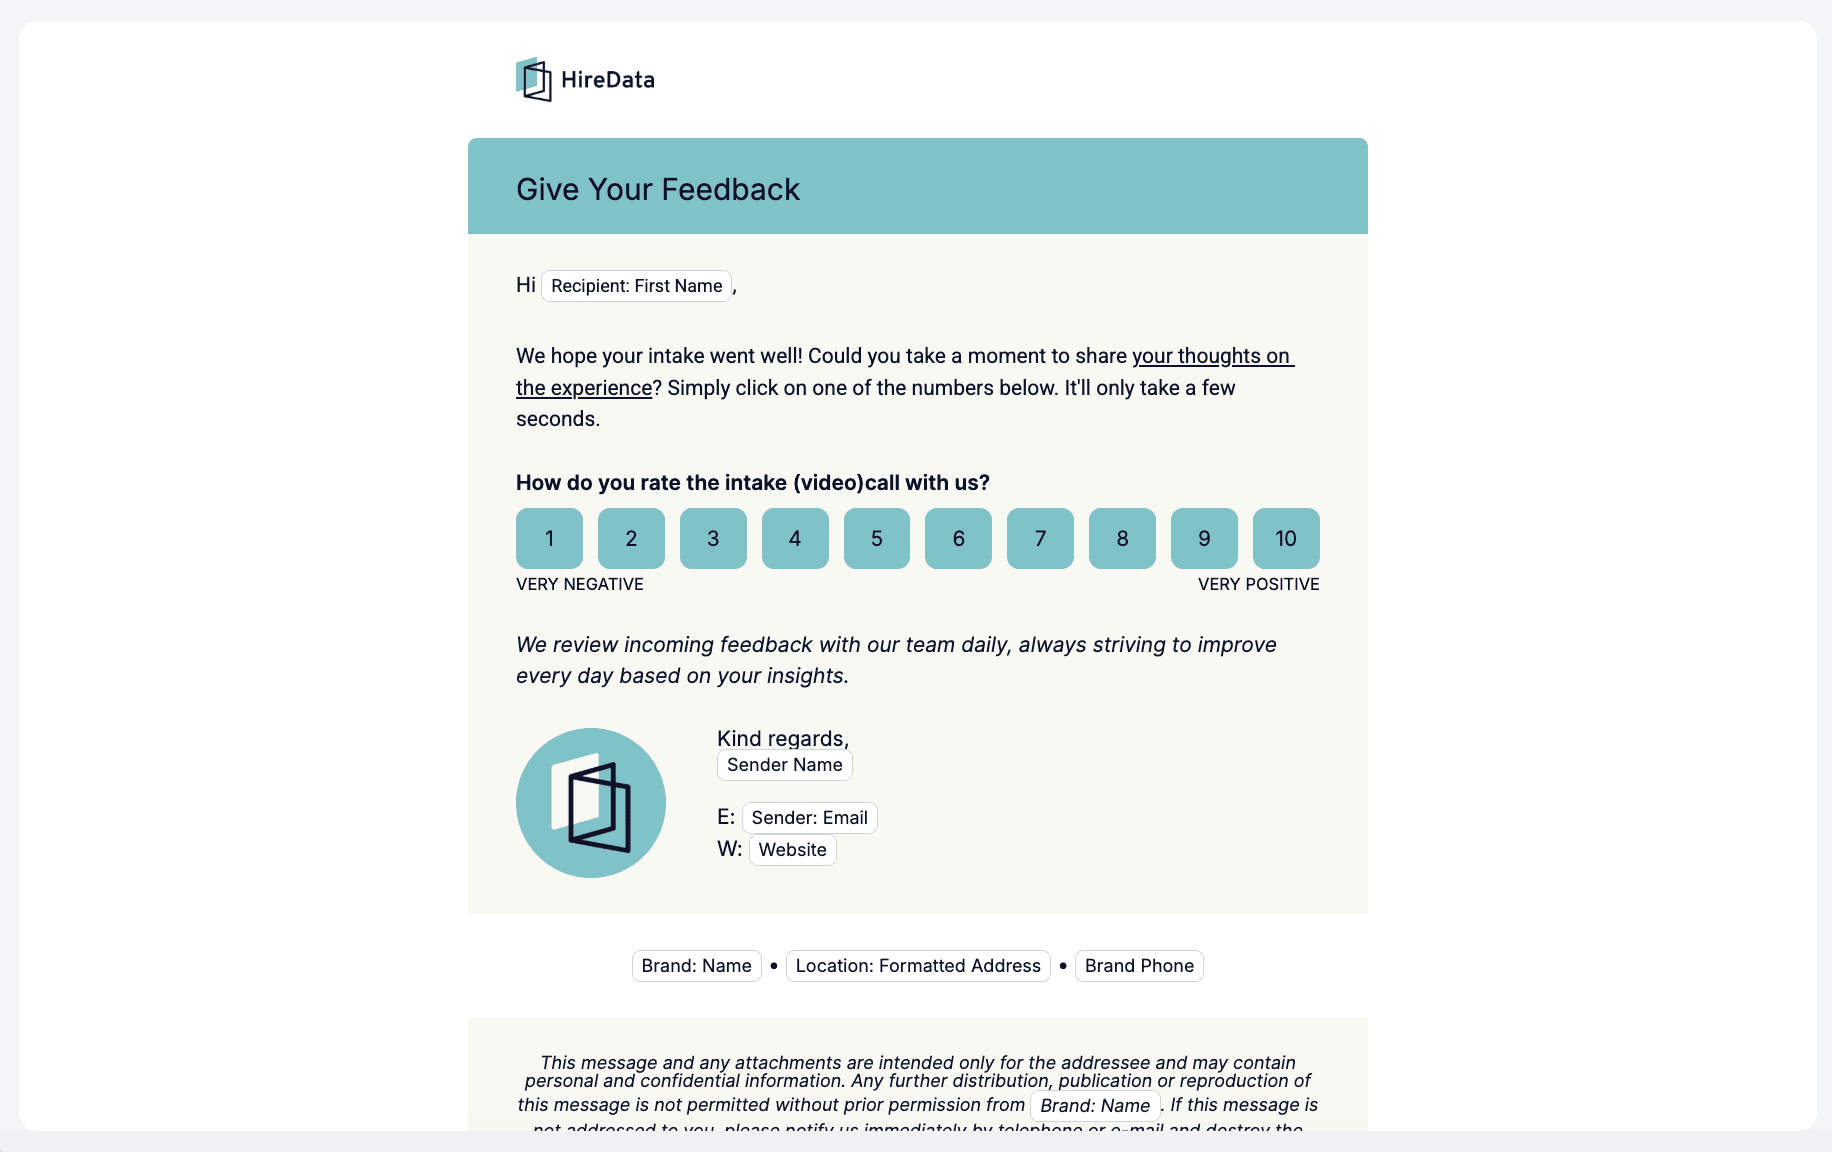
1. Add a new block from the section’s Blocks list by clicking the +
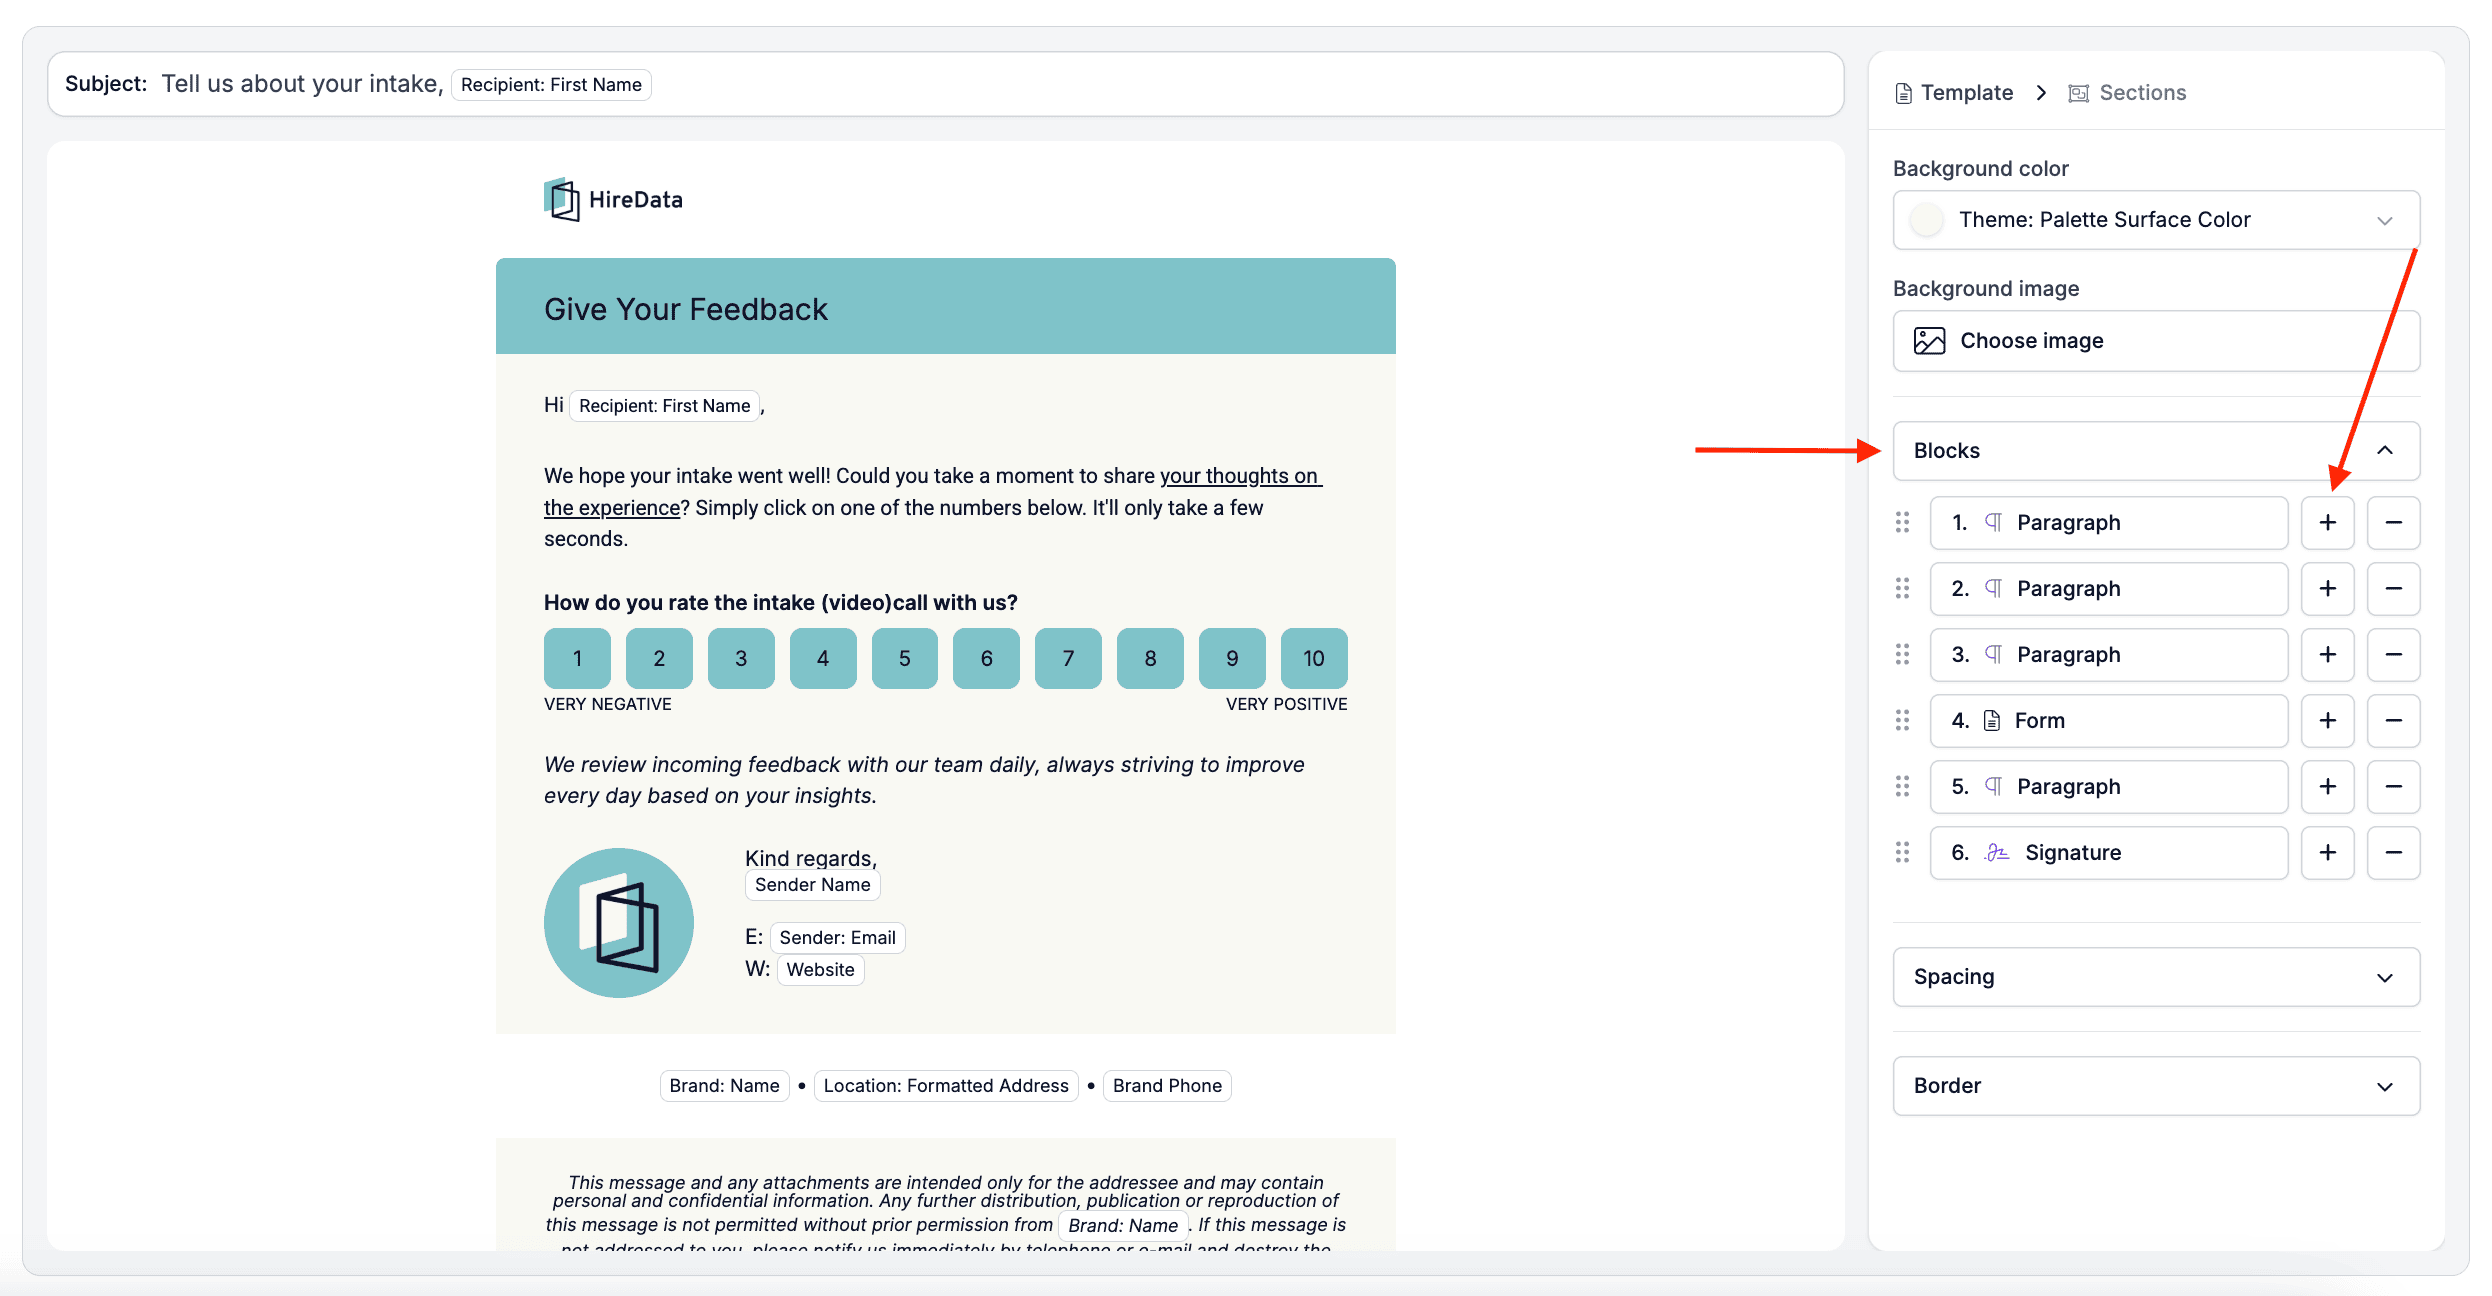
2. Click inside the existing block as if you are about to type something to add your content
3. Include dynamic placeholders (e.g., {{Recipient: First Name}}, {{Sender: Email}}) to personalise the message
See Variables for where the values come from and what happens when one has nothing behind it.2.4. Add a form (optional)
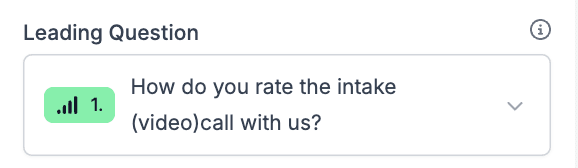
If your email should collect responses (e.g., company feedback, confirmation of availability, etc.), you can add a form, again by clicking the + in the section’s Blocks list and selecting Form: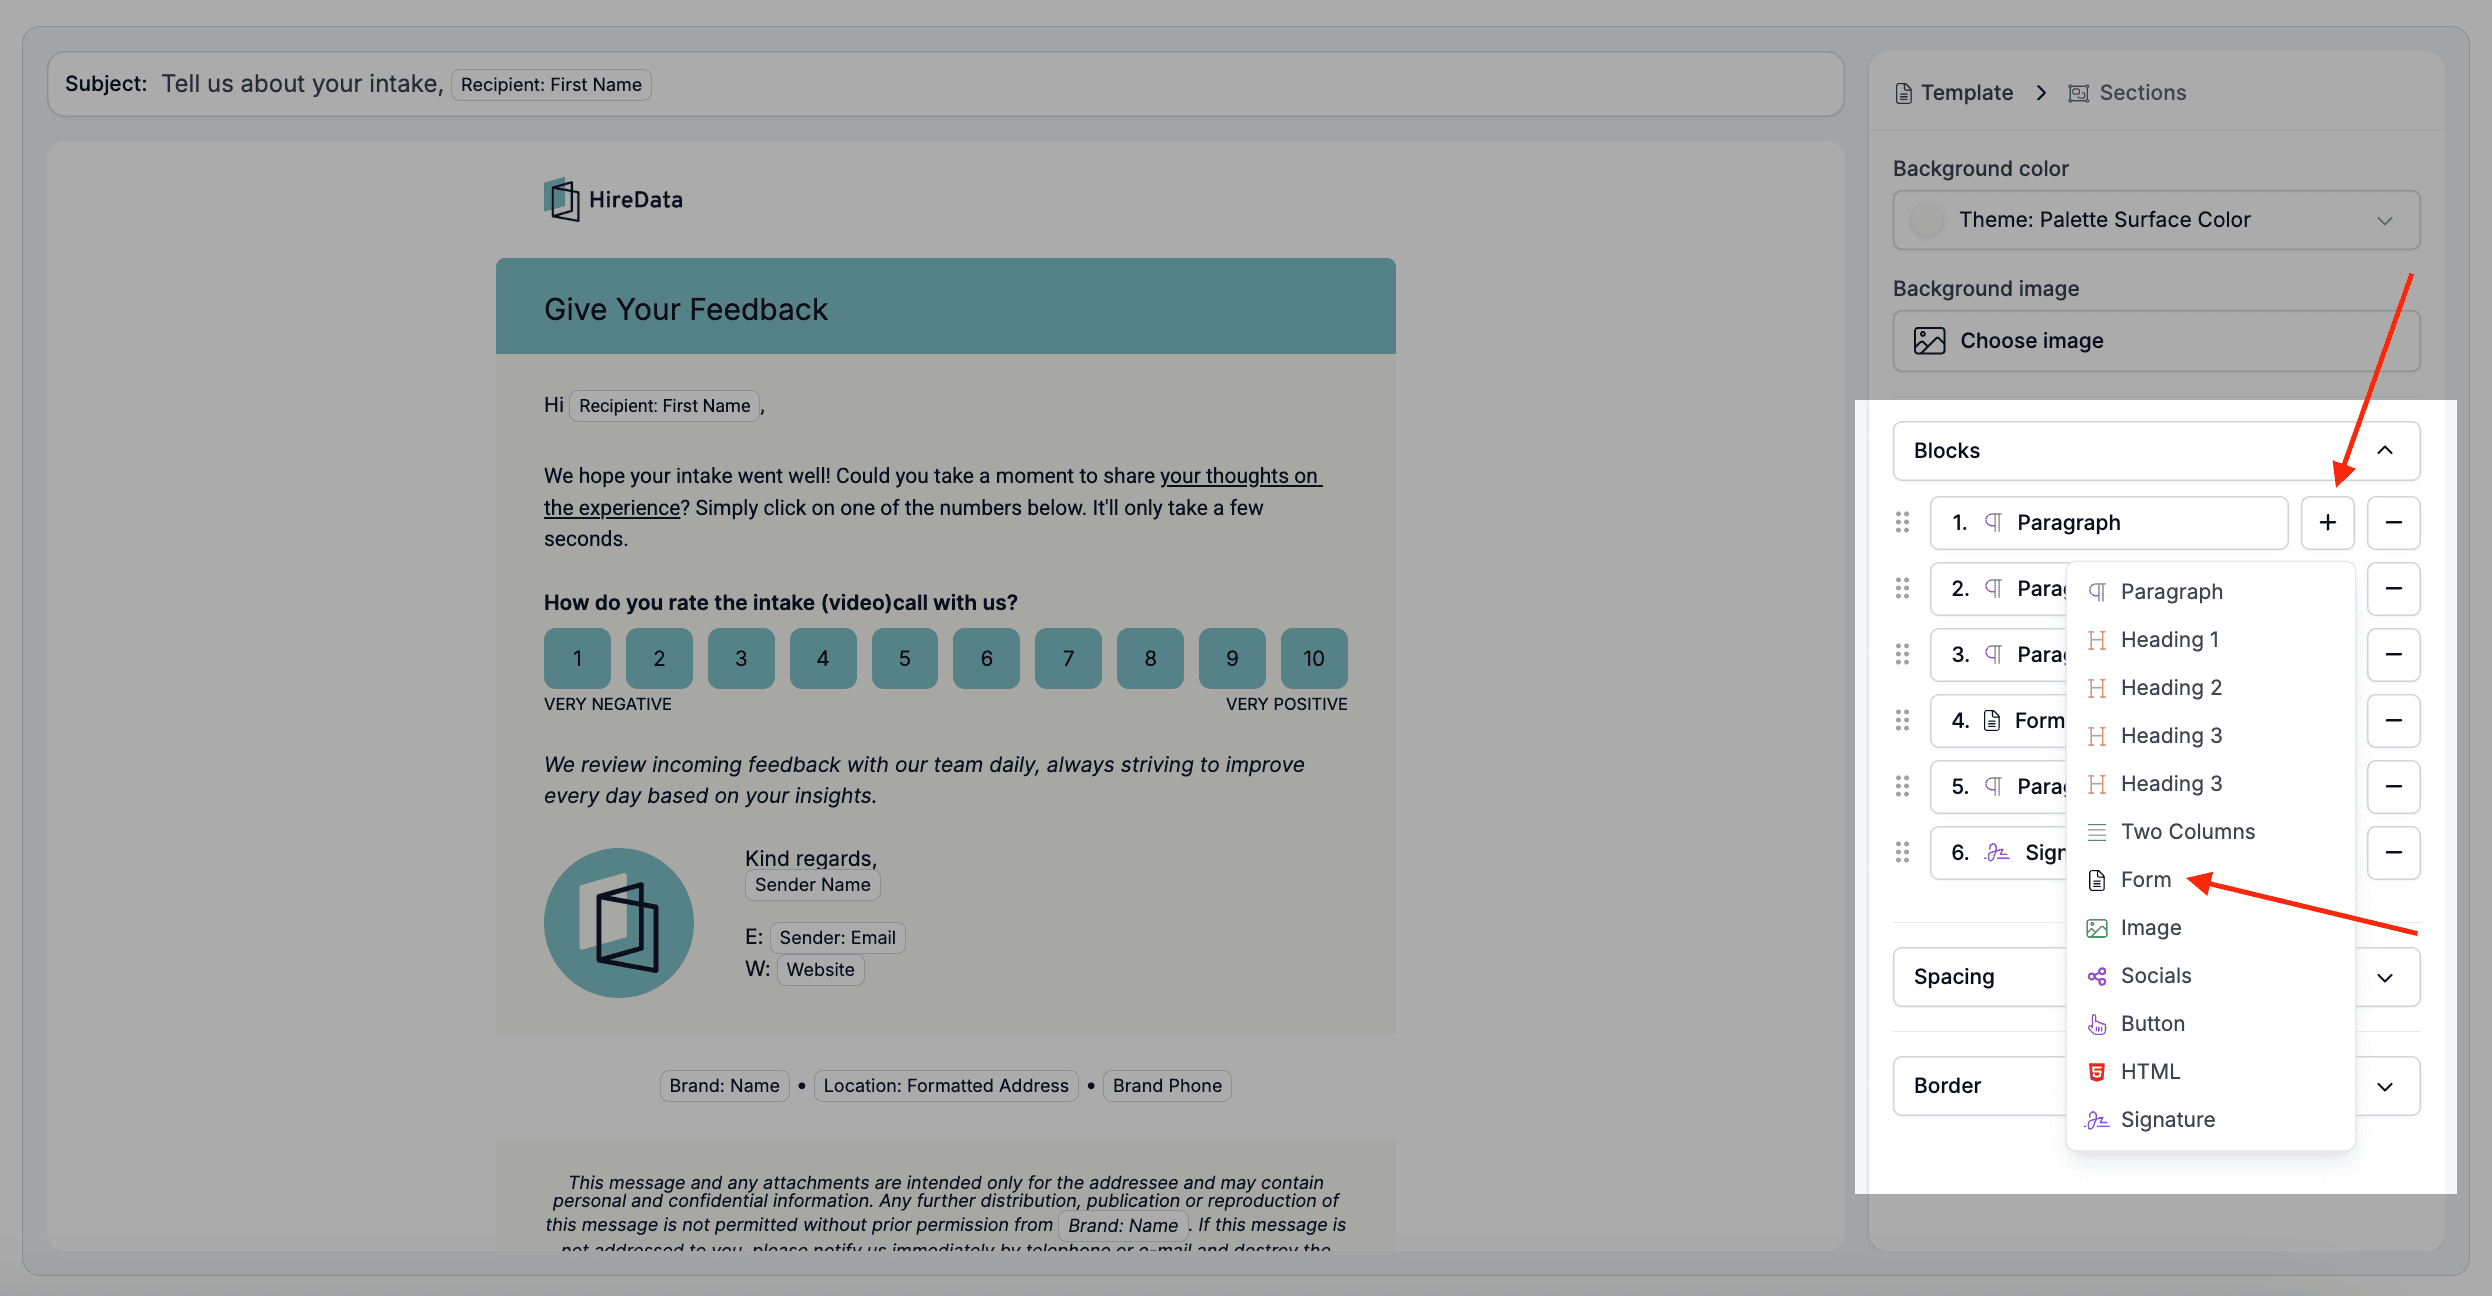
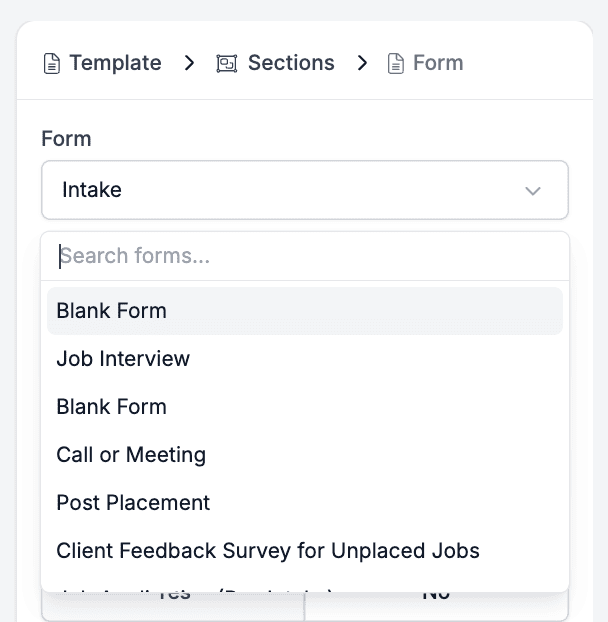
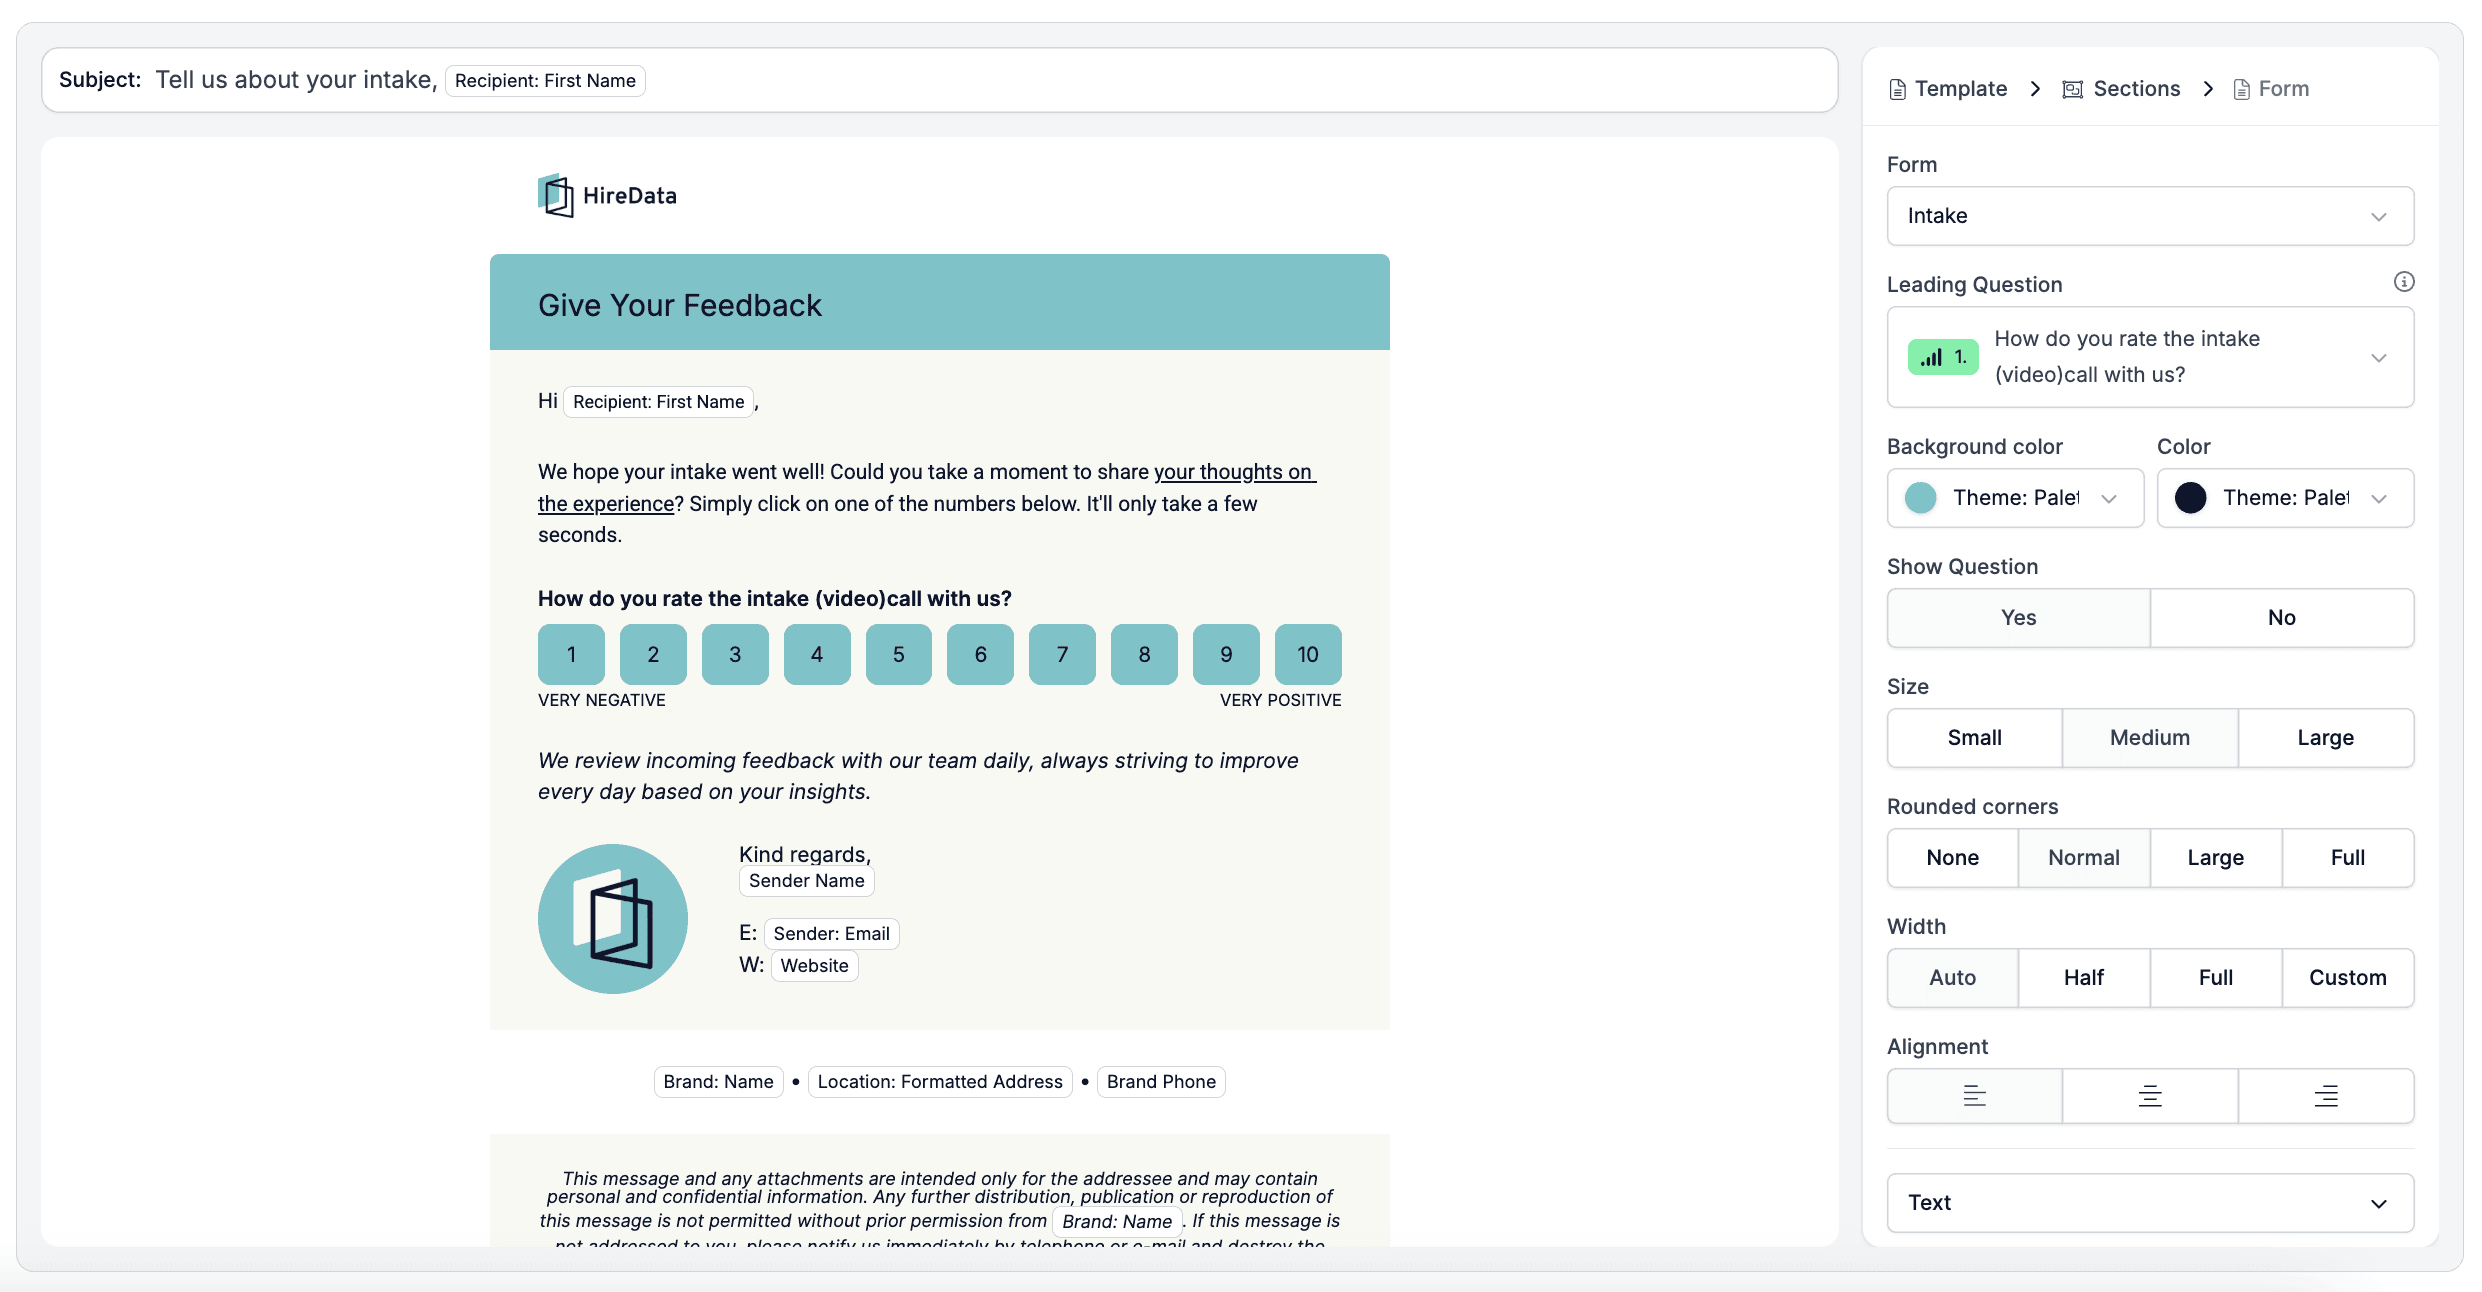
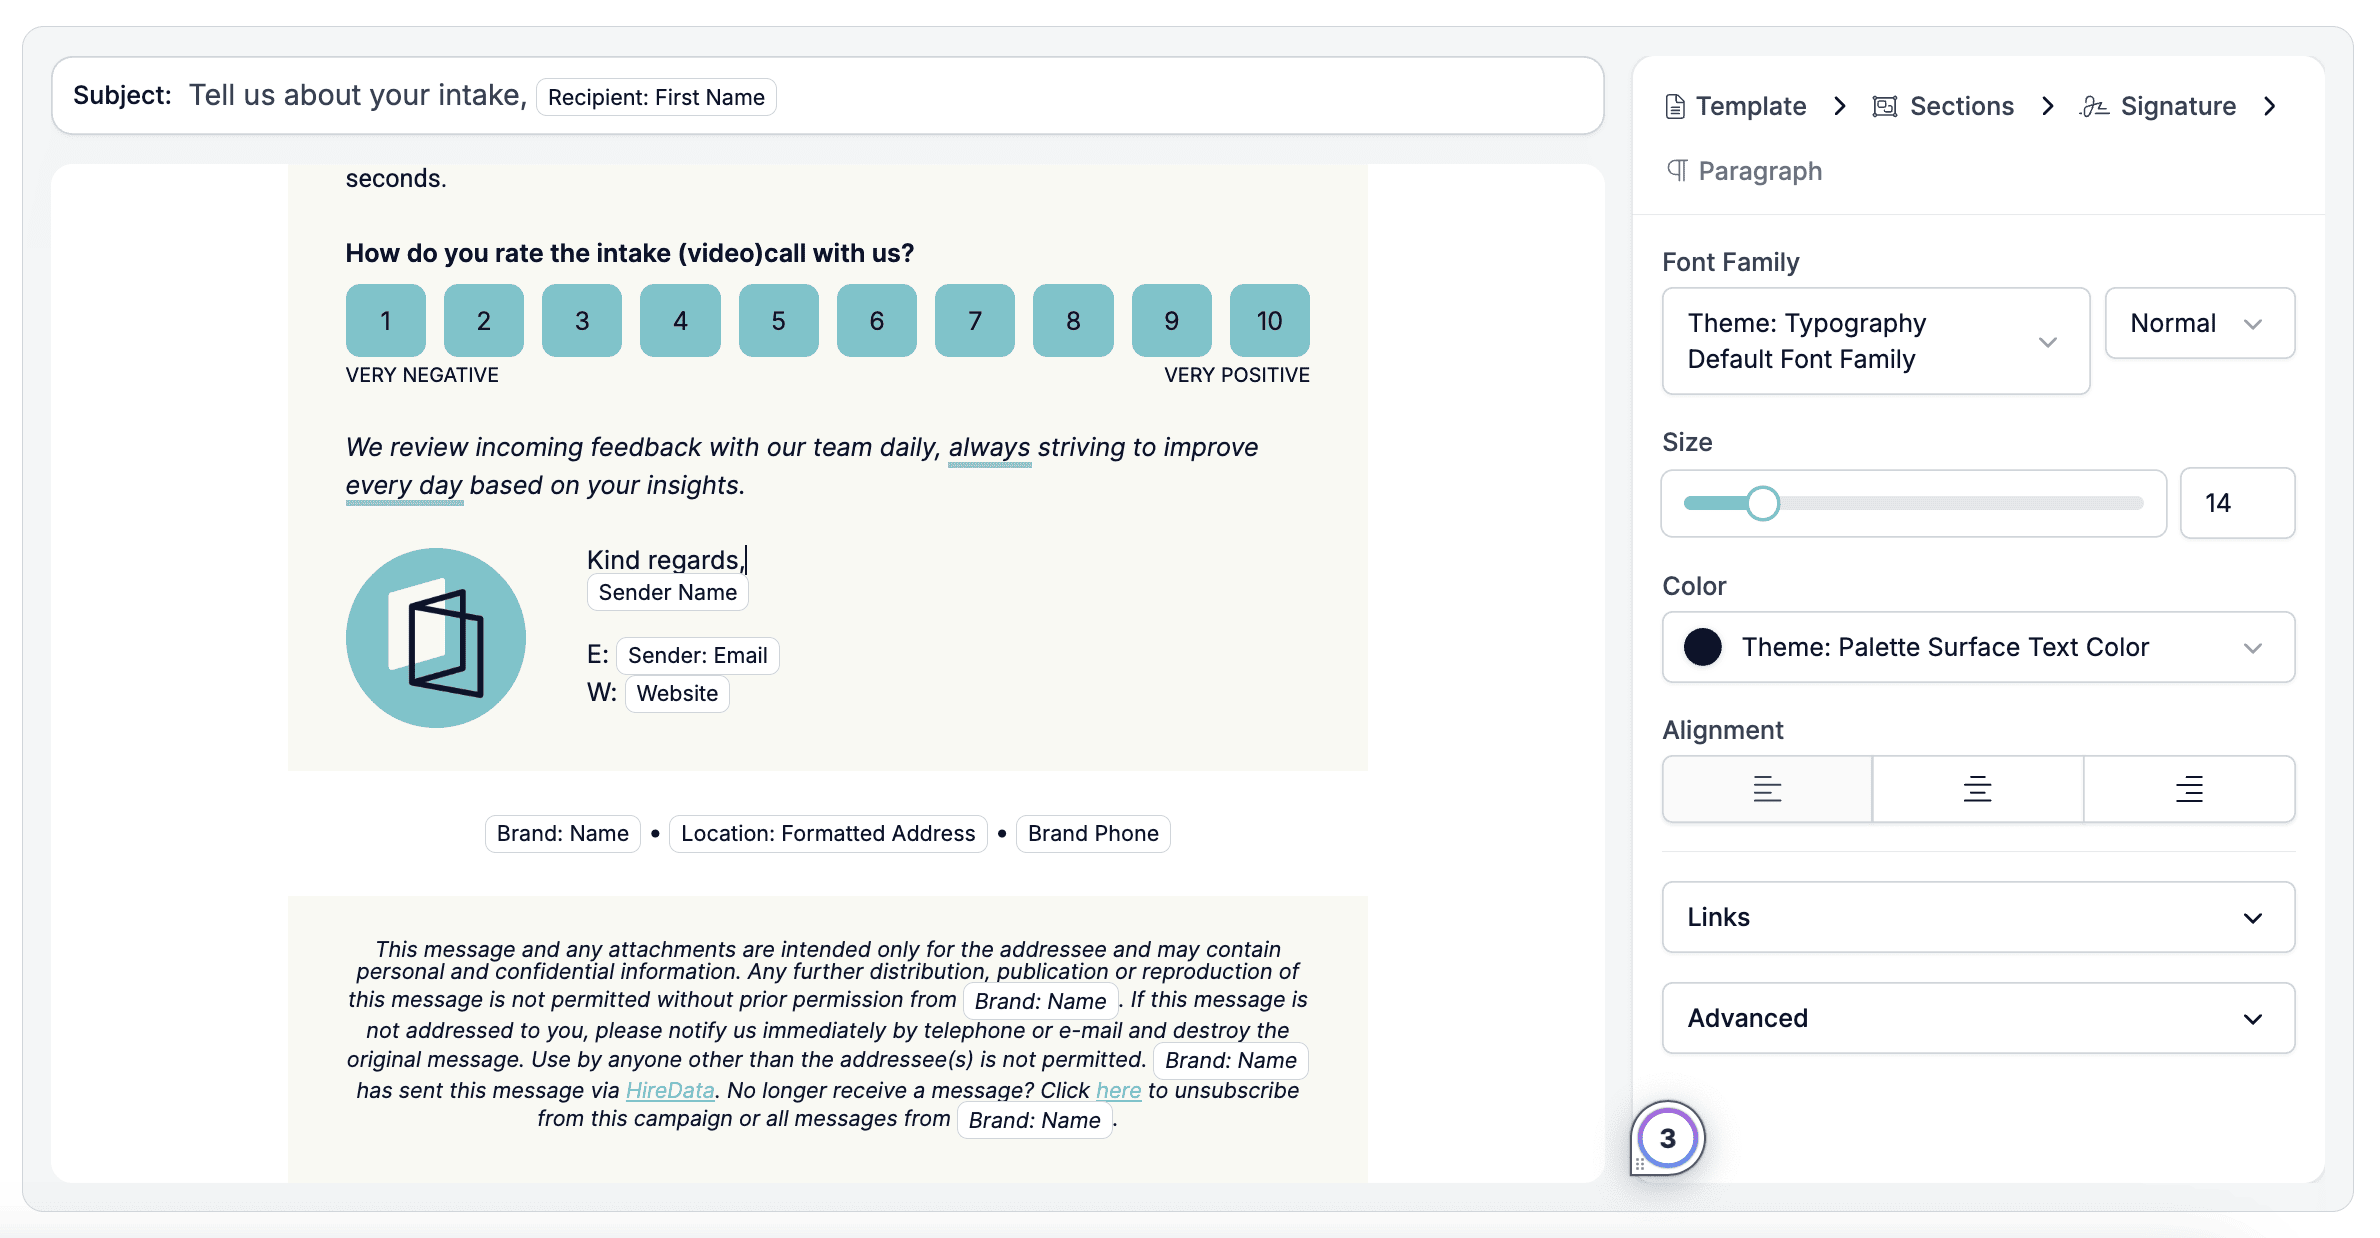
2.5. Customise the email signature
The signature block is usually pre-filled with placeholders and branding elements, including:- Sender’s name and email
- Company website
- Logo/Sender’s profile photo
- Contact details such as the company’s address and phone number
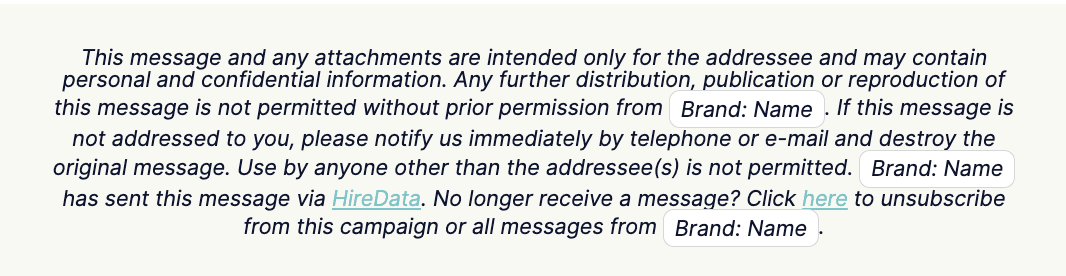
2.6. Legal disclaimer and unsubscribe link
At the bottom of the template, there’s a built-in disclaimer that includes:- Confidentiality notice
- Unsubscribe link
Step 3: Email formatting
Every block is styled from the right-hand panel, and what the panel offers depends on which block you have selected. Colours, fonts, alignment, spacing, and borders are all set per block, and the Email builder reference documents each one. Three settings decide the styling and they reach different blocks. Brand restyles the whole email, Theme in the Template settings only reaches blocks you add afterwards, and a value you set on a block yourself reaches that block alone. See Brand, theme, and metadata before you go hunting for the change that did not appear.Step 4: Use the template in your automations
Once your email is complete, click Save, and you will be able to preview it and use it in your automations.Best practices
- Keep it short and focused. Use headings and spacing to break content into readable chunks.
- Use consistent branding. Apply your brand’s logo, colours, and font styles to match other communications.
- Test before use. Use the preview button or send a test email to verify personalisation and formatting. See Testing.