

Step 1: Create a new automation
1.1. Navigate to the Automations panel and click the [New Automation] button to begin
1.2. On the pop-up screen, click [WhatsApp] and select one of the templates depending on the topic of the conversation you want to create
This guide uses the “Availability” template.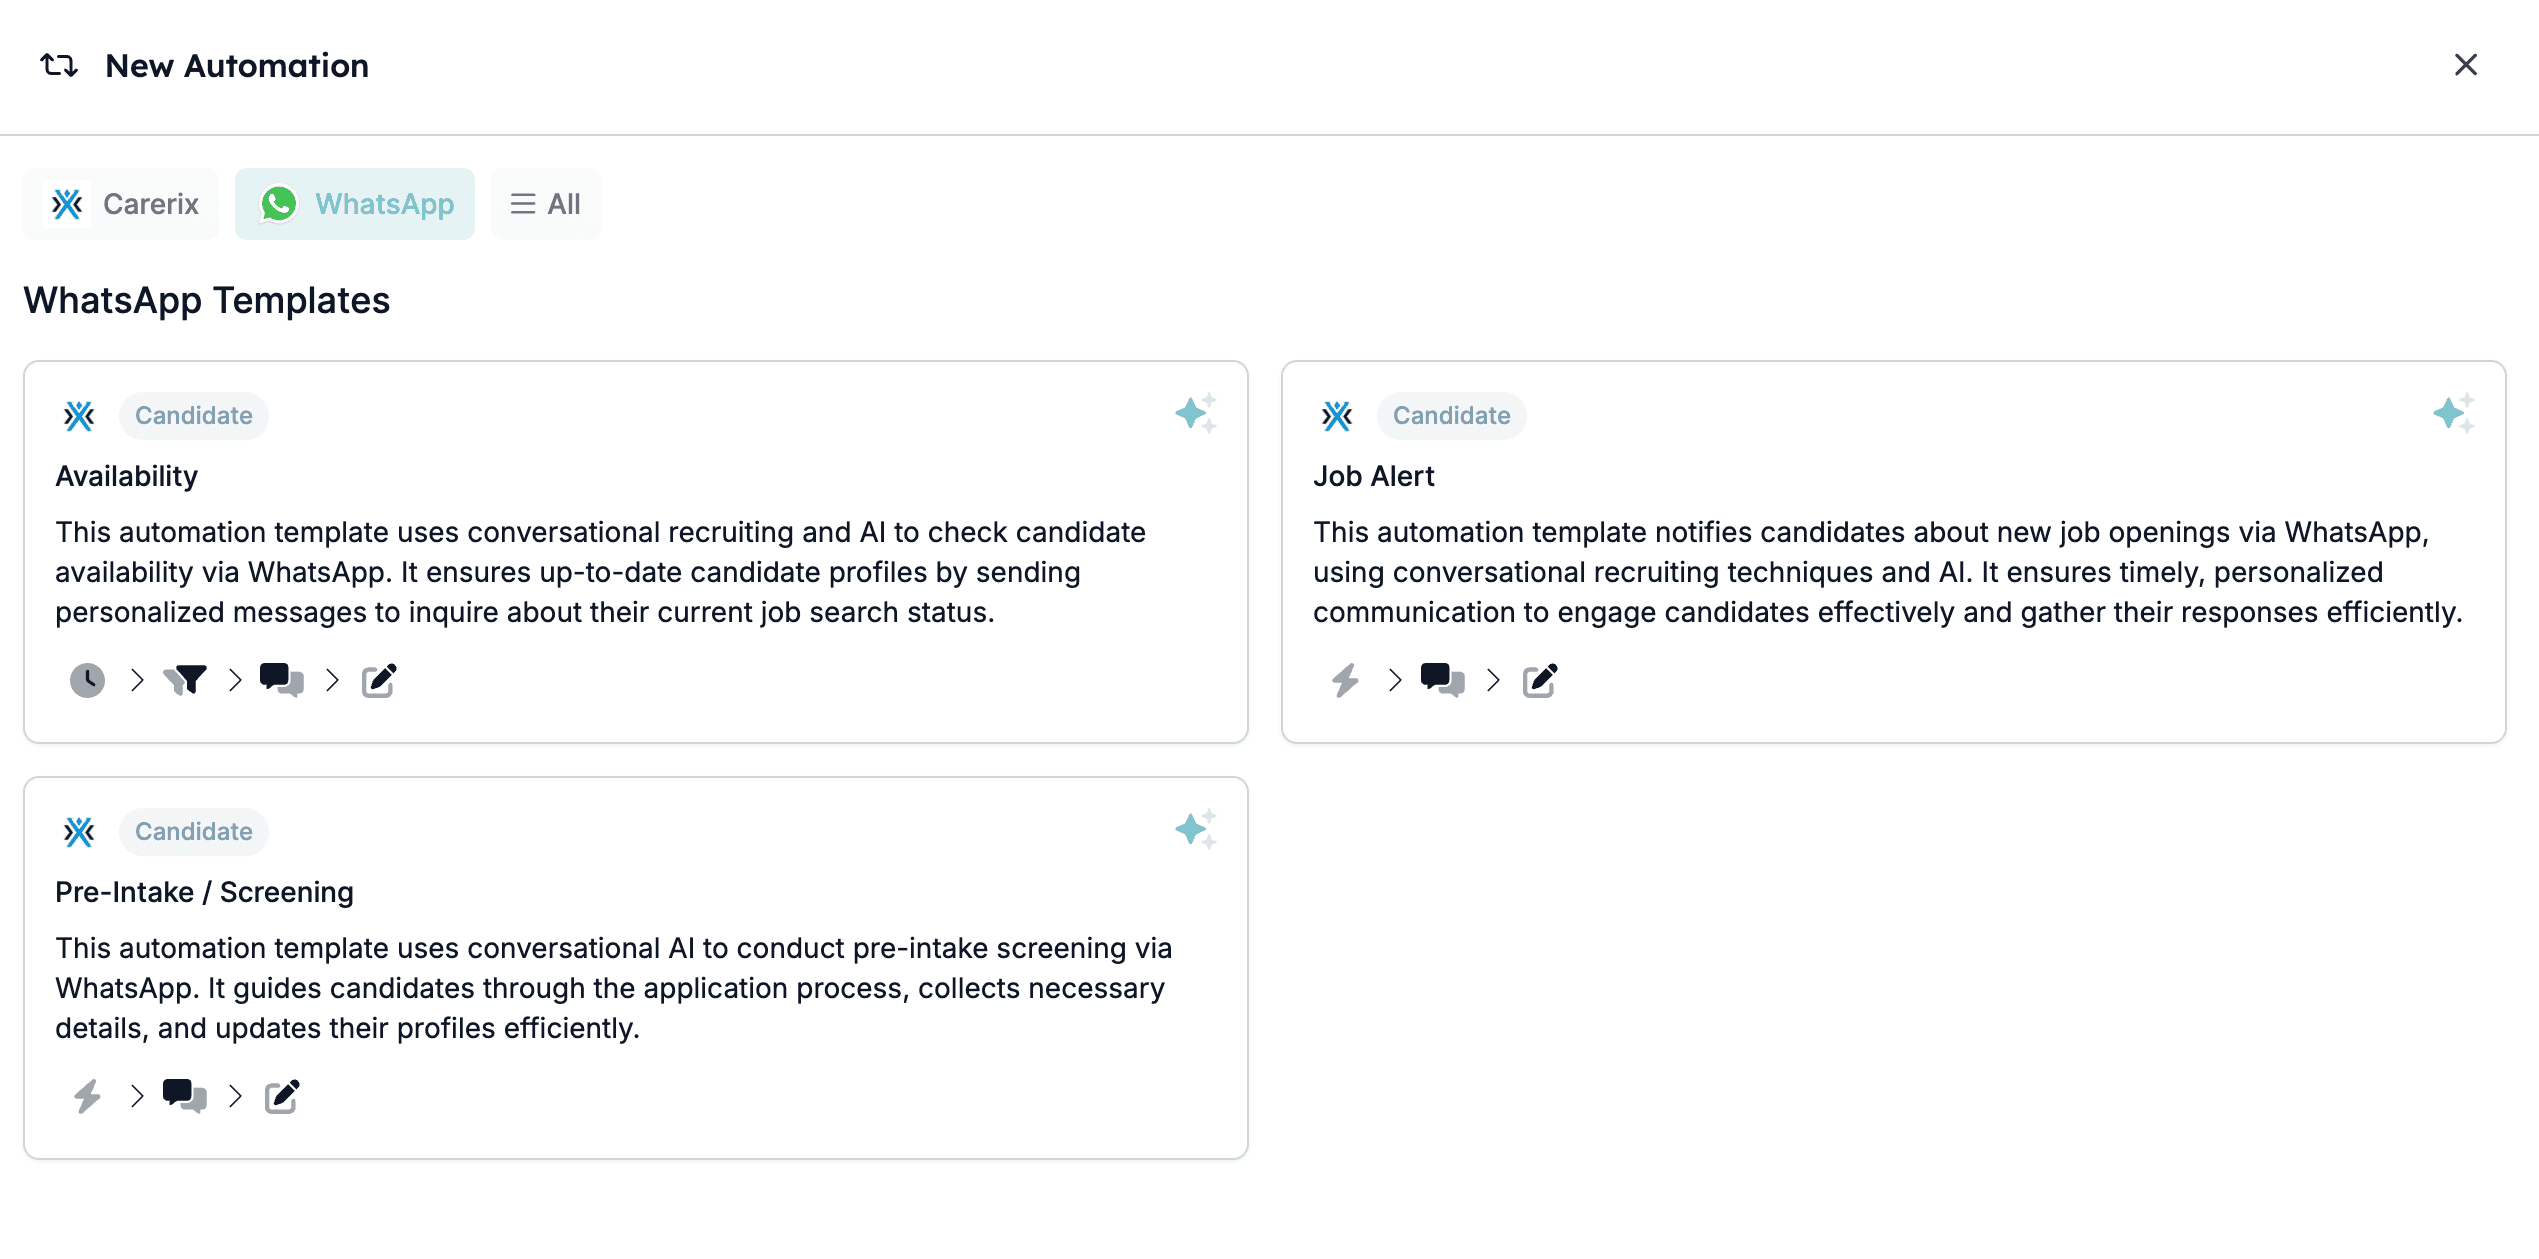
Step 2: Select a trigger
When you click the trigger building block (the first one), you will see that the app and the connection will already be selected for you.2.1. Select the Object you will listen to
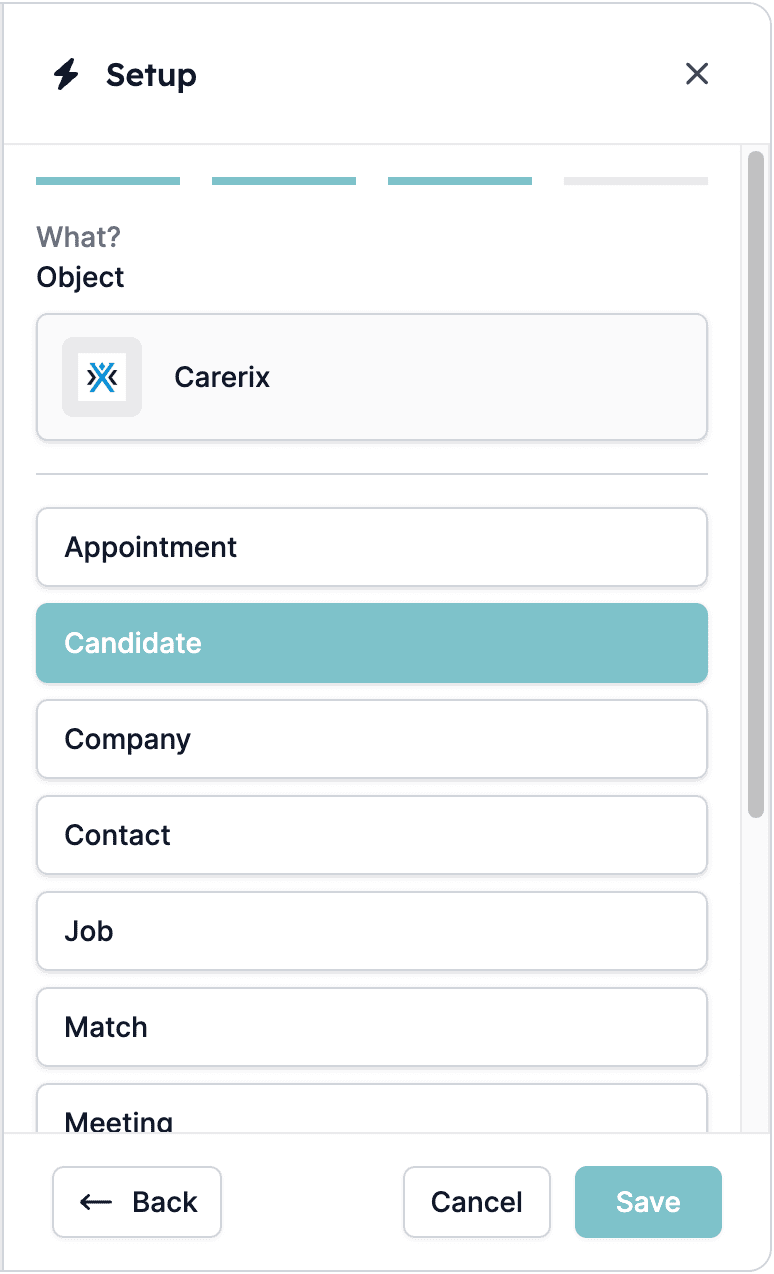
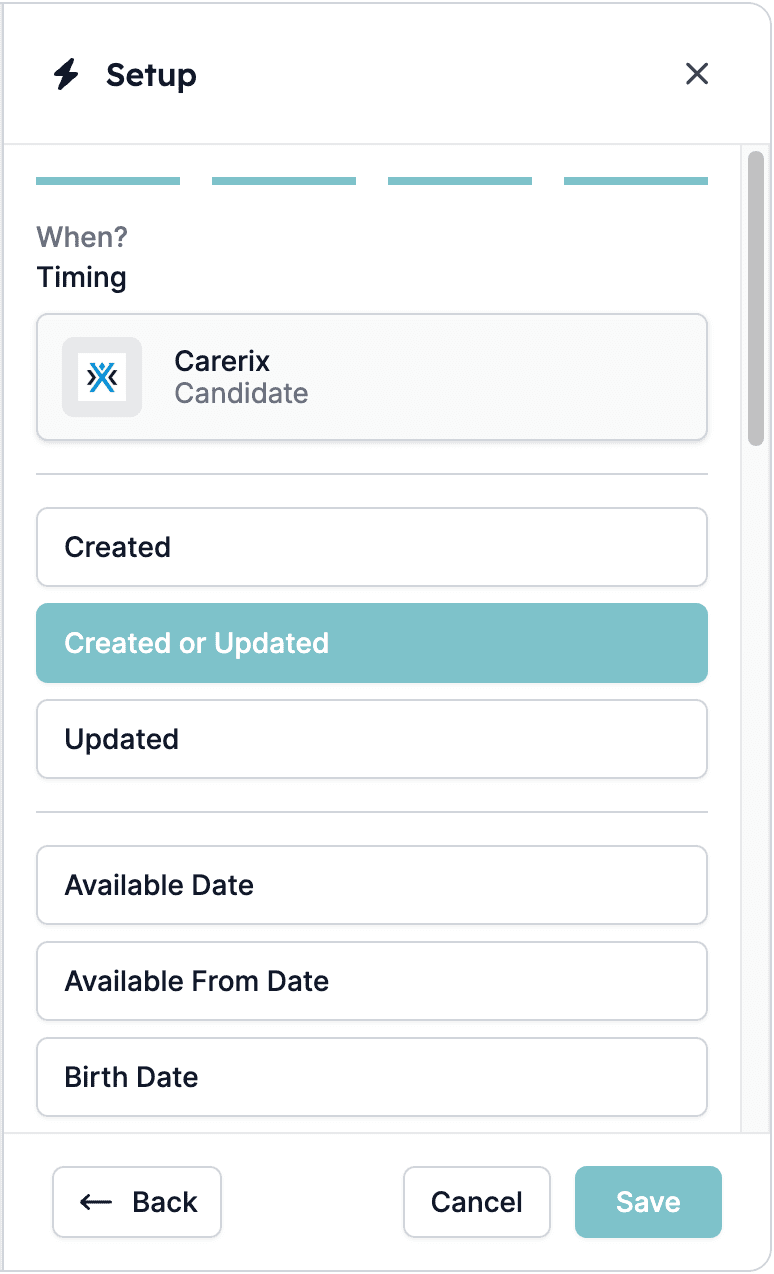
2.2. Specify the date and time to execute the task
If this task needs to run periodically, configure the Repeat every setting. For one-time tasks, select Don’t Repeat.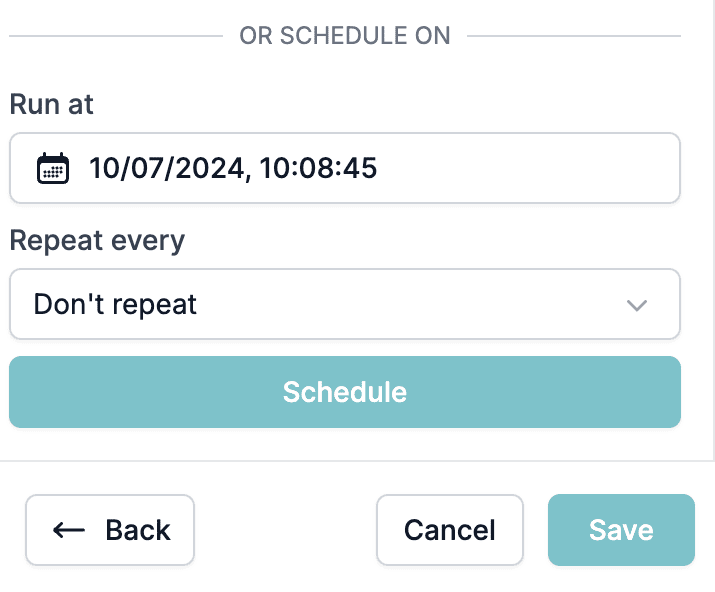
Step 3: Apply filters
Open the next building block to add more filters to refine your candidate selection. For example, you can filter candidates by their status, as shown here: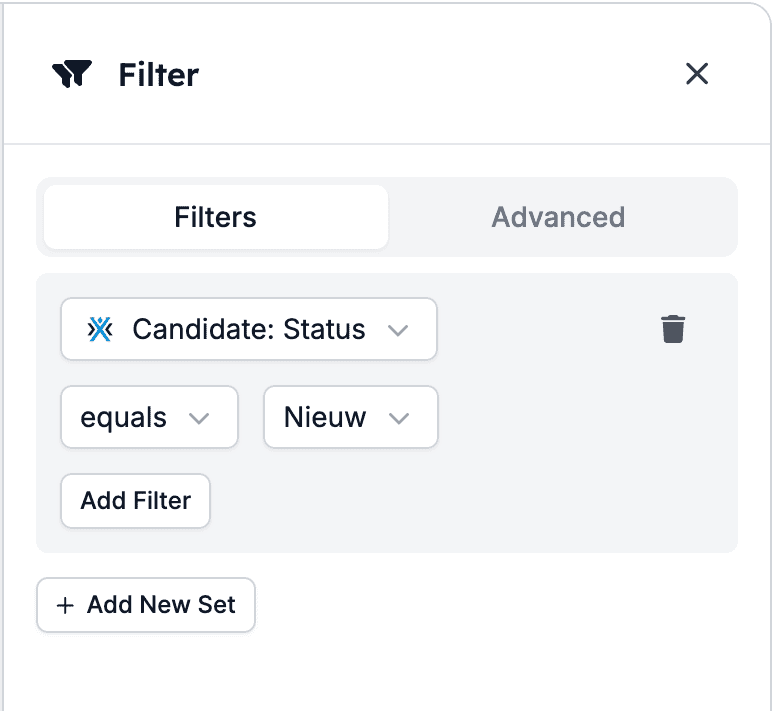
Step 4: Configure task
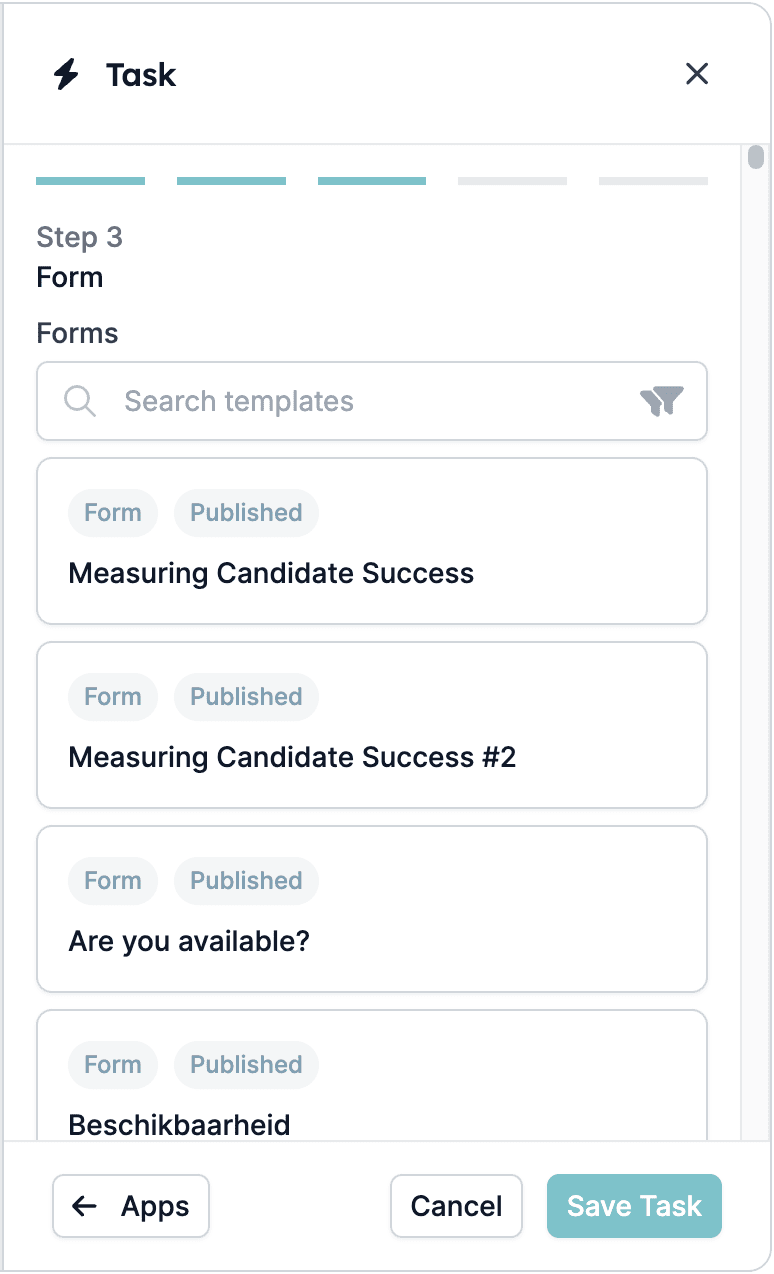
When you use the available templates, HireData creates the task for you automatically, but you can also customise it by:4.1. Changing the form
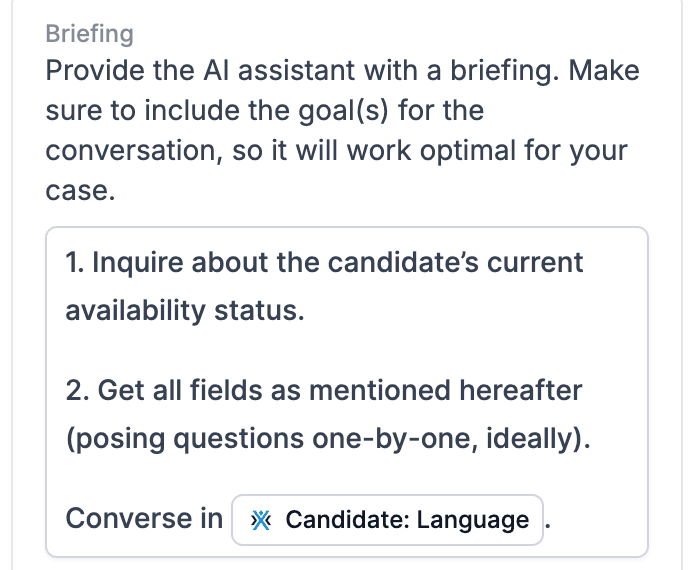
4.2. Providing a detailed briefing, including any missing goals to ensure optimal performance
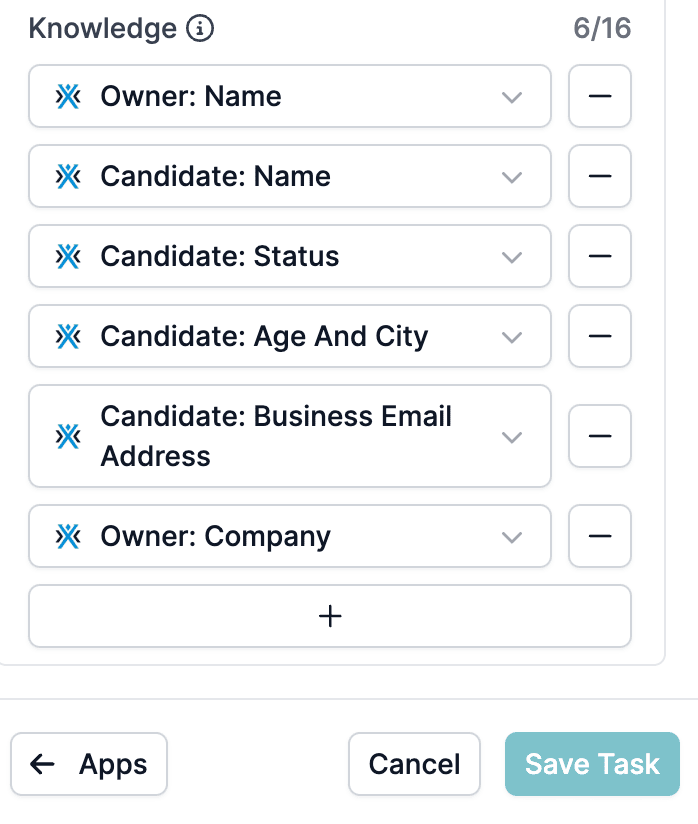
4.3. Adding more knowledge fields
These are fields you can add to provide additional context for the AI to use during conversations. Select items that it should be aware of to handle conversations effectively, such as the names of the participants, email addresses, etc. Limits:- Up to 16 fields
- Key length: 64 characters
- Value length: 512 characters
Step 5: Update Fields
When the conversation in WhatsApp ends, HireData updates the fields specified in this task in your app.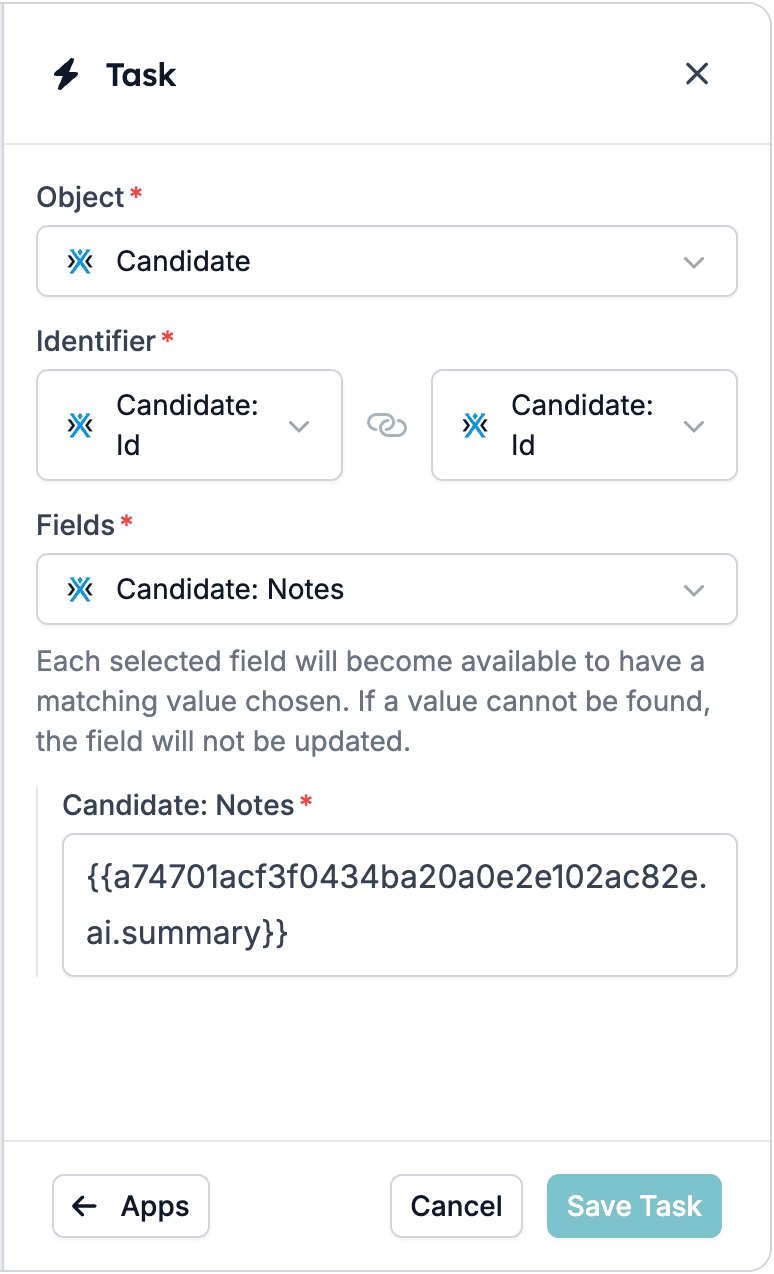
- Object:
- The object represents the data entity you want to update, e.g., “Candidate”.
- Identifier:
- An identifier is a unique field (like an ID) used to locate the exact record that should be updated. For example: “Candidate: ID” ensures the automation targets the correct candidate’s record.
- Fields:
- These are the fields within the object that you want to be updated. You can select different fields, such as “Candidate: Notes” or “Candidate: Available Date”, etc., to specify what part of the record needs to be updated.
Step 6: Review and activate the automation
Ensure all filters, forms, and contextual knowledge are properly set before activating the automation.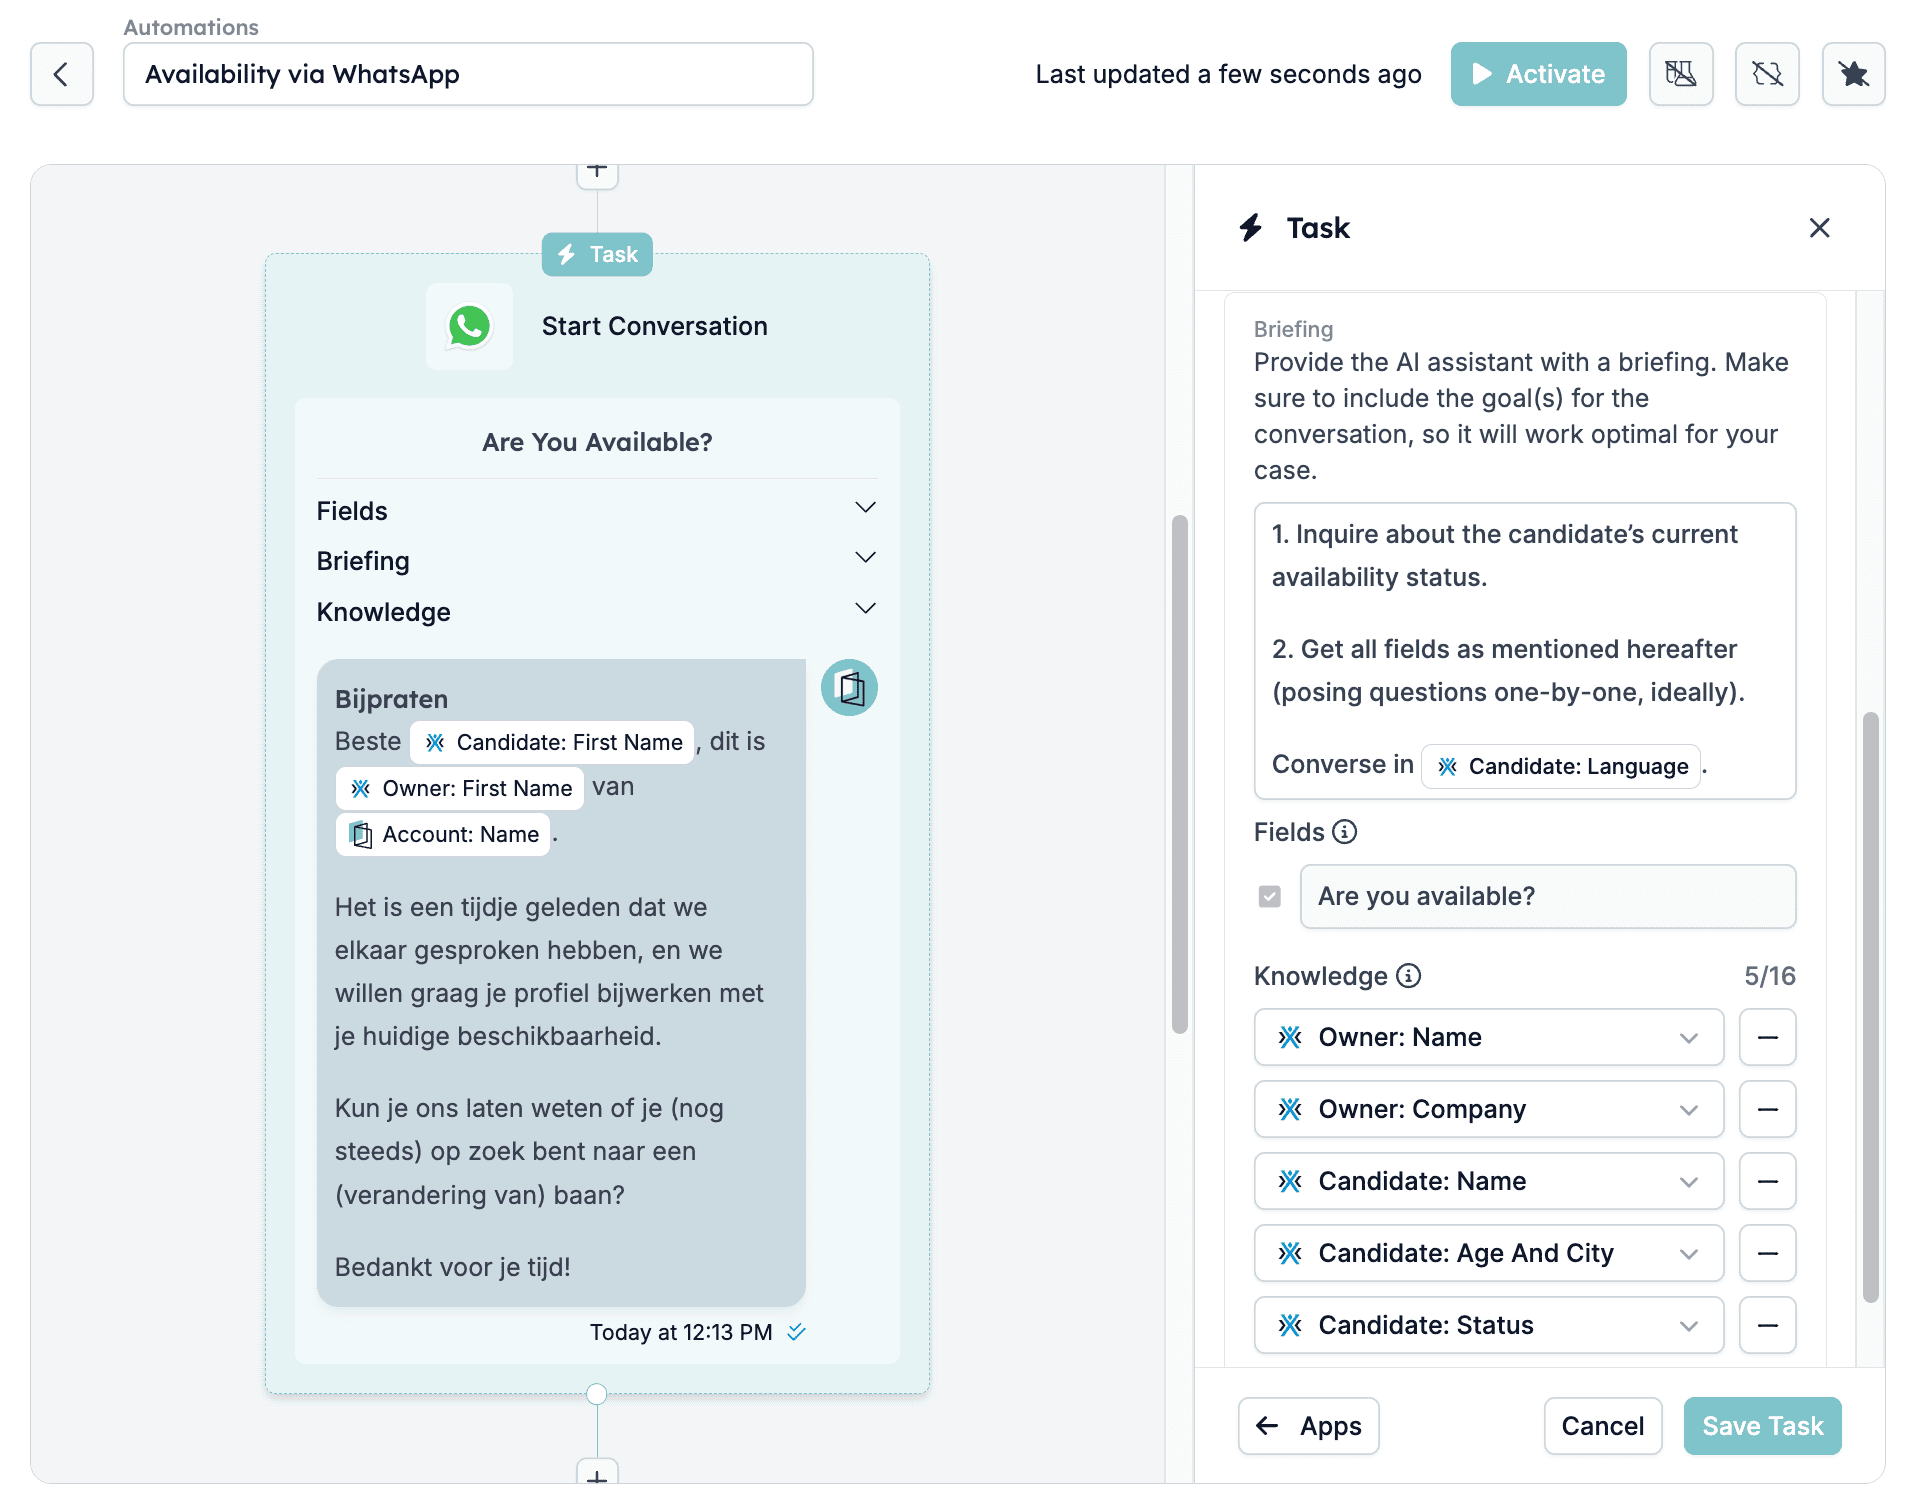
Tips for optimal use
- Regularly update your filters and forms to align with your recruitment needs.
- Provide detailed and specific briefings to enhance AI effectiveness.